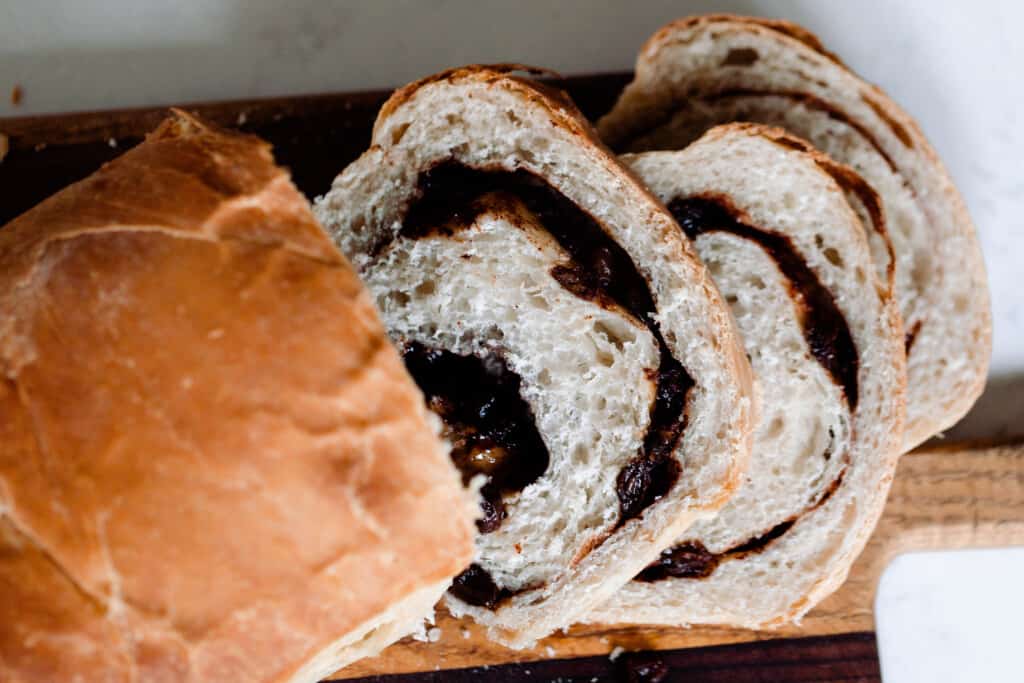
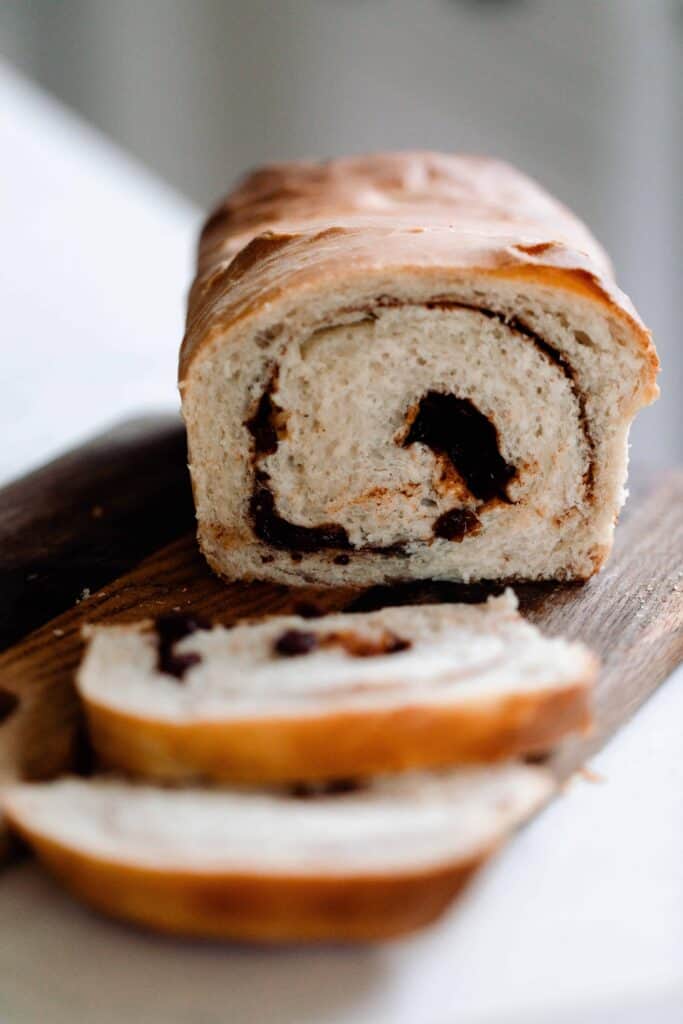
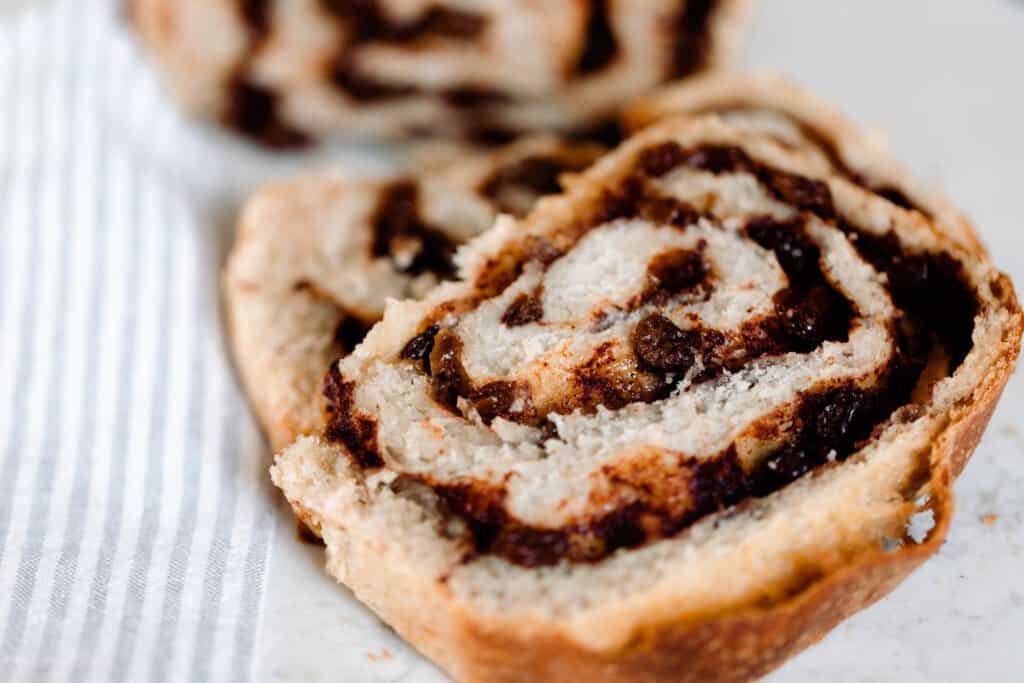
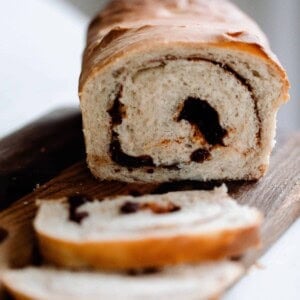
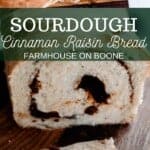
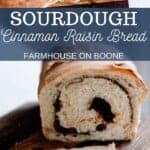
This sourdough cinnamon raisin bread is a fluffy sourdough bread with a swirl of cinnamon and raisins. The grains are fermented to give it that delicious tang and the added health benefits. It is the perfect snack or dessert.
If you know me well, you know I love my sourdough. I use it to make our Saturday morning pancakes, whole grain bread, dinner rolls, tortillas, and so much more.
You can find all my sourdough recipes located in this convenient post.
Before yeast was isolated and sold in little packets, sourdough starter was a valuable commodity in homes and families; it was passed down for generations.
Have you ever heard of phytic acid?
Basically, it’s an antinutrient found in grains, beans, and nuts that interferes with the absorption of certain nutrients. Phytic acid is present on grains to keep them from spoiling.
There is a reason antinutrients are there, but there is also good evidence that our bodies weren’t meant to handle them.
Proper preparation of grains eliminates most, if not all, of the phytic acid in offending foods.
This is the very reason traditional cultures soaked and fermented their grains, seeds, and beans.
These days we’ve lost that art. And what have we found? People can’t handle grains anymore.
Natural Yeasts… Sourdough Starter
Instead of using instant yeast packets, people in traditional cultures leavened their bread with a fermented starter that captured all the yeasts in the environment.
AKA Sourdough starter.
Locally made sourdough starter, with the native yeasts of the area present, is certainly the thing a foodie’s dreams are made of.
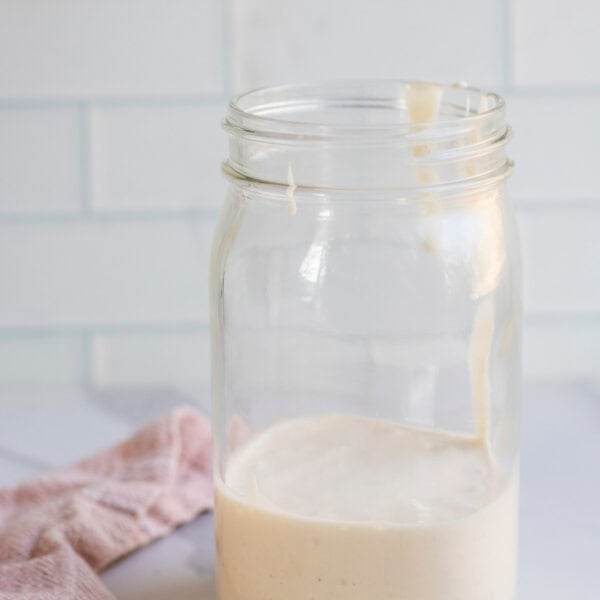
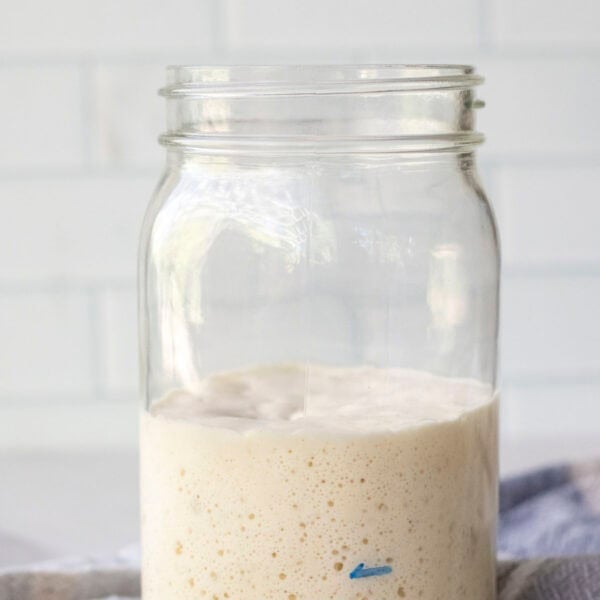
A jar of healthy, productive starter is teeming with life, as evidenced by all the bubbles you will see rising to the surface.
Once you’ve experienced homemade sourdough baked goods, store bought breads and pancakes simply won’t cut it.
Sourdough has a depth of flavor that just can’t be found in something made quickly with a packet of instant yeast.
With the slightly sour flavor from the natural fermentation process, plus cinnamon and the slight sweetness of raisins, everyone will love this cinnamon raisin sourdough bread recipe.
This post contains affiliate links, which means I make a small commission at no extra cost to you. See my full disclosure here.
Sourdough Cinnamon Raisin Bread Ingredients
Dough Ingredients
Freshly ground wheat or all-purpose: I use a Nutrimill to grind fresh wheat berries. You could substitute for store-bought flour, but the amount you use may change a bit.
Active sourdough starter: This is starter that has been fed 4-12 hours before baking, and is nice and bubbly. Learn how to make a sourdough starter from scratch here.
Melted coconut oil – You could also substitute this for another mild oil like avocado oil.
Salt: This is a critical ingredient for a delicious recipe. Without it, your bread will be lacking flavor.
Honey: Adds just the right amount of natural sweetness. Could also substitute for maple syrup.
Water: I always use watered filtered through my Berkey water filter. High chlorinated water can kill the yeast in sourdough starter.
Filling
Cinnamon: You can’t have cinnamon raisin bread without rich and warm flavors of cinnamon.
Raisins: Soaked in water to rehydrate them so they are nice and chewy rather than hard.
Brown sugar: This is an optional ingredient, but really delicious when you add it to the cinnamon and raisins. Adds another layer of sweetness and flavor. Just like in these sourdough cinnamon rolls.
Tips For Making Sourdough Raisin Bread:
- A stand mixer makes this process way easier.
- Start this recipe the night before, then the next day you have a lot less work to do. Just roll, spread cinnamon raisin mixture, roll, rise and bake. It’s like half the work done making the process easier.
- Make sure to cover the dough with a tight cover to help prevent a hard, crust forming on the dough. If this does happen, you can work it back into the dough, but it may affect the finished product.
- This makes the most delicious french toast.
- When bread is baked until completion, it usually has an internal temperature of 190-210 degrees F.
Tools you may need:
Grain mill- I love my Nutrimill to grind wheat berries into fresh flour. This is optional, but I highly recommend if you are planning to do a lot of baking.
Bread pan
Measuring cups and spoons
Rolling pin
Small bowl
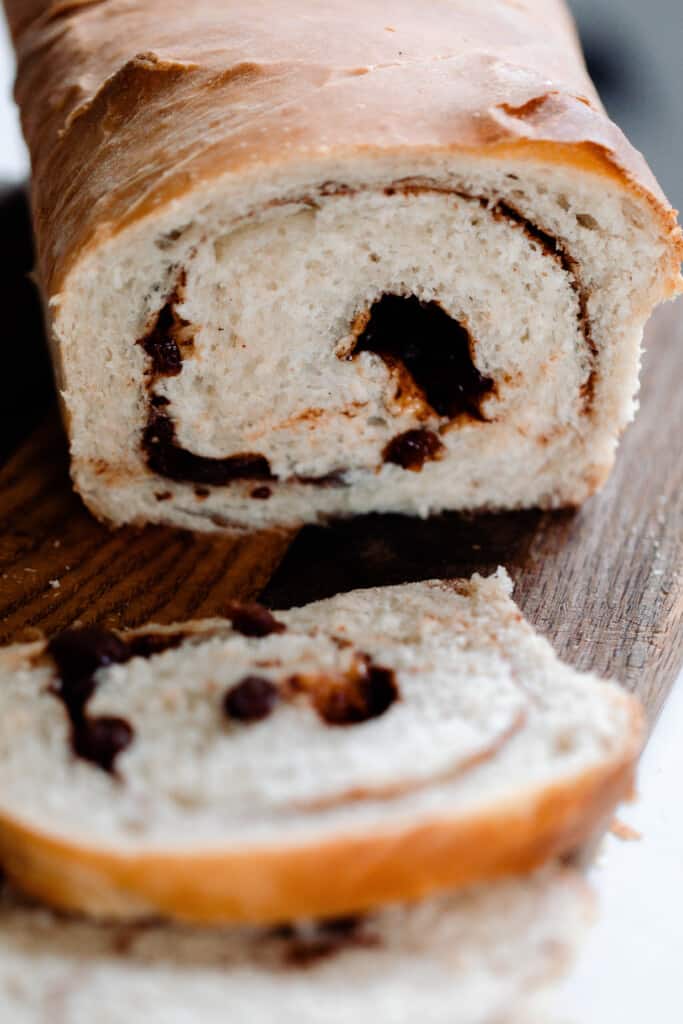
How To Make Sourdough Cinnamon Raisin Bread
4-12 hours before starting the dough, feed your sourdough starter. You want a active starter that is really nice and bubbly.
The night before you want to make your bread, combine the flour, starter, oil, salt, honey, and warm water in a large bowl. Knead the dough until it is stretchy. (about 10- 15 minutes with a stand mixer)
I use a mixer with a dough hook for this. You can knead it by hand, but if you plan to make bread regularly, a stand mixer is a great investment for the time it saves.
Add just enough flour so that it pulls away from the sides of the mixer, or is not sticking to your hands.
It will vary between 6 and 7 cups, depending on the hydration of the starter and the type of wheat you use.
Add a little more water if it is too dry, or flour if it is too wet.
Divide the dough into two even balls and place each in a glass bowl greased with coconut oil. Roll the dough around a bit so that the entire ball is lightly coated with coconut oil.
Bulk Fermentation
Cover the dough with a beeswax wrap or plastic wrap, and let it rise overnight at room temperature in a warm place if possible, or about eight hours. It should double in size during the first rise.
Also, the night before, get the raisins soaking in one cup of hot water.
Shape
The next morning, roll each ball of dough out into a large rectangle until they are about ½” thick, onto a lightly floured work surface..
Drain the plump raisins, and place in a bowl.
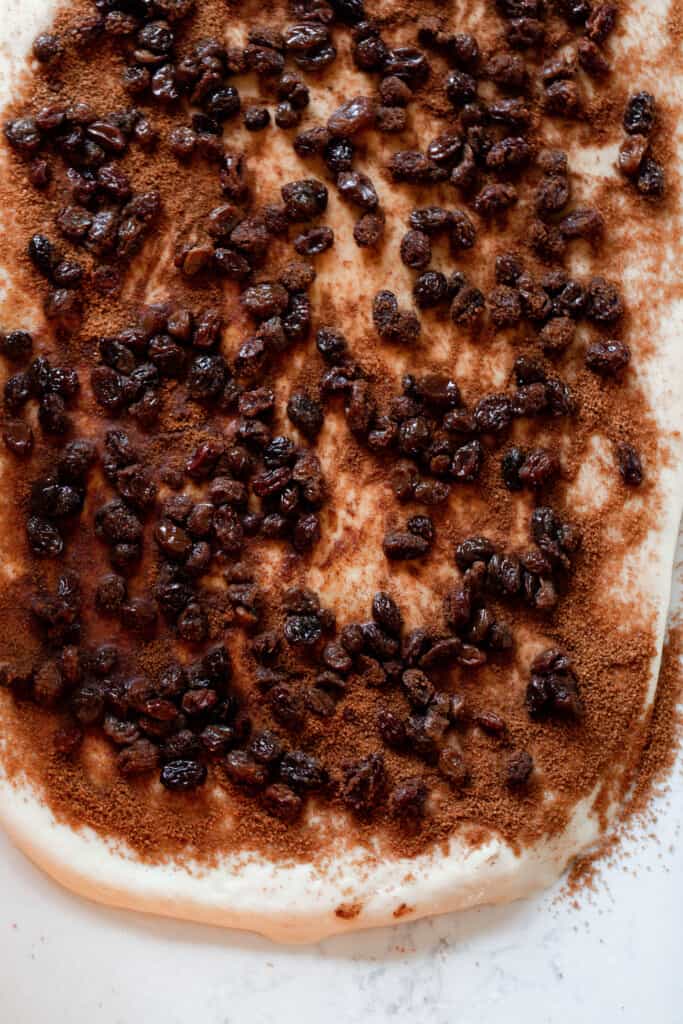
Sprinkle the raisins with cinnamon and sugar (or just cinnamon if omitting sugar).
Sprinkle the sweet raisins over the top of the dough.
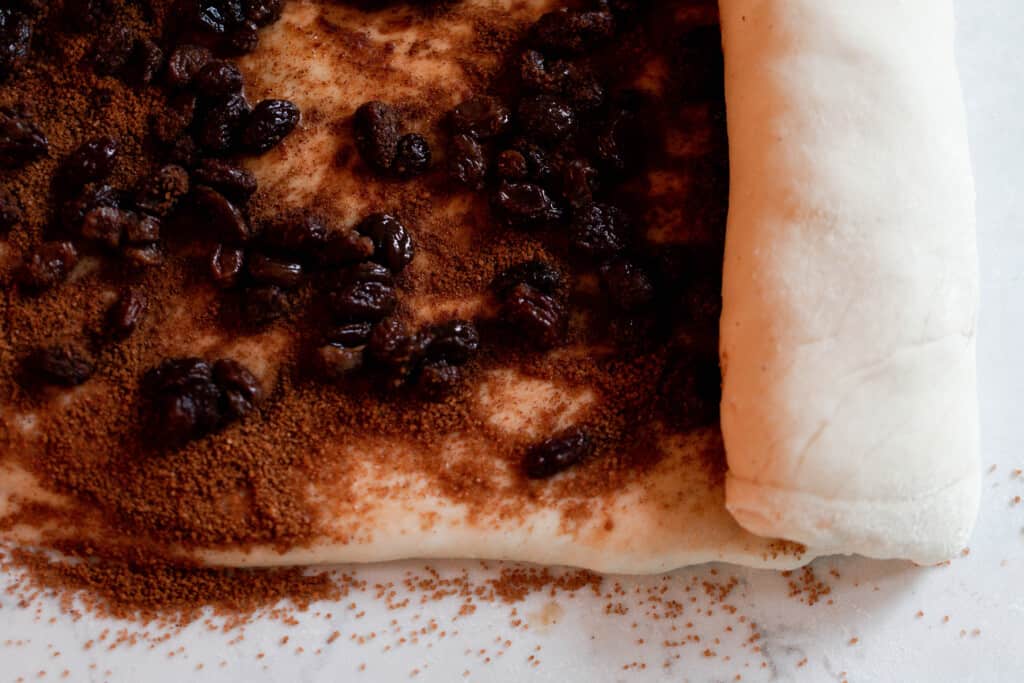
Starting from one side, roll the dough up tightly and pinch in the ends.
Second Rise
Place the dough into a greased loaf pan (or line with a piece of parchment paper), cover with a damp towel or plastic wrap and let the dough rise in a warm place until it about doubles in size. This should take anywhere from 2-4 hours, depending on how warm your kitchen is.
Optional step: Brush the top with a egg wash.
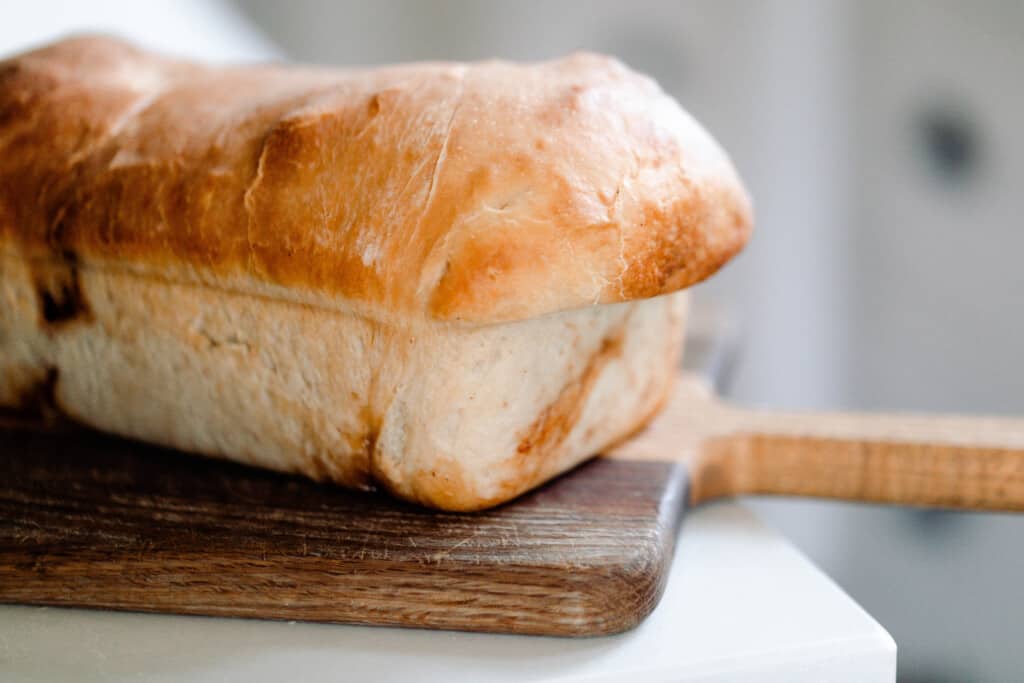
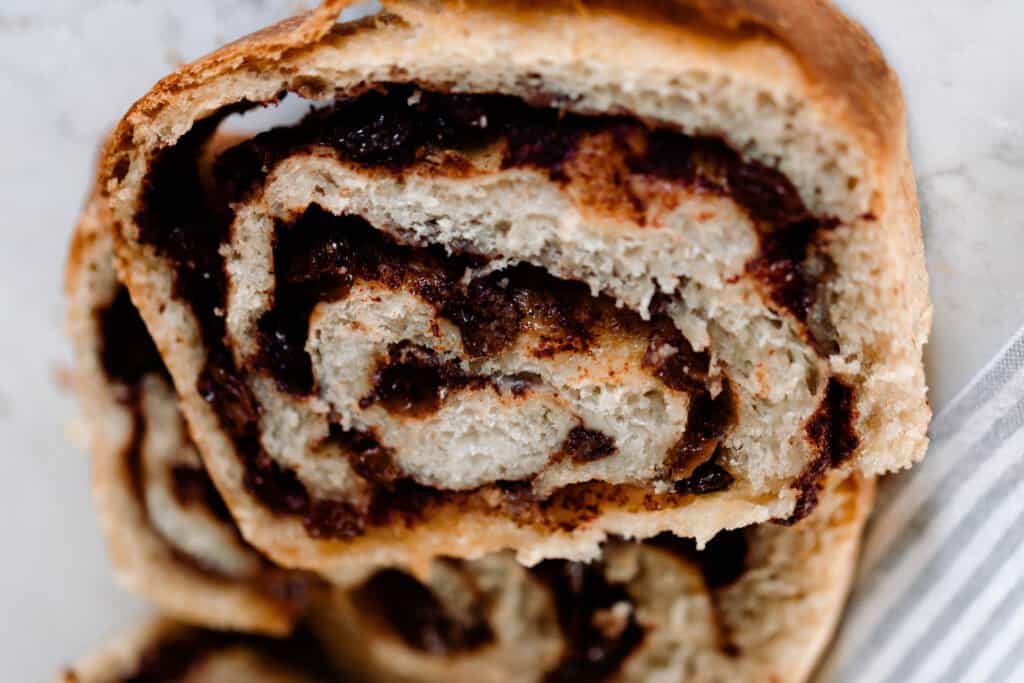
Bake the bread for 35 minutes at 400 degrees until the loaf of bread is golden brown and baked through.
Baker’s Timeline:
This can be started or made at any time. I like to start doughs at night time so they can rise all night. In the morning, they are ready to shape, rise, and bake.
Feed sourdough starter with flour and water.
Add all the dough ingredients to the bowl of a stand mixer and knead together until smooth and glossy.
Cover and ferment until doubled. Soak raisins.
Roll out the dough. Sprinkle with raisins and cinnamon sugar mixture. Place into a prepared bread pan.
Cover and allow to ferment for 2-4 hours.
Once it has doubled. Bake.
Check Out More Delicious Sourdough Recipes:
- Lemon Sourdough Pound Cake
- Sourdough Chocolate Cupcakes
- Sourdough Pizza Crust
- Coffee Cake
- Sourdough Discard Banana Bread
- Sourdough Crepes
- Learn how to make your own starter here.
If you try this recipe and love it, I would love if you could come back and give it 5 stars! Tag me on Instagram @farmhouseonboone
Sourdough Cinnamon Raisin Bread
Equipment
- 2 Loaf pans
Ingredients
- 6 cups unbleached all-purpose flour, 840 g
- 1 cup active sourdough starter, 200 g
- 1/2 cup oil, 112 g – a neutral oil like coconut or avocado
- 1 tablespoon salt, 15 g
- 1/2 cup honey, 168 g
- 1 1/2 cup water, 354 g
- 3 tablespoons cinnamon
- 2 cups raisins
- 1 cup hot water for soaking raisins
- 1/2 cup brown sugar, 100 g optional
Instructions
- The night before you want to make your bread, combine the flour, starter, oil, salt, honey, and water in a large bowl. Knead the dough until it is stretchy, about 10-15 minutes with a stand mixer (see note below).
- Divide the dough into two even balls and place each in a glass bowl greased with coconut oil. Roll the dough around a bit so that the entire ball is lightly coated with coconut oil. Cover the dough with a beeswax wrap or plastic wrap, and let it rise overnight, or at least eight hours.
- Get the raisins soaking in one cup of hot water the night before.
- The next day, roll each ball of dough out into a large rectangle until they are about ½” thick, onto a lightly floured work space.
- Drain the raisins, and place in a bowl.
- Sprinkle soaked raisins with cinnamon and sugar (optional) mixture evenly onto the dough.
- Starting from one side, roll the dough up tightly and pinch in the ends.
- Place the dough into a greased loaf pan, and allow it to double in size. About 2-4 hours.
- Bake the bread for 35 minutes at 400 degrees.
- Allow to cool completely before slicing.
Notes
- Add just enough flour so that it pulls away from the sides of the mixer, or is not sticking to your hands.
- Make sure to cover the dough with a tight cover to help prevent a hard, crust forming on the dough. If this does happen, you can work it back into the dough, but it may affect the finished product.
Nutrition
Nutrition information is automatically calculated, so should only be used as an approximation.






Extremely sad. I’ve tried this twice! Both times and cannot get the inside to bake. I watched it closely and followed the recipe specifically. I even researched if something may be wrong with my starter. It passed the ‘poke test’ but it never would come though. The bread is dough and dense while the outside is extremely hard. I tried lowering the temp and bake slowly to get it to cook through but it wouldn’t work. 2nd loaf thrown in the trash ☹️
It sounds like the bread may have been over mixed!
Help! I followed this recipe to the T. After cooking for 20 min i tented the loaf with tinfoil to prevent browning too much. Cooked for 15 min. Thermometer registered 240 which is over cooked, I think. But the middle is doughy! I then wrapped the loaf, minus one slice, in tinfoil and cooked another 30 min. Still doughy! I don’t get it??
What am I doing wrong?
Try letting cool completely before cutting the loaf.
And I like to score mine three or four times.
I will absolutely be making this again! I had my first go with it last night and today. I definitely didn’t need any additional flour, the 6 c was plenty for my batch. My starter was a bit on the thick side though. I added just a teaspoon of yeast to speed things up a bit, and that did fine. I did foil the top for the last 15 min since the top and sides were already as brown as I wanted them to get. I also pulled them out and buttered them at that point, and that helped them not get to crunchy of a crust! Yum yum!! Another winner of a recipe from you!
So happy you enjoyed it!
The first few times I made this came out great! But these last couple times the bread keeps coming out really dense in the middle 🙁 the only thing i can think of is the raisins/juice from the raisins weighing down the dough and not allowing it to rise or cook fully in the center…. any suggestions as to what i’m doing wrong? 🙏🏼
Are you over mixing or letting it ferment too long? Both of those can cause your bread to be more dense!
OMG THIS BREAD!!!!!!!! Make it. It is unreal.
So glad you enjoyed it!
Is the overnight rise in the refrigerator?
No it is at room temperature. You could probably do an overnight in the fridge after the bulk rise and shaping the dough.
Please add Grams to recipes
We are working on adding grams to all the posts.
Would love it if you converted your recipes to weights!
We are slowly, but surely converting recipes to grams. I use 140 grams per cup of all-purpose flour for recipes
Is the dough supposed to rise at all during the night before you roll it out? Mine didn’t rise and now that they are in the loaf pans they still aren’t rising. I used a very active starter and my house is pretty warm as well. Also while they are rising in the loaf pans should they be covered? I covered with a tea towel but I’m not sure if I’m supposed to
Yes, they should have definitely risen overnight and when they are shaped in the loaf pan. That is very strange. Covering it with a tea towel for the second rise is totally fine. That is usually what I do. Did they bake up ok?
Lisa this is a common problem in comments. I have experienced this problem with the rise as well. Wondering if 1 and half cup water is enough hydration for 6-7 cups of flour? I have had great success with all your other recipes! You’re awesome!!!
This recipe has always worked for me, but there are always so many factors that can make a difference for everyone individually. Maybe try using a bit less flour if you feel it isn’t coming out right.
I made this tonight and it was beautiful! But didn’t cook all the way. The color was dark in the top and sides, how can I tell if it’s done in the future?
Oh no! Have you checked your oven temperature. Sometimes they can run hot or cool. You can also take the breads internal temperature. It should be 195-210 degrees F when baked through.
Yes! I’ve had the same issue. I had to run my cook time for another 15 min before it was fully cooked, but the ends look burnt. 🫠
Oh bummer. Ovens can run at different temperatures, or could it be possible pan size difference? So many variables. If you find that the edges are burning, you could always create a aluminum foil tent to help reduce browning.