


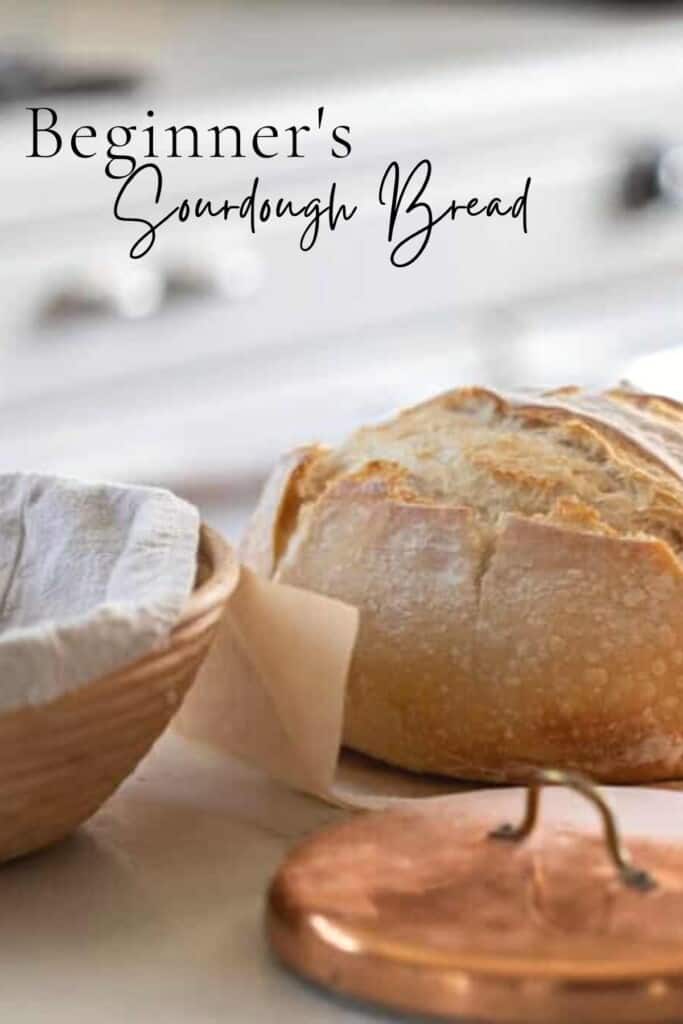
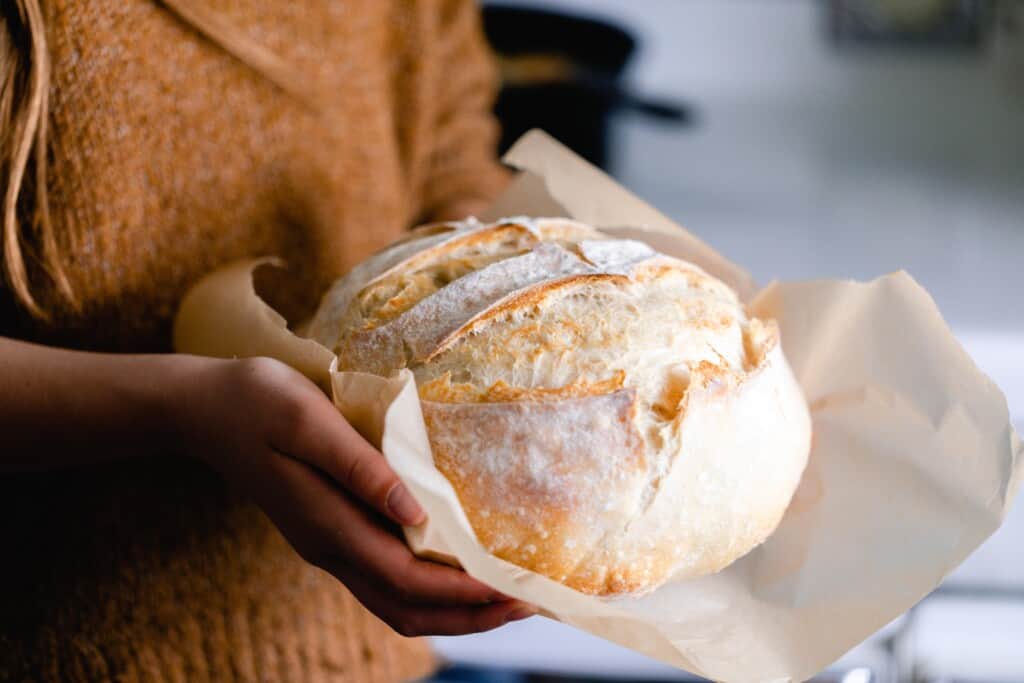
Learn how to make the easiest homemade sourdough bread recipe perfect for beginners. All you need is a few ingredients, some time, and patience. You’ll never want to go back to store-bought bread again.
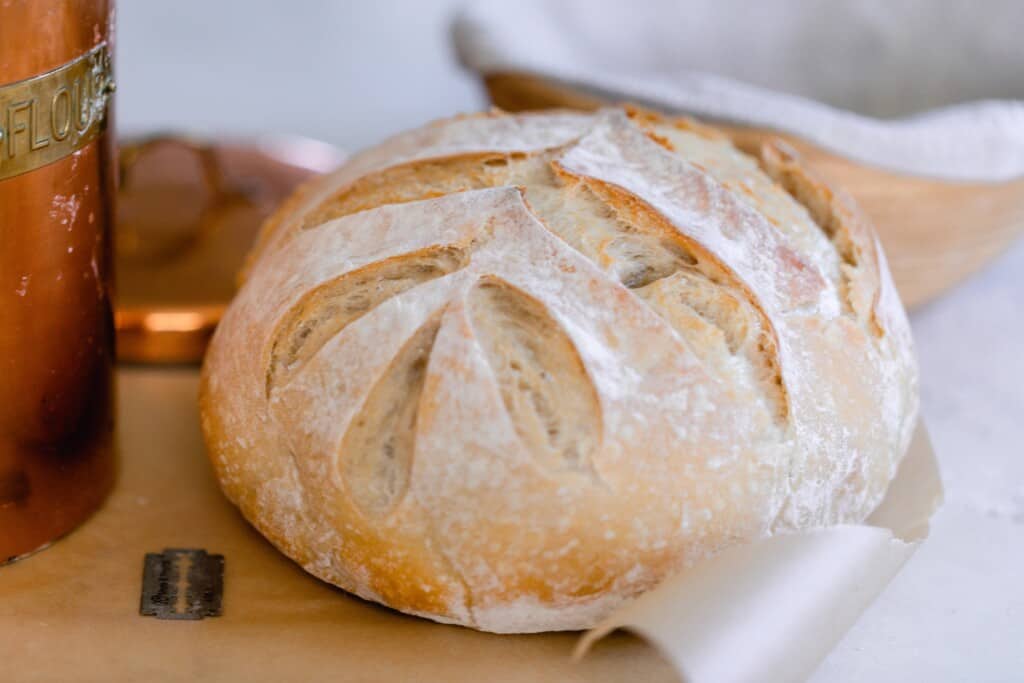
Table of Contents
I remember when I first started out on my sourdough journey. It was about 12 years ago, around the time of when my second daughter was born.
That first loaf of sourdough bread was not pretty, or really that edible to be honest. But I was proud I created something out of my own two hands from just a few ingredients.
Over the years I’ve really honed in on my sourdough baking skills and now have hundreds of recipes on this blog to show you just how simple it can be.
So today I’m going to show you step-by-step how to make an easy sourdough bread perfect for a beginner. Walking you through how you will know when your starter is ready to use, common terms (so you don’t feel lost in the gibberish), shaping, and everything else in between.
I promise it is not that hard. Once you get it down, it will become second nature and you will be whipping up everything from sandwich bread to Hawaiian rolls. Everyone will be amazed at the things you can create.
What is sourdough bread?
Sourdough bread is a fermented bread that uses natural wild yeast from the environment that has been captured to rise and ferment, rather than relying on commercial yeast.
Sourdough Health Benefits
As the grain is fermented, the gluten and phytic acid are broken down, making it easier to digest and more nutritious. Those who are sensitive to gluten (not celiac) may be able to tolerate sourdough products (especially long fermented), due to the fermentation of the grains.
Phytic acid (that is naturally present in wheat), is an anti-nutrient that blocks absorption of the nutrients found in wheat. During the fermentation, this gets broken down and the nutrients are more bio-available to the body.
Common Sourdough Terms:
Sourdough Starter
A mixture of flour, water, wild yeasts, bacteria, and organic acids that is used to ferment and leaven breads and grains. You can easily create one from scratch, purchase one or get one from a friend to start your sourdough adventure.
Sourdough Discard
The amount of starter that is removed from the sourdough starter before feeding. You can toss it or use it for many wonderful sourdough discard recipes.
Technically, you never have to actually throw it away. You can use it in discard recipes, or, once your starter is mature enough, you can just keep feeding it and using it. Make sure you don’t get too much starter or else it will be hard to maintain and keep healthy (which is the reason most discard).
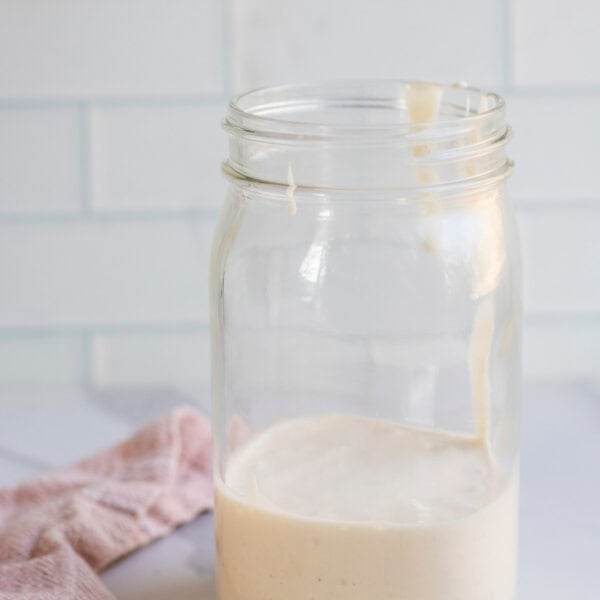
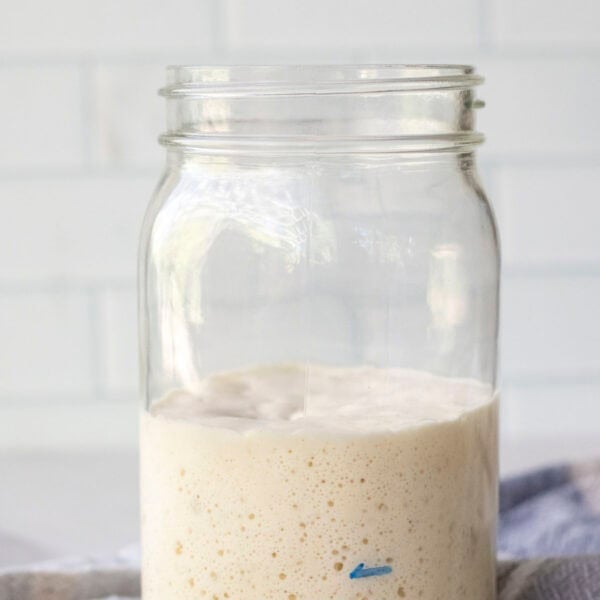
Fed Sourdough Starter Or Active Starter
This is a sourdough starter that has been fed 4-12 hours before starting the dough. It is active and bubbly. It should pass the float test when a small amount of starter is placed in a cup of water. If it floats, it is ready to use for bread.
Autolyse
The process of hydrating the flour with water and allowing it to rest for 15-60 minutes during the bread making process.
Bulk Fermentation Or Bulk Rise
The first period of time a recipe rises. It is a very important step in sourdough baking. Not allowing the dough to rise enough will leave you bread that doesn’t get a good rise in the oven. Bulk ferment too long and the dough will over ferment and become a wet soupy mess. Usually, the dough should be about double in size.
Score
Cutting a line or design on the top of the dough with a sharp utensil like a razor, lame, or knife to give bread a beautiful design. There are two kinds of scores: expansion score (a deep score that allows the bread to expand). Artistic scores: the pretty design that doesn’t have much function except to make beautiful bread.
Windowpane Test
Taking a small amount of dough, stretch it between your fingers into a square to see if it can stretch thin enough to be able to “see” through it without breaking. This is a good indicator that enough gluten formation has been created to capture a good rise and large holes in the crumb.
Proofing
The final rise for the dough before baking to leaven the dough.
This post contains affiliate links, which means I make a small commission at no extra cost to you. See my full disclosure here.
Tips:
- You will need a very active sourdough starter that passes the float test. Check out how to make your own sourdough starter and how to care for one here.
- The dough may seem dry when it is first coming together. Resist adding more water. Use wet hands during the stretching and folding if the dough is too sticky.
- The amount of time it takes for your dough to double can be determined by many environmental factors, such as the temperature in your home, the maturity of your starter, and the hydration status of the loaf.
- The most accurate way to create consistent results is by using a kitchen scale. I’ve included both gram measurements and cup measurements in the recipe.
Ingredients
All purpose flour – Since this is a beginners loaf I’m using something most people already have in their pantry, all-purpose flour. You could also substitute with bread flour.
Water
Active sourdough starter – This is a starter that has been fed 4-12 hours before starting the recipe, is active and bubbly, and has about doubled in size. Learn how to make your own starter here.
Salt
Tools you may need to make this recipe:
Kitchen scale or measuring cups and spoons: I prefer to weigh my bread to get the most accurate and consistent results.
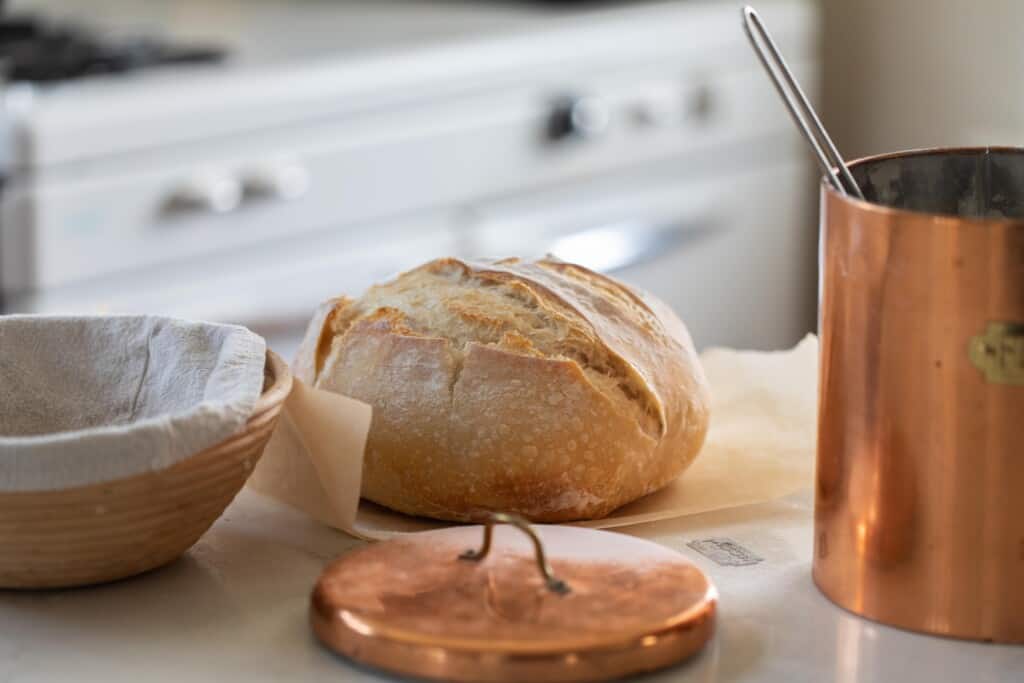
Banneton (optional): You could also use a towel lined basket or bowl.
Dutch Oven: This gives the bread a really nice crispy crust. If you do not have a dutch oven you could bake it on a baking sheet. To get the crust you will need to create steam in the oven. You can spray the loaf with water, and add a baking dish of water to the bottom rack of your oven.
Parchment paper: You could also add cornmeal to the bottom of the dutch oven to help prevent sticking, but I’ve never had great luck with this and prefer the parchment paper method.
Lid or plastic wrap: A lid, plastic wrap, a large plate, or beeswax wraps can all work.
How To Make Beginner’s Sourdough Bread: Easy Step-By-Step Instructions
Feed a sourdough starter 4-12 hours before starting the dough, ensuring it is active and bubbly.
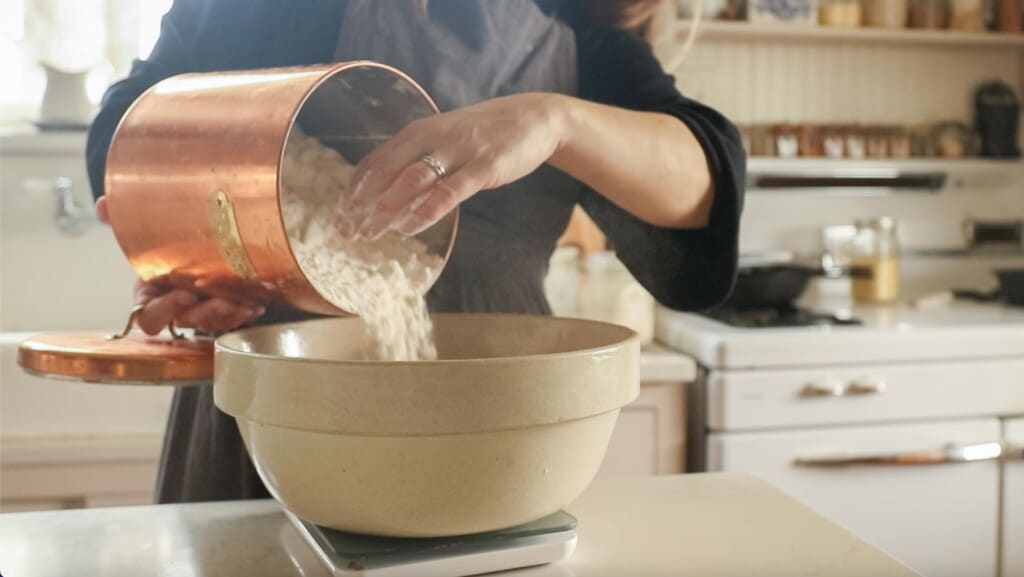
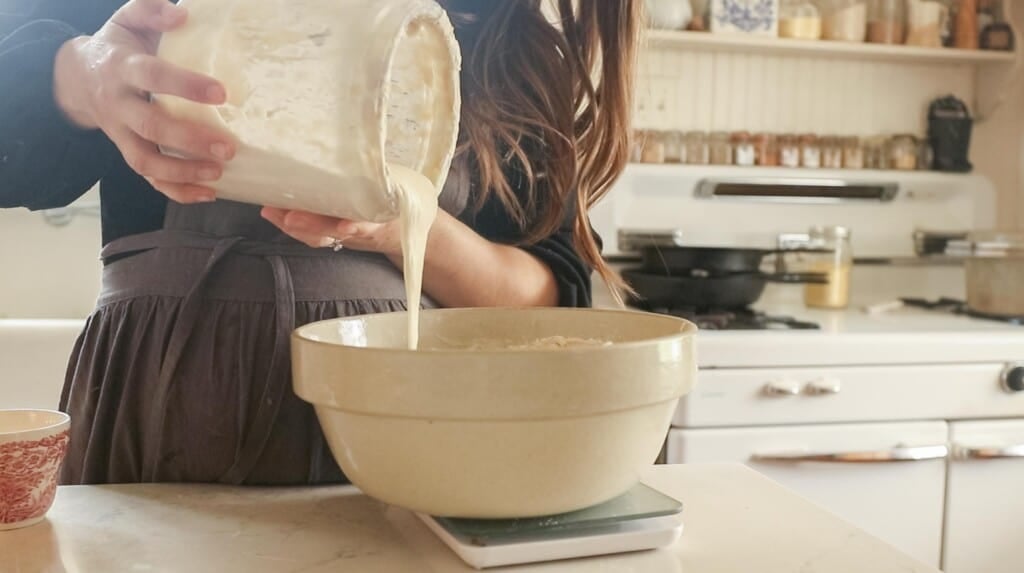
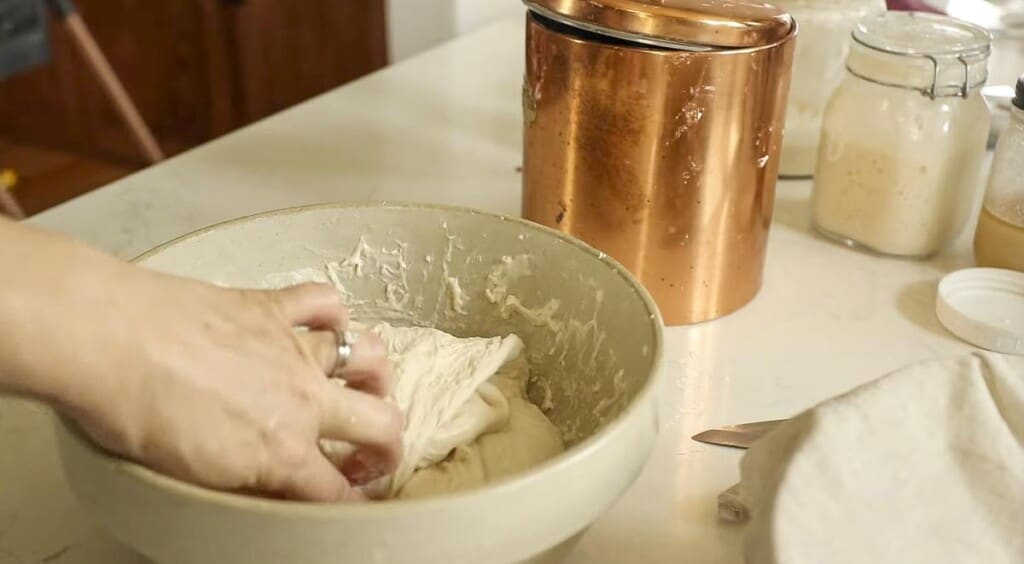
Add warm water, active starter, salt, and flour to a large mixing bowl. A kitchen scale will give the most accurate results.
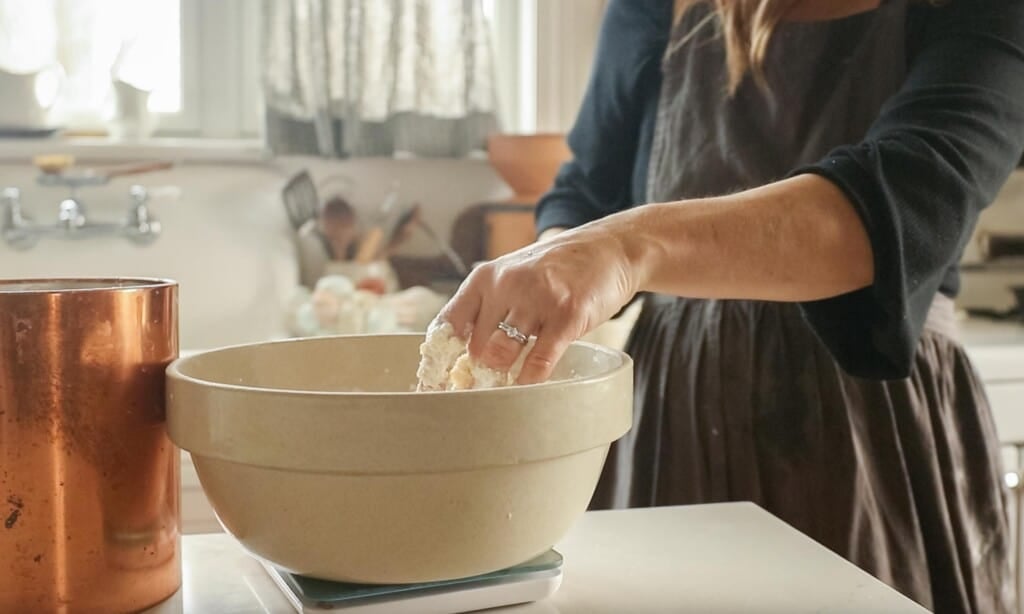
Mix together with wooden spoon or even just your hands.
Cover with plastic wrap or a lid and allow to rest for 30 minutes for the water to hydrate the flour. This is the autolyse process.
Stretch And Fold
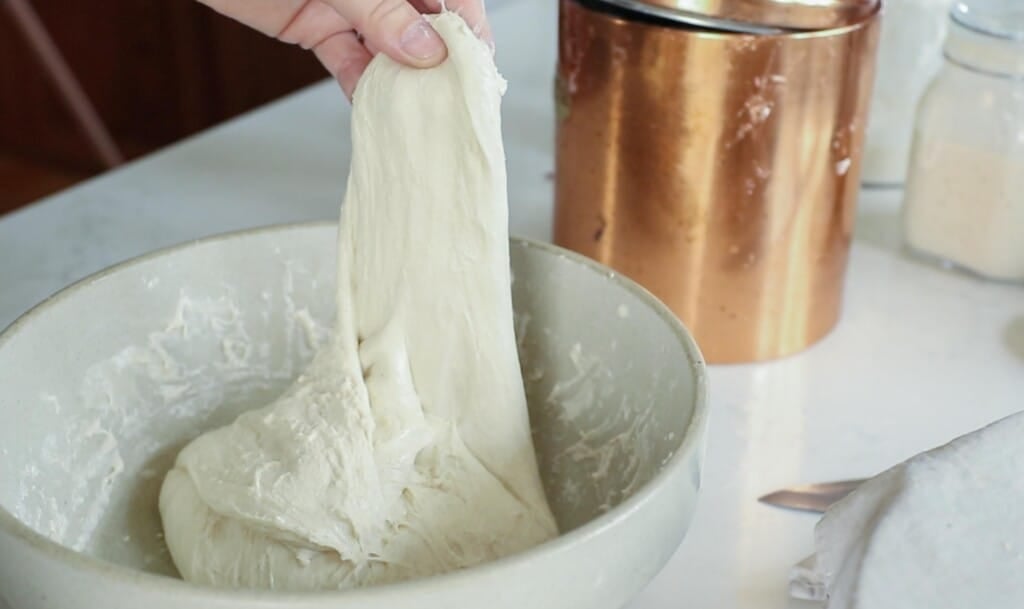
Rather than kneading the dough we are going to do a different method called the stretch and fold method. This is a way to get those desirable large holes in the crumb.
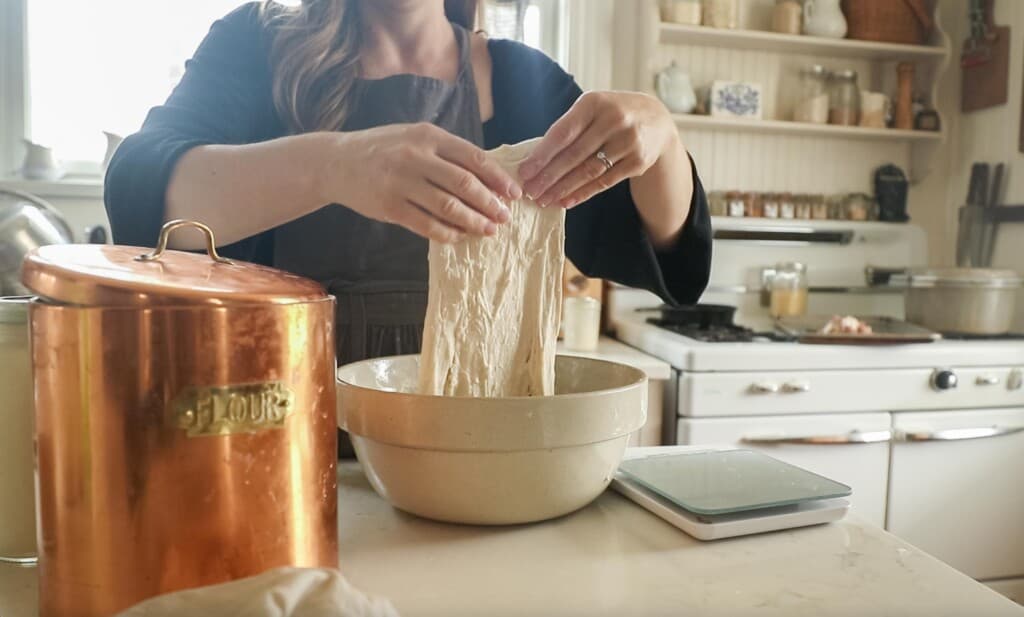
Grab the edge of the dough and pull up stretching it out as you pull upwards. This may be difficult and you may need to kind of bounce the dough to get it to stretch.
Place dough that is in your hands back into the center. Turn the bowl about a quarter turn and complete another stretch and fold. Repeat two more times. This is considered one round. If the dough is too sticky, dip your hand in warm water.
Cover and complete two more rounds 30 minutes apart.
Cover with a lid, damp towel, or plastic wrap. Let the dough bulk ferment in a warm place until it has doubled in size. This could be anywhere from 6-12 hours (or longer) depending on the temperature of your kitchen, maturity of your starter, etc.
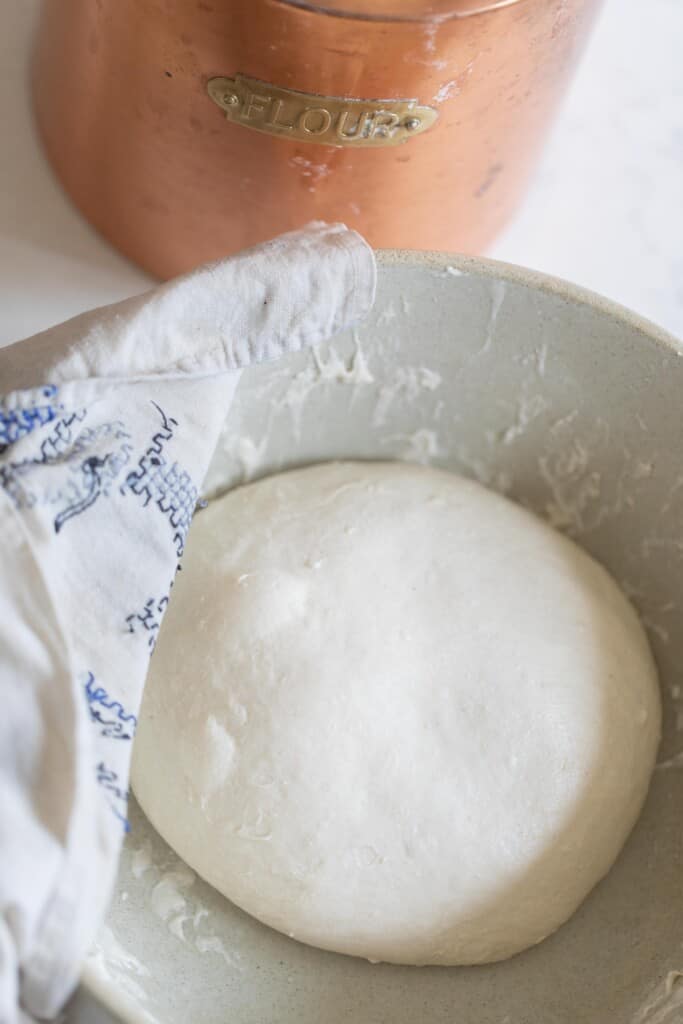
Be careful not to let it over ferment. If it is allowed to go too long, it will rise too much and become a soupy mess. It will not get a good rise when it bakes and resembles more of a pancake than a fluffy loaf. If this happens you can make stuffing, croutons, or bread pudding. It is not a total loss.
Shape
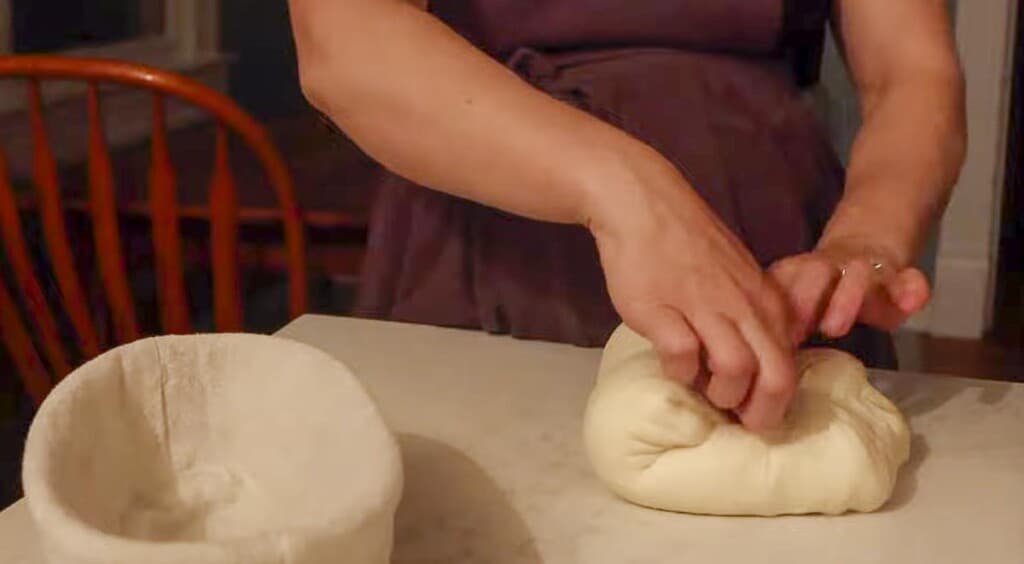
Place the dough on a clean work surface that has been lightly dusted with flour.
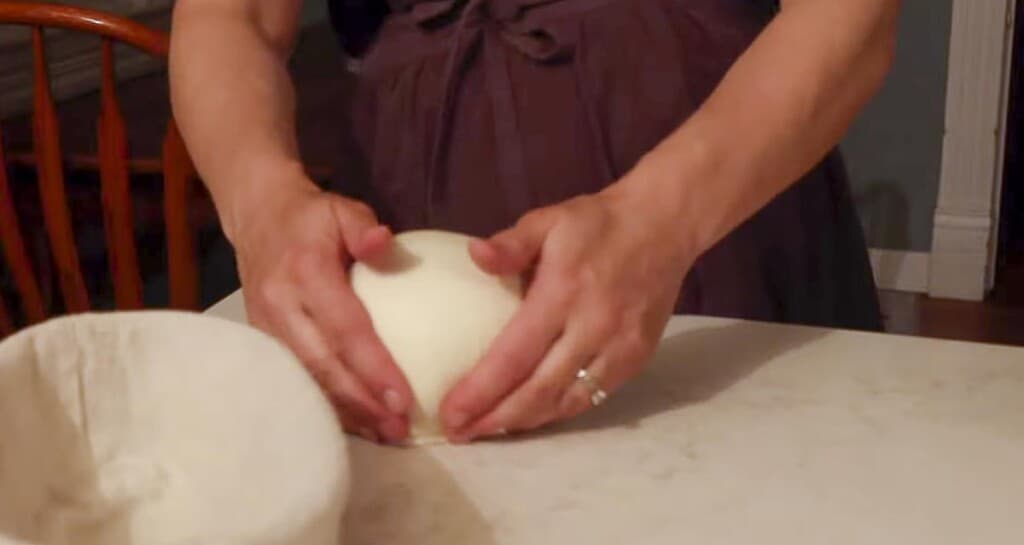
Fold the dough onto itself and roll up. Then shape into a ball by gently spinning it toward you.
(Optional)Set out 15-20 minutes uncovered. This allows the surface to develop a skin, so that it doesn’t stick to the tea towel during the overnight rise.
Then, place your dough upside down (smooth side down) on the counter and shape. I do this by folding the two sides over to meet in the middle, pinch together and then repeat on the other two sides. This creates surface tension which helps give it more oven spring (a good rise).
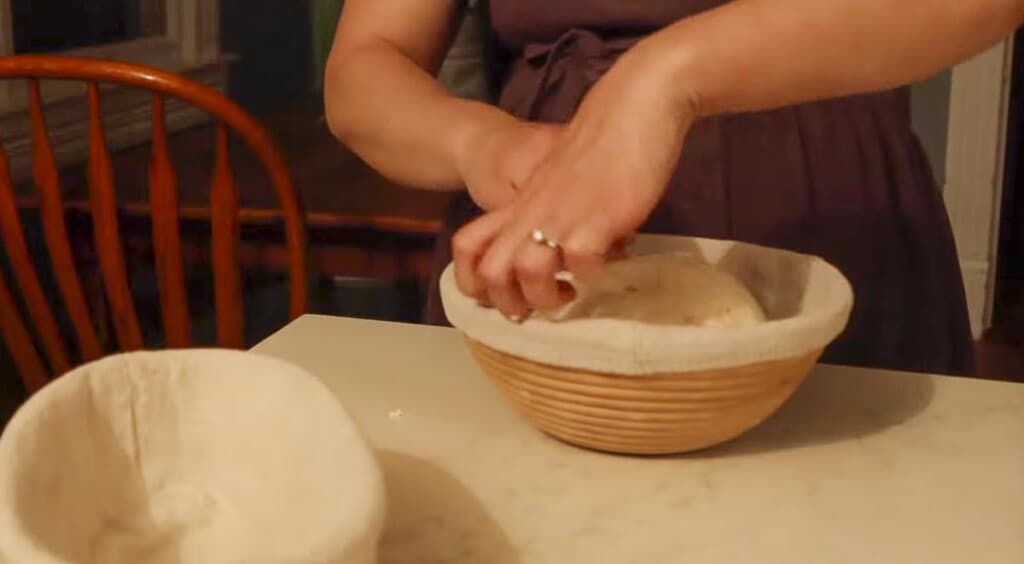
Transfer to a floured banneton or bowl with a floured tea towel (typically floured with rice flour, this is not necessary and all-purpose will work just fine) seam side up. You want the smooth side or pretty side facing down in the banneton. (Remember, the crust was so it wouldn’t stick to the tea towel!)
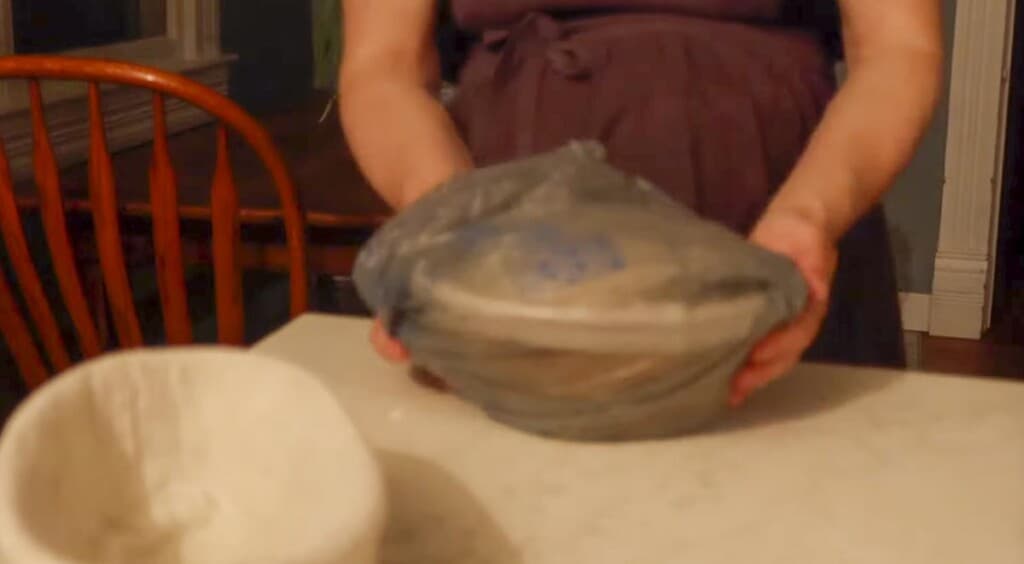
Cover with plastic or place in a plastic bag and tie the ends. Let the dough rest for 12-15 hours in the refrigerator. You can also let the bread rise at room temperature for 3-4 hours. I like using the longer rise time in the refrigerator because it is easier to score and I feel like the oven spring is better.
Bake
Preheat a dutch oven to 500 degrees for 1 hour.
Remove dough from the fridge right before baking.
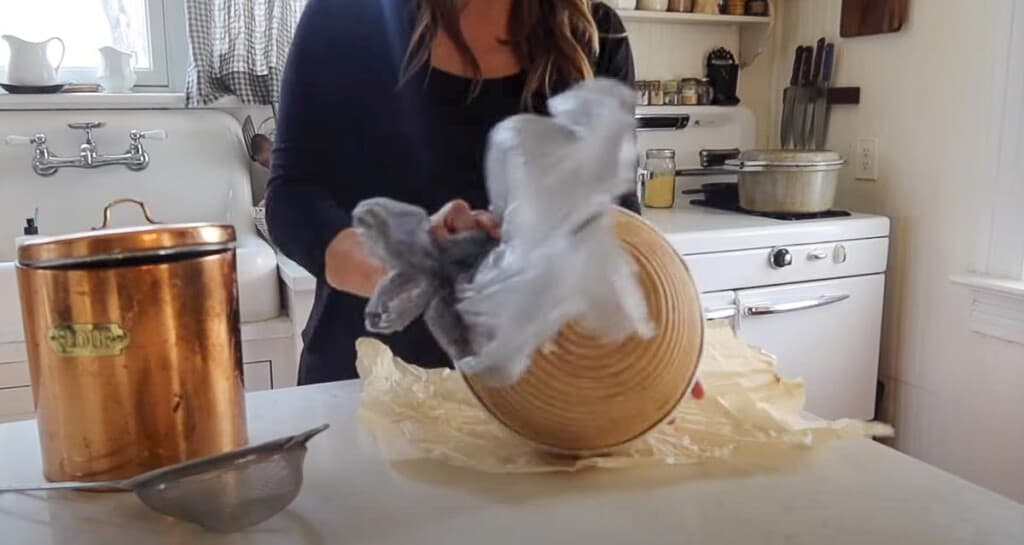
Place dough on a piece of parchment paper.

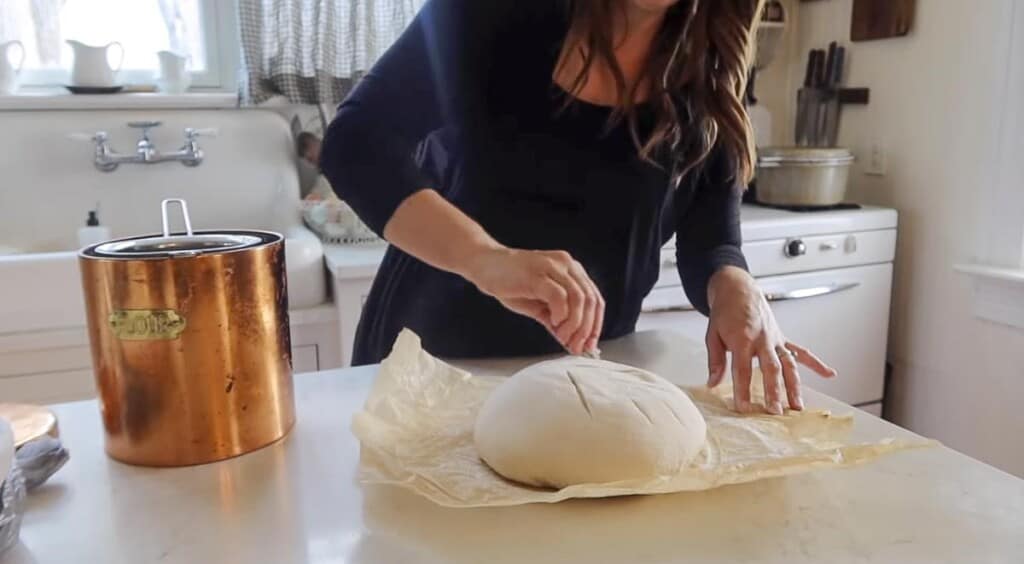
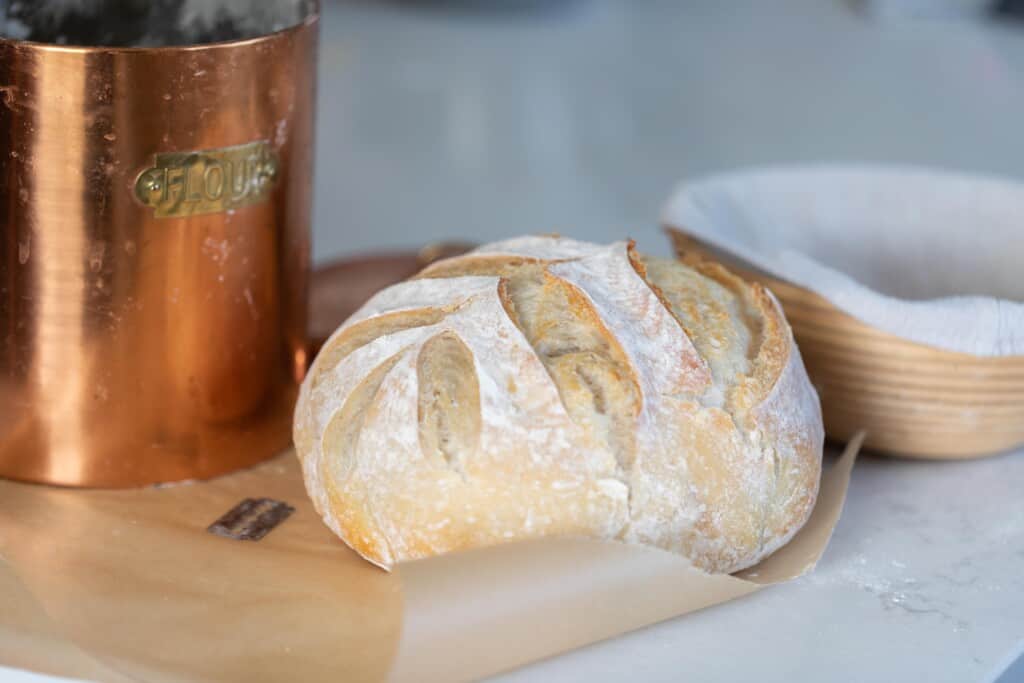
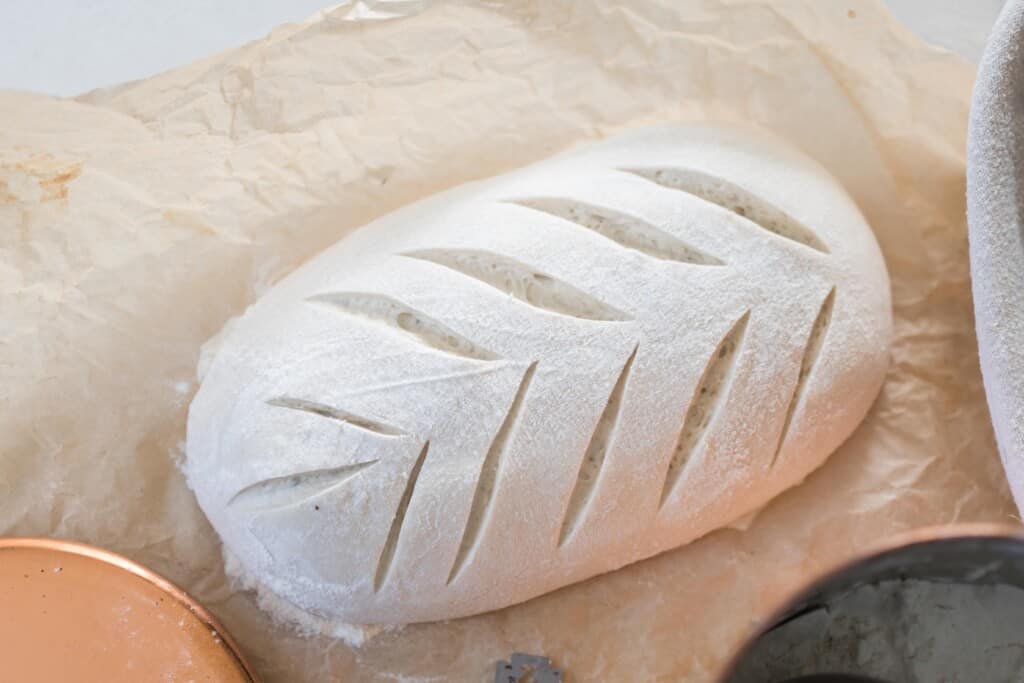
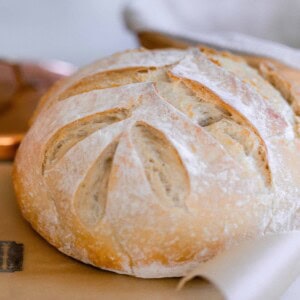
Dust with flour, if desired, and score with lame or razor blade. I like to do one large score (called an expansion score) and then a cute design for the other score.
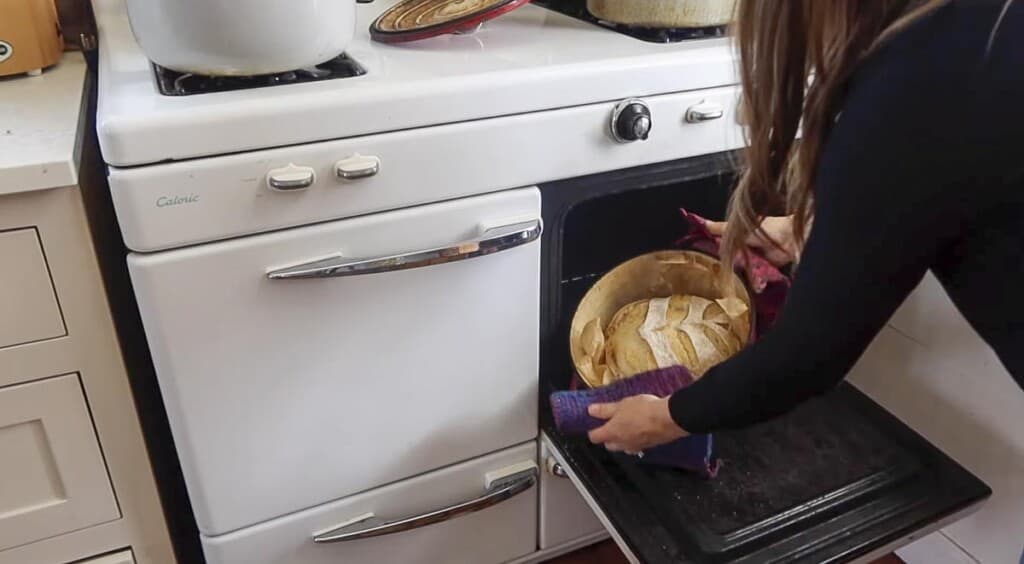
Carefully, transfer the piece of parchment paper with the dough into the hot dutch oven. Careful not to burn your fingers.
Place the lid back on and place the dutch oven into the hot oven. Bake for 20 minutes.
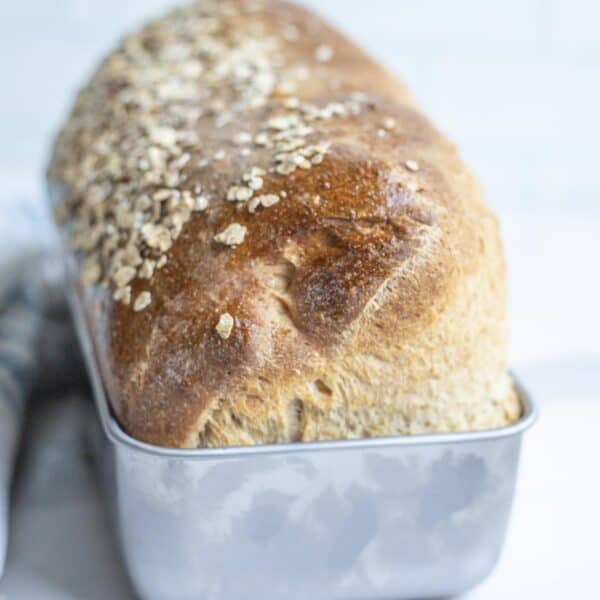
Carefully remove the lid with oven mitts, turn the oven temperature down to 475, and bake an additional 15-25 minutes or until golden brown.

Best Tips For Scoring
- I highly recommend the long fermentation in the fridge. Yes it takes a long time, but this is the best way to make the dough more firm making the scoring easier and prettier.
- To make the pattern stand out more, dust the top of the dough with a bit of flour.
- Use a razor. A knife will just not have the same results.
- Find pretty patterns online to try to replicate. I have a post on my go-to patterns here.
- Practice. It takes a lot of trial and error to figure out bread baking in general and how to create pretty designs, the right depth to cut, etc.
Bakers Timeline For No-Knead Sourdough Bread
9 pm: Feed sourdough starter with flour and water.
8 am the next day: If the sourdough starter is mature, then proceed to creating the dough.
Combine ingredients together. Rest for 30 minutes.
Cover with a damp towel or plastic wrap. Rest for 30 minutes.
8:30 am: Stretch and fold.
3 stretch and folds – every 30 minutes
Cover with a wet towel or plastic wrap and allow the dough to bulk ferment until doubled.
Anywhere from 4:00 pm to 10 pm: Shape dough.
Sit out 15-20 minutes, uncovered.
Turn over and shape.
Transfer to a floured banneton basket or bowl with tea towel and cover with plastic. Place in the refrigerator for 12-15 hours.
The Next Day
9:00 am: Preheat the dutch oven on 500 for 1 hour.
10:00 am: Take dough out of the fridge, dust with flour, and score. Bake the sourdough bread and let it cool.
FAQ:
How do you make a sourdough starter?
Creating a sourdough starter is actually pretty simple. It is the process of mixing water and flour together and discarding for multiple days until yeasts in the environment are captured and the flour bubbles. You can find the tutorial on how to make a sourdough starter here.
Is it necessary to knead sourdough?
Not necessarily. The act of kneading is supposed to help create gluten formation in the bread, which can then help create a good texture and air pockets in the bread. But no-knead sourdough bread uses a stretch and fold method to develop the gluten.
What flour is best for beginner sourdough?
All-purpose flour or bread flour are perfect for the beginner baking just getting into sourdough. These flours can be used to feed the starter and bake with.
What are three top tips when making sourdough starter?
- Give it time. It takes a while for a sourdough starter to mature enough to make bread. Eventually it will happen and it is totally worth it.
- Don’t give up. Even if it doesn’t look like there is a lot of activity going on, there is.
- It probably isn’t dead. Many times people come to me asking if their sourdough starter is dead because it has a black liquid on top, a hard crust, etc. But unless there is mold, it can probably be revived.
What do I need to start making sourdough?
There are a few baking essential that you will need to start:
Large bowl- one with a lid is even better
Measuring cups and spoons or a digital scale. Scales are more reliable and will give you more consistent results.
Dutch oven and/or loaf pans
Other tools that are optional, but helpful:
Banneton baskets or a proofing basket (can also use baskets or bowls lined with a tea towel)
Lame
Dough whisk
What is the secret to a good sourdough starter?
The secret to a good starter is to use it when it is active and bubbly, and at its peak. You can tell this by how it looks: has it about doubled in size, have nice bubbles, and does it float when a small amount is placed in a glass of water?
Why is sourdough difficult to make?
Sourdough is not really that difficult to make, it just takes longer and has more variability compared to bread made with commercial yeast. While a dough made with active dry yeasts typically rise 1 1/2 to two hours during the bulk rise. A simple sourdough bread may take 8-12 hours.
Find More Sourdough Bread Recipes:
- Bread Machine Sourdough Bread
- Cheese Jalapeño Sourdough Bread
- Sourdough Potato Bread
- Rosemary Sourdough Bread
- Sourdough Sandwich Bread
If you try this recipe and love it, I would love it if you gave it 5 stars! Thank you! Tag me on Instagram @farmhouseonboone.
Beginners Sourdough Bread
Ingredients
- 475 grams all-purpose flour, 3 1/2 cups
- 100 grams starter, active and bubbly (1/2 cup)
- 325 grams water, 1 1/3 cups
- 10 grams salt, 2 teaspoons
Instructions
- Feed a sourdough starter 4-12 hours before starting the dough, ensuring it is active and bubbly.
- Combine warm water, active starter, salt, and flour with a wooden spoon or even just your hands in a large mixing bowl.
- Cover with plastic wrap or a lid and allow to rest for 30 minutes for the water to hydrate the flour.
Stretch And Fold
- Grab the edge of the dough and pull up stretching it out as you pull upwards. This may be difficult and you may need to kind of bounce the dough to get it to stretch. Place dough that is in your hands back into the center. Turn the bowl about a quarter turn and complete another stretch and fold. Repeat two more times. This is considered one round.
- Thirty minutes later, complete another round of stretch and folds. Cover and allow the dough to rest another 30 minutes.
- Complete one last stretch and fold round.
- Cover with a lid, damp towel, or plastic wrap. Let the dough bulk ferment in a warm place until it has doubled in size. This could be anywhere from 6-12 hours (or longer) depending on the temperature of your kitchen, maturity of your starter, etc. Be careful not to let it over ferment.
Shape
- Place the dough on a clean work surface that has been lightly dusted with flour. Fold the dough onto itself and roll up. Then shape into a ball by gently spinning it toward you.
- Optional – Let the dough sit out for 15-20 minutes uncovered. This prevents the dough from sticking to the tea towel during the overnight rise.
- Turn over and shape. I do this by folding the two sides over to meet in the middle, pinch together and then repeat on the other two sides. This creates surface tension which helps give it more oven spring (a good rise).
- Transfer to a floured banneton or bowl with a floured tea towel (typically floured with rice flour, this is not necessary and all-purpose will work just fine) seam side up.
- Cover with plastic or place in a plastic bag and tie the ends. Let the dough rest for 12-15 hours in the refrigerator. You can also let the bread rise at room temperature for 3-4 hours. I like using the longer rise time in the refrigerator because it is easier to score and feel like the oven spring is better.
Bake
- Preheat a dutch oven to 500 degrees for 1 hour.
- Remove dough from the fridge right before baking. Place dough on a piece of parchment paper.
- Dust with flour, if desired, and score with lame or razor blade. I like to do one large score (called an expansion score) and then a cute design for the other score.
- Carefully, transfer the piece of parchment paper with the dough into the hot dutch oven. Careful not to burn your fingers.
- Place the lid back on and place the dutch oven into the hot oven. Bake for 20 minutes.
- Remove the lid with oven mitts, turn the oven temperature down to 475, and bake an additional 15-25 minutes or until golden brown.
Notes
- You will need a very active sourdough starter that passes the float test. Check out how to make your own sourdough starter and how to care for one here.
- The dough may seem dry when it is first coming together. Resist adding more water. Use wet hands during the stretching and folding if the dough is too sticky.
- The amount of time it takes for your dough to double can be determined by many environmental factors, such as the temperature in your home, the maturity of your starter, and the hydration status of the loaf.
- The most accurate way to create consistent results is by using a kitchen scale. I've included both gram measurements and cup measurements in the recipe.
Nutrition
Nutrition information is automatically calculated, so should only be used as an approximation.


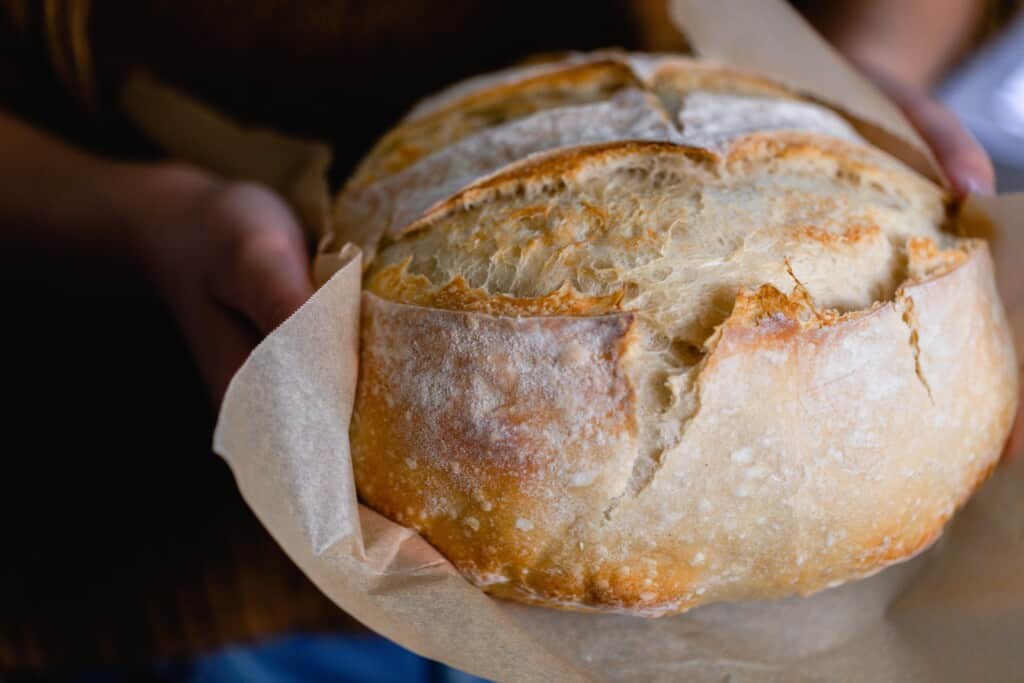
My daughter cautioned me not to cut into a loaf of sourdough bread until it is completely cool. Could you speak to this. I could not find info about this on your site. Thank you!!
Yes, it is best to wait until your loaf is cool before slicing into if you can. If you slice into it too early, it can cause the texture to become gummy.
I tried this recipe , I am. Rey new at this. I I have a starter, actually four hoping one will work, lol. So yesterday I made bread by this recipe. It’s now in the oven but after stretching the last time and letting it rise it didn’t rise much. I tried to fold it several times but it was not so firm , not wet but not as firm. So I couldn’t pinch it. I just put it in the Banneton and plastic in the refrigerator overnight. I scored it this morning and put it in oven forgetting to heat my pan with lid . I’ll not make these mistakes again! But why do you think it wasn’t mor firm dough ? Thank you
Hoping it turns out better next time! Sourdough is going to be a wetter dough than your average yeast bread. You also may have not let it rise long enough. How long did you let it bulk ferment?
Can this recipe be made in something other than a Dutch oven?
Yes technically it could be made on say a baking sheet, but you will want to spray the top with water and add ice cubs to a small pan under the baking sheet while baking. The steam will create the crusty crust.
At what point would I add in like cheddar and jalapeños?
During the second stretch and fold. I have a recipe for that bread: https://www.farmhouseonboone.com/jalapeno-cheddar-sourdough-bread
So I followed the recipe, exactly. My dough looked beautiful when I put it into the refrigerator. After I took it out, it had fallen from the size that it was before. In a case like that what do I do? Do I let it warm up and rise a little in The kitchen? Or do I just shape it and put it in the Dutch oven after it has risen a bit more? Or do I just put it in the hot Dutch oven cold anyway?
A lot of times I feel like my dough doesn’t look like is rose much or at all. I put it straight into the oven and then it still bakes well and rises. You put it straight from the refrigerator to the preheated dutch oven. Did you try baking it yet?
I’ve been looking through the comments and this is very similar to my experience. I baked it from the fridge after scoring, and it rose in the oven well, but when I sliced it the bread was dense. Why is that? I did leave it in the fridge for almost 24 hours.
It could be due to your starter. Sometimes if your starter isn’t very strong or active, it can make the bread more dense. Also, if you over mix it, that will cause a denser loaf.
Thank you for your reply 😊 how can I make sure my starter is active? Is that the water test? Do you have a video of that?
Also, how can I make it stronger?
Thank you!
I’m having issues my baking of the sourdough bread. I’ve over fermented, I think I gotcha on that. But I have an antique cast iron Dutch oven. Each time I’ve baked a loaf it has been very hard, almost burnt. The outside is very hard as well. I’ve adjusted how long I preheat it and how long I’ve baked it. I have not tried ice.
Any advice appreciated.
Have you tried baking it at a slightly lower temperature? Maybe 450? It gets the most crusty once the lid is off.
first time attempting to make bread. Your website made the process very straightforward and I am really pleased with the result. Lots of things to try now..thank you!
Congrats on your first bread loaf! Thanks for sharing!
This is the second bread I have tried. From another recipe the second loaf was OK but I wanted to try a different method. I thought I had the correct portions, even weighed my ingredients. My starter is good, bubbly and doubling every day. My dough seemed too wet, and did not raise. I went ahead and cooked it anyway. Unfortunately is is gooey, hard and destined for the trash! Not sure where I went wrong but starting to feel like a sourdough failure! LOL! So much time and so little good outcomes! 🙁
I’m so sorry. It’s annoying when things don’t work out. Sourdough baking is tricky because it can depend on so many factors: the hydration of your starter, how mature your starter is, the humidity/environment, elevation, etc. Sometimes it can take a new starter a month before it is really ready for bread. If the dough is too wet, you may need to add a little flour. Also, you can totally make croutons out of failed bread so it doesn’t feel like a total waste.
Followed you for a grand success!! After several weeks of intense study your recipe pulled it all together. Finally toast for breakfast. Got the process, got the timing. Now it’s practice, practice, practice.
Yay! That is such a great feeling. Congrats.
What size is your dutch oven? The 2 times I’ve made this recipe (double recipe both times) the dough seems squished and doesn’t produce the nicest looking loaf. I think it’s a space issue.
I have several different ones, but my favorite one to bake in is 7 quart.