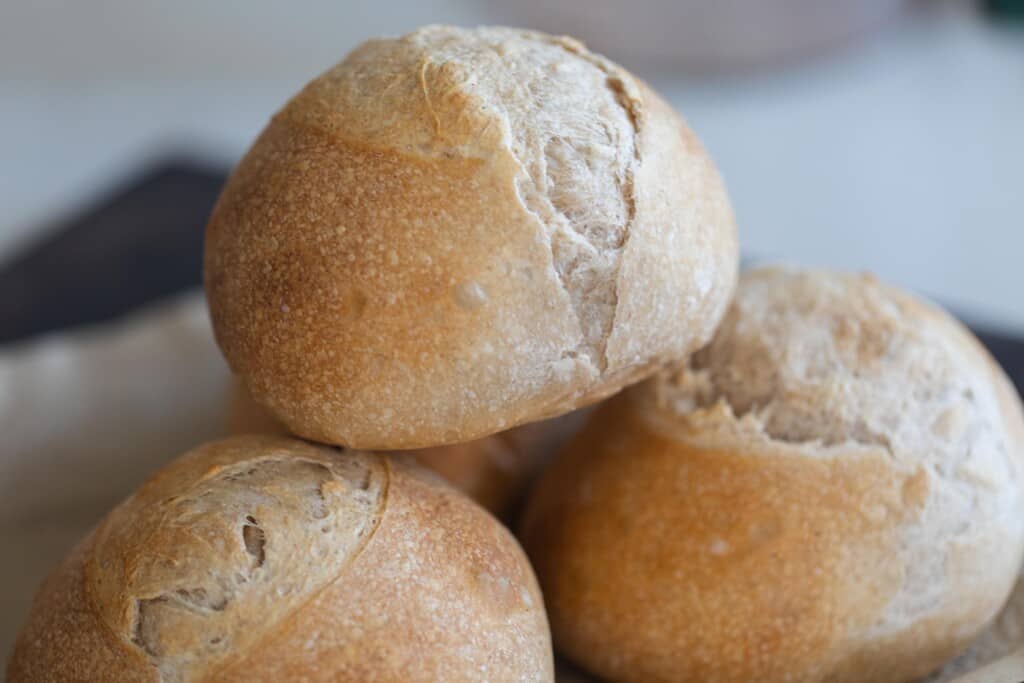
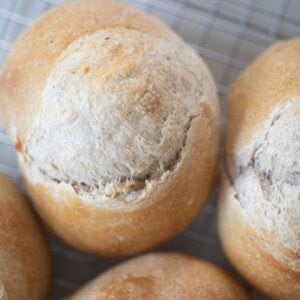
Have you ever wanted to make sourdough mini loaves or bake multiple sourdough loaves at once? This small batch sourdough bread recipe is for you! Learn how to make four perfectly sized sourdough boules at once.
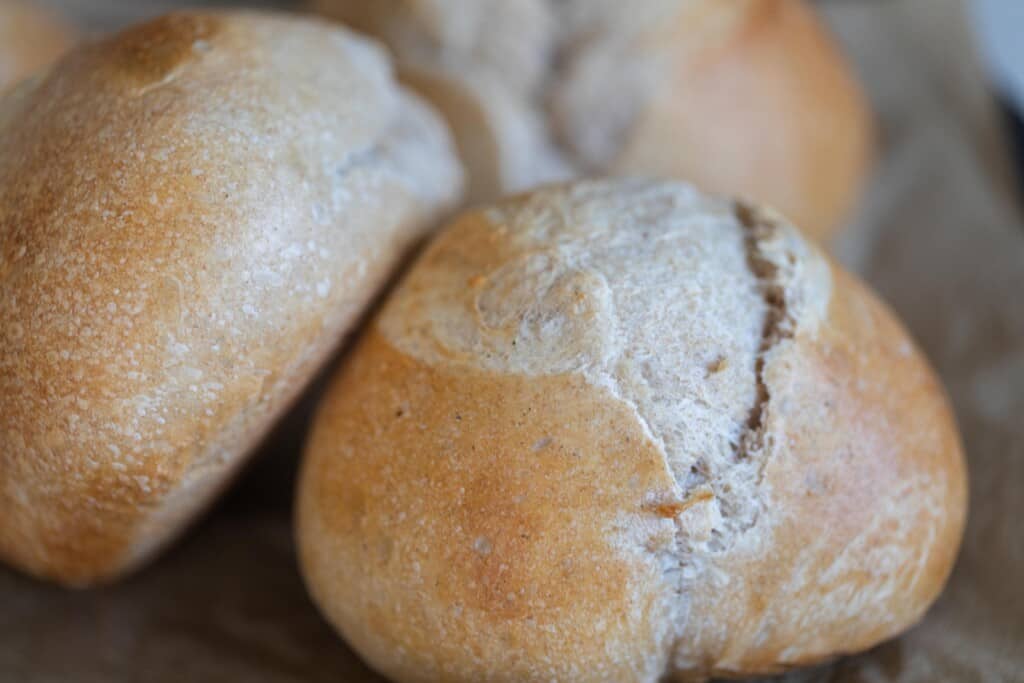
Last year, I shared my recipe for sourdough bread bowls. I made these again recently as requested by my son for his birthday, and it got me thinking how easily that recipe could be adjusted for a small batch sourdough recipe!
Mini loaves are the perfect bread for anyone without a dutch oven or who can’t finish a whole loaf before it goes stale.
You can give these away as gifts or freeze the loaves to have on hand when needed.
There are so many reasons why you may want to make a few smaller boules rather than one regular sized loaf, but for us, the best part about these mini loaves is how perfect they are for making sandwiches!
Why You’ll Love This Recipe
Less waste – If you are the only one in your house who enjoys a slice of sourdough bread, this is a great option to ensure your loaf doesn’t go stale before you can finish it.
Makes a great gift – Whether it is for Christmas presents or a just because gift, this is an easy way to make multiple loaves at once to give to friends and family.
Perfect for sandwiches – I typically cut my regular slices of sourdough bread in half to make sandwiches. These mini loaves make the perfect size for delicious sandwiches!
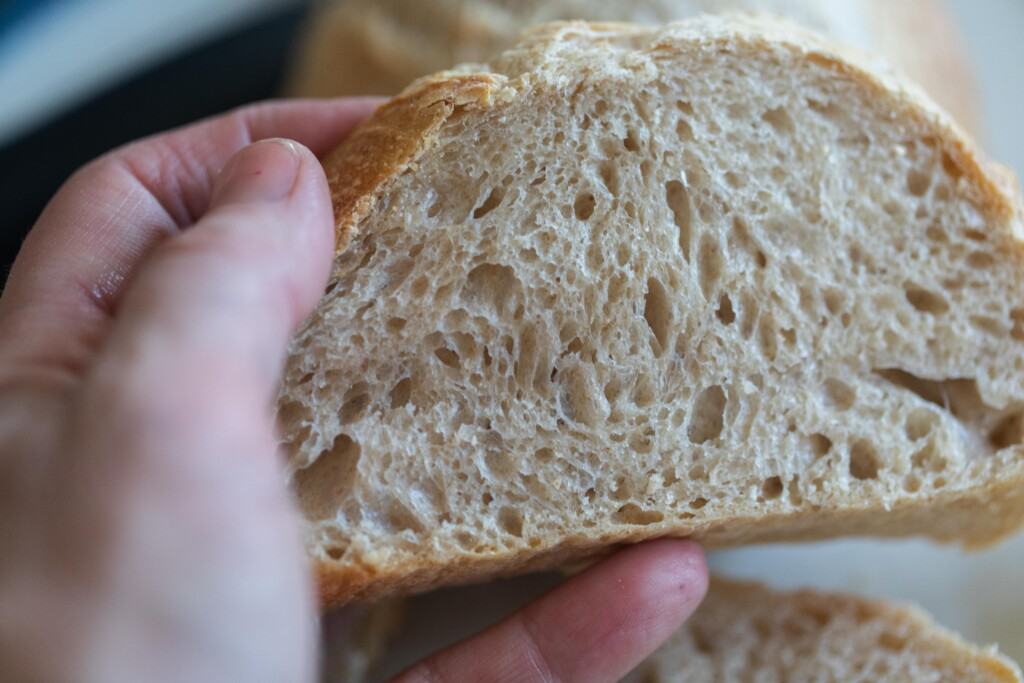
Tips for Success
- In order to get the perfect loaf with a crusty exterior, you have to create a lot of steam. For this recipe, you do not use a dutch oven since you are making multiple loaves at a time. Instead, you can place towels in a baking dish and add boiling water into the dish (be careful), add pie weights in a cast iron skillet with cold water, or fill up a small baking dish with water and place in the oven during the preheat and first 15 minutes of baking, or just spray water into the oven with a spray bottle.
- For the best results, make sure your starter is nice and active. Learn how to make a sourdough starter here.
- This recipe makes 4 mini sourdough loaves. You can also double the recipe or adjust as needed to make the amount you desire.
This post contains affiliate links, which means I make a small commission at no extra cost to you. See my full disclosure here.
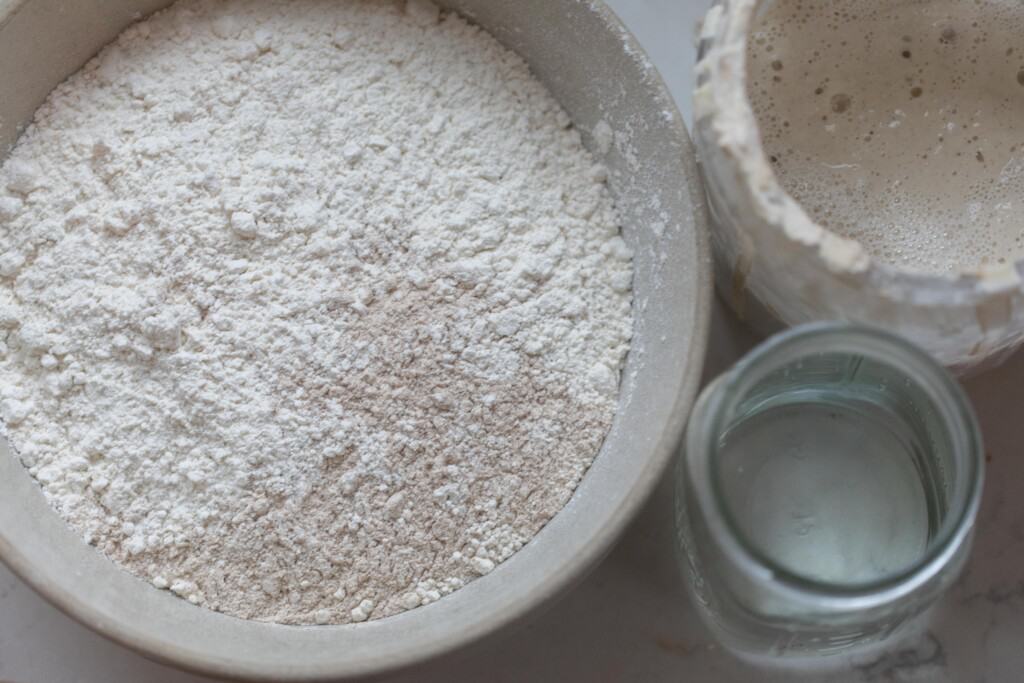
Ingredients
Unbleached all purpose flour
Whole wheat flour
Bread flour – I find this is the best mix of flours, but you can also substitute more all purpose flour here if you do not have bread flour.
Active sourdough starter – You want your starter to be at its peak, meaning it has been feed in the last 4-12 hours and has doubled in size. It should pass the float test.
Water – Preferably filtered.
Salt – I prefer pink Himalayan salt or sea salt.
Tools you may need:
Kitchen scale – I like to use a digital kitchen scale like this one.
Bowls – I just used 4 small bowls and line them with tea towels.
Baking sheet
Parchment paper
FAQ
Do you really need a Dutch oven for sourdough?
Nope! Just like this recipe, there are other ways you can make sourdough bread without a dutch oven. You can use a cookie sheet like I do here with other recipes. Since this method doesn’t have a way to cover your loaves like a dutch oven lid, you must create steam another way.
You can also bake your sourdough bread in a loaf pan. I would suggest following the baking instructions for my sandwich bread here if you choose to go that route!
Can I bake my sourdough bread on a cookie sheet?
Yes! That’s exactly what I use for this recipe and my sourdough bread bowls. The key is to create steam to make sure you still end up with a crusty exterior.
You can do this by placing towels in a baking dish and adding boiling water into the dish (be careful), adding pie weights in a cast iron skillet with cold water, or filling up a small baking dish with water and placing it in the oven during the preheat and first 15 minutes of baking, or just spray water into the oven with a spray bottle.
Why would you want to make a mini sourdough loaf?
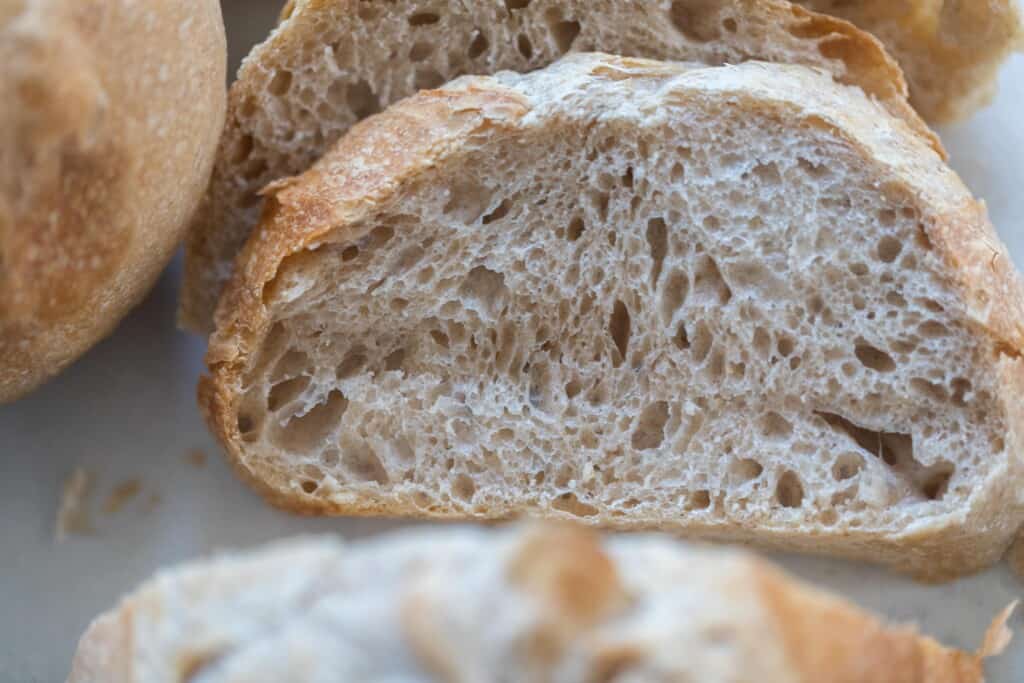
There are a lot of reasons! First, they make the perfect sized piece for sandwiches or toast when sliced, whereas a normal sized loaf I cut it in half before cutting it in slices. They are also great if you find you can’t finish a regular sized loaf before it goes stale.
How to make mini sourdough loaves
Feed your sourdough starter 4-12 hours before you plan to make your mini loaves and make sure it passes the float test.
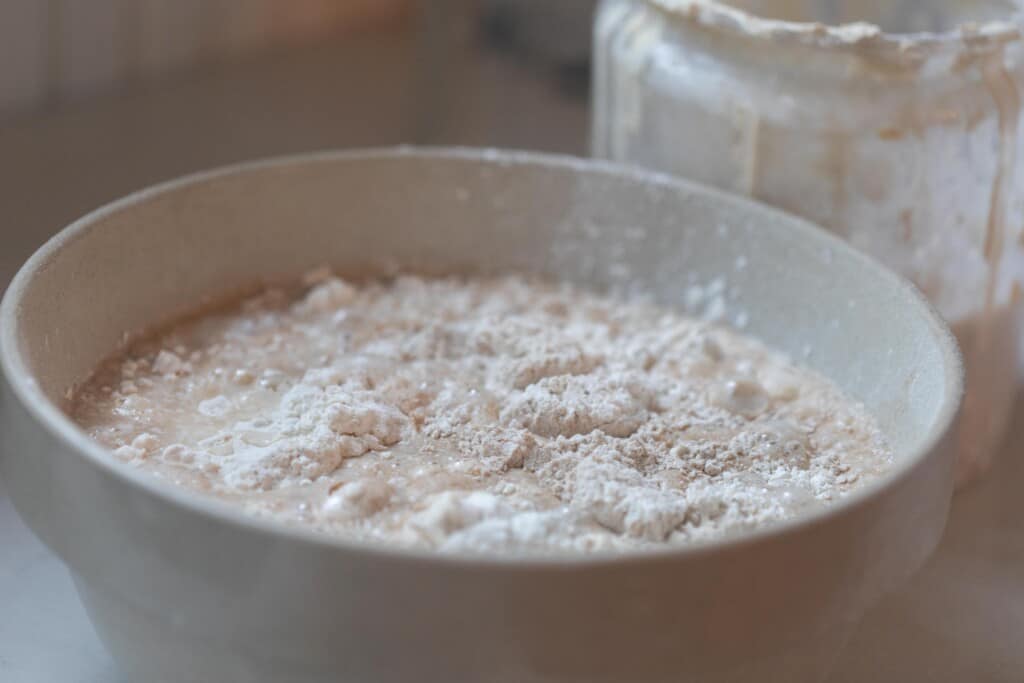
Combine warm water, flour, active sourdough starter and salt in a large bowl. Mix the dough with your hands for about 5 minutes to bring the dough together.
Let it rest for about 30 minutes, covered with plastic wrap or a damp kitchen towel. This allows the water to hydrate the flour, a process known as autolyse.
Stretch And Fold
For this recipe, you’ll want to do 6 rounds total of stretching and folding for optimal gluten development and to ensure a nice rise.
While the dough is in the bowl, grab the edge and the dough firmly and pull up, stretching it upwards and gently shaking it. Then place the dough that is in your hands into the center. Turn the bowl about a quarter turn and do this process again, and again one to two more times. This is one round. If your fingers are sticking to the dough, wet hands with a little water.
First 3 stretch and folds – every 15 minutes.
Last 3 stretch and folds – every 30 minutes.
Don’t worry if you don’t get your stretch and folds in right at the 15 and 30 minute marks. If I am able to get six stretch and folds within a two hour period, I call it good!
Bulk Fermentation
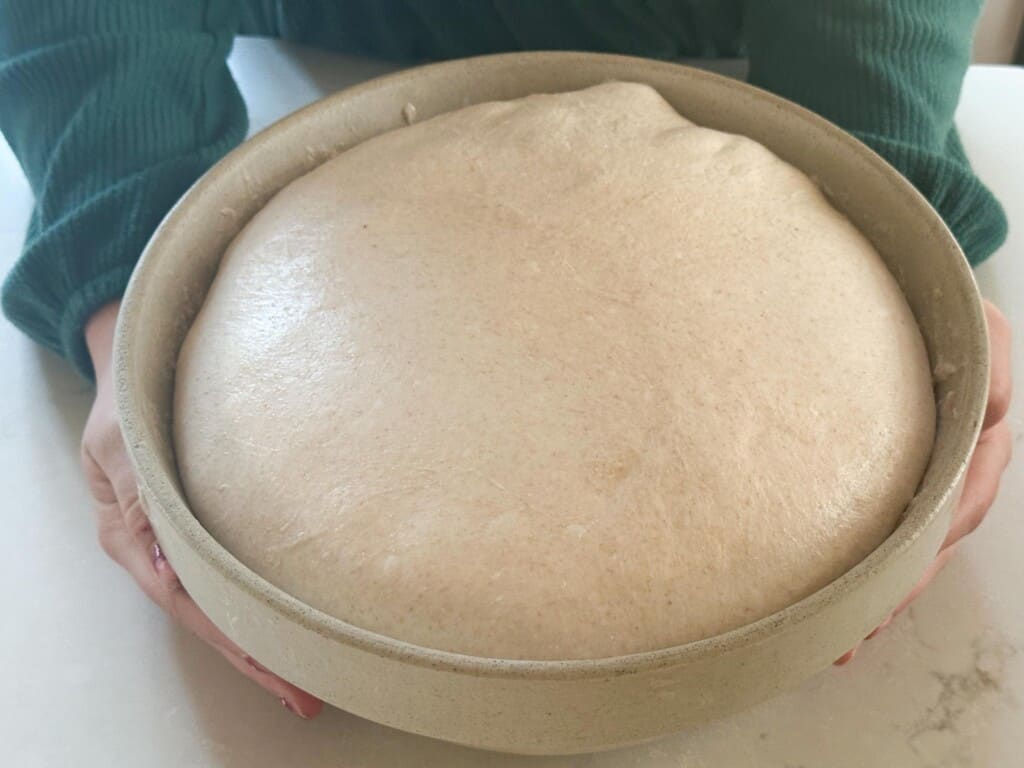
Cover with a wet towel, lid, or plastic wrap and allow the dough to bulk-ferment (also known as bulk rise) until doubled.
Shape
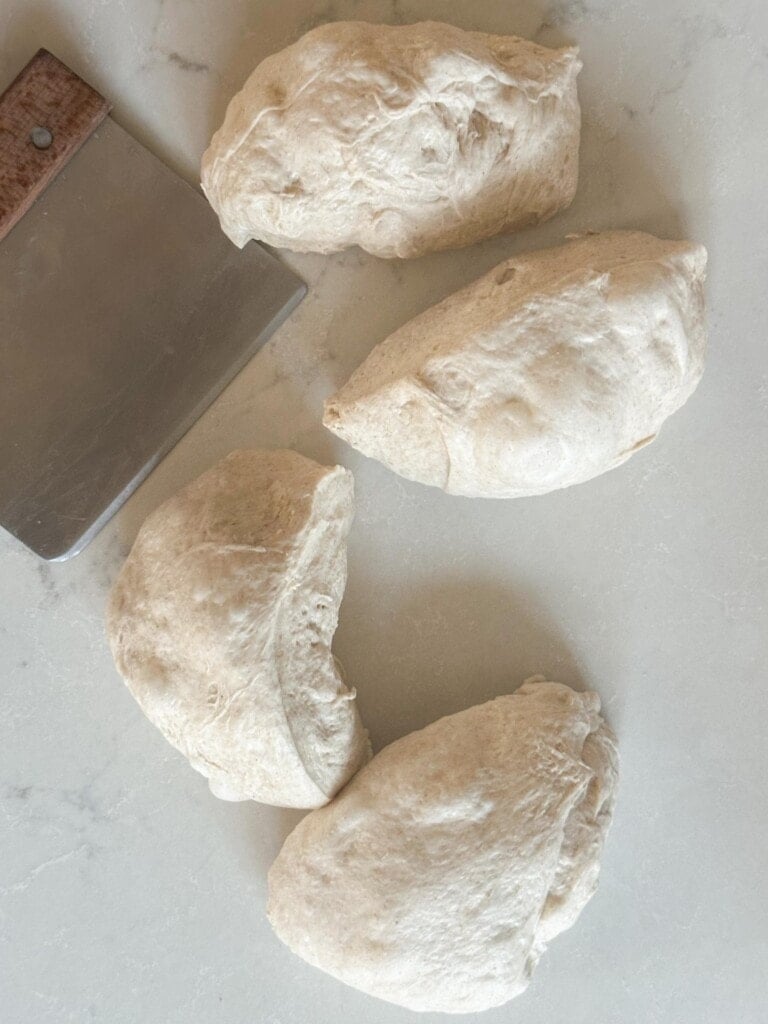
On a floured surface, split the ball of dough into 4 equal portions. I find it easiest to use a bench scraper for this.
Shape into balls by gently spinning it toward you. This adds tension to the dough which helps it rise.
Let the dough rest 15-20 minutes uncovered. This allows the surface to develop a skin, so that it doesn’t stick to the tea towel during the overnight rise.
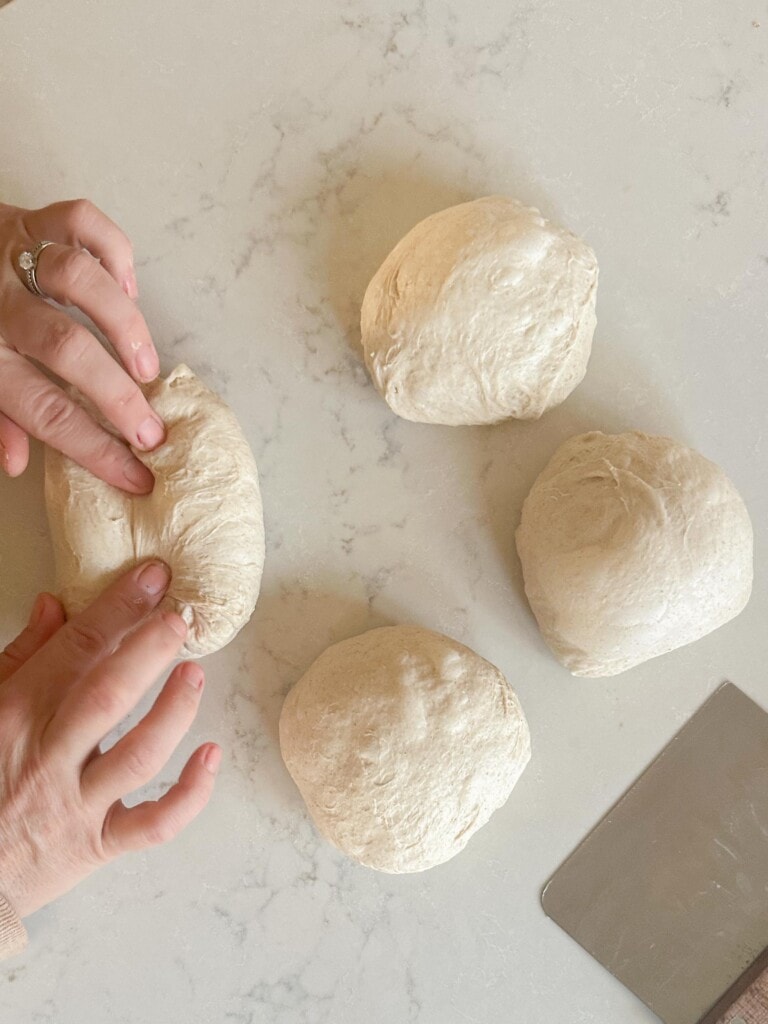
Turn over and shape. I do this by folding the two sides over to meet in the middle, and then the other two sides.
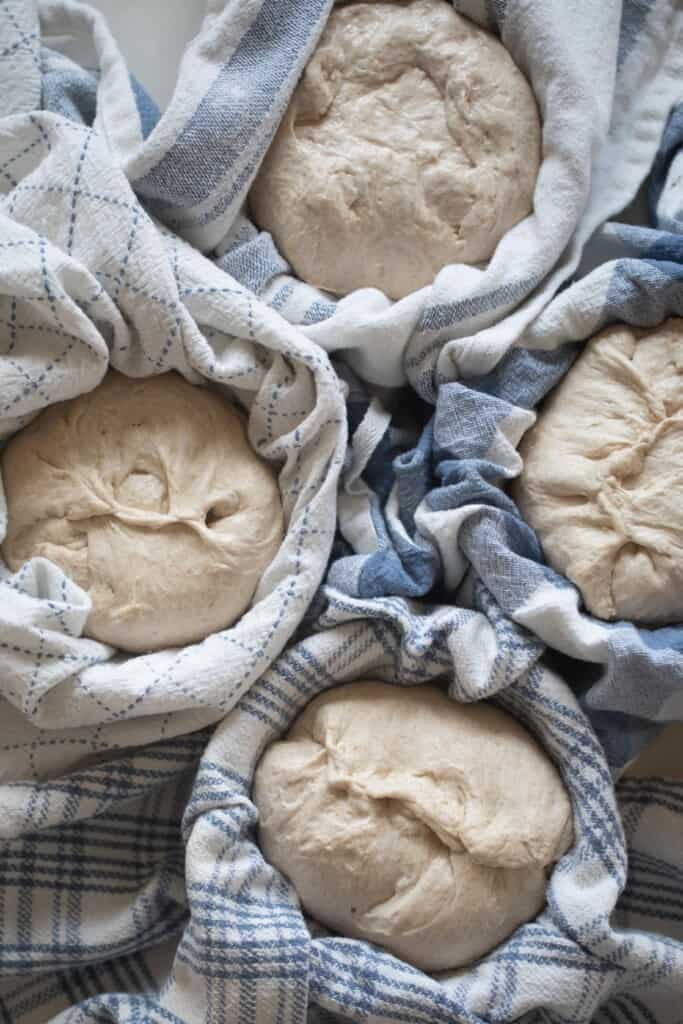
Transfer the dough to 4 floured bowls with tea towels, seam side up.
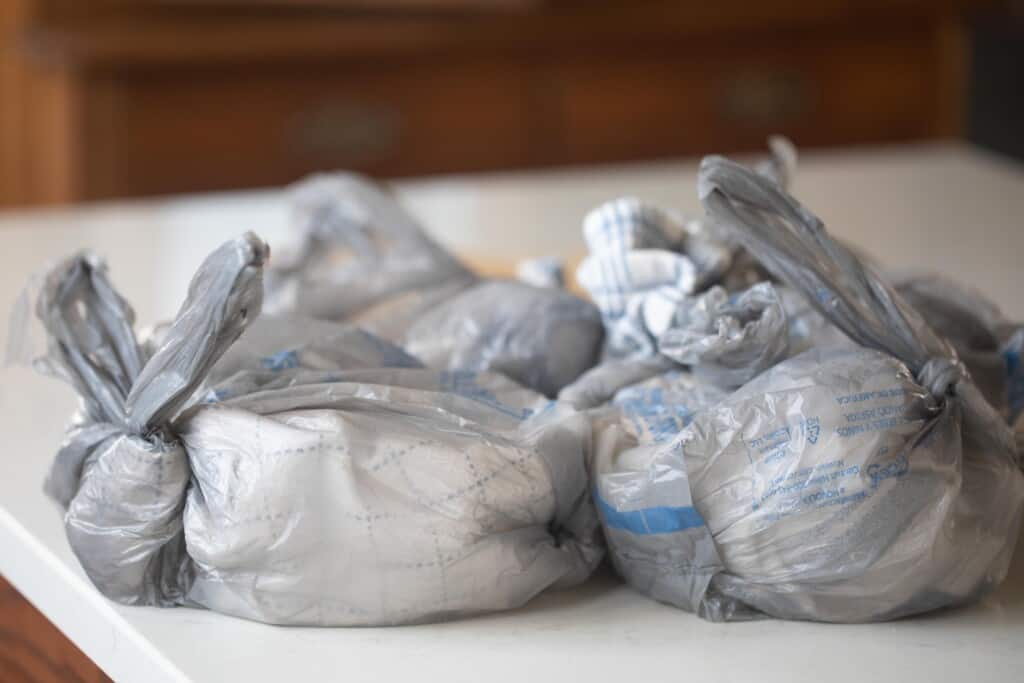
Cover with plastic and do the final proof in the fridge for 12-15 hours.
Bake
The next morning, preheat the oven to 500 degrees.
Place a baking dish with rolled up dish towels on the bottom rack. Make sure to be extra cautious on this step. You don’t want the tea towel to be hanging out of the dish, or they may burn. Alternatively, you can use a cast iron skillet with pie weights.
You will want to do this to create steam, which gives your sourdough boules that signature crusty exterior.
Right before you are ready to bake, remove your cold dough from the fridge.
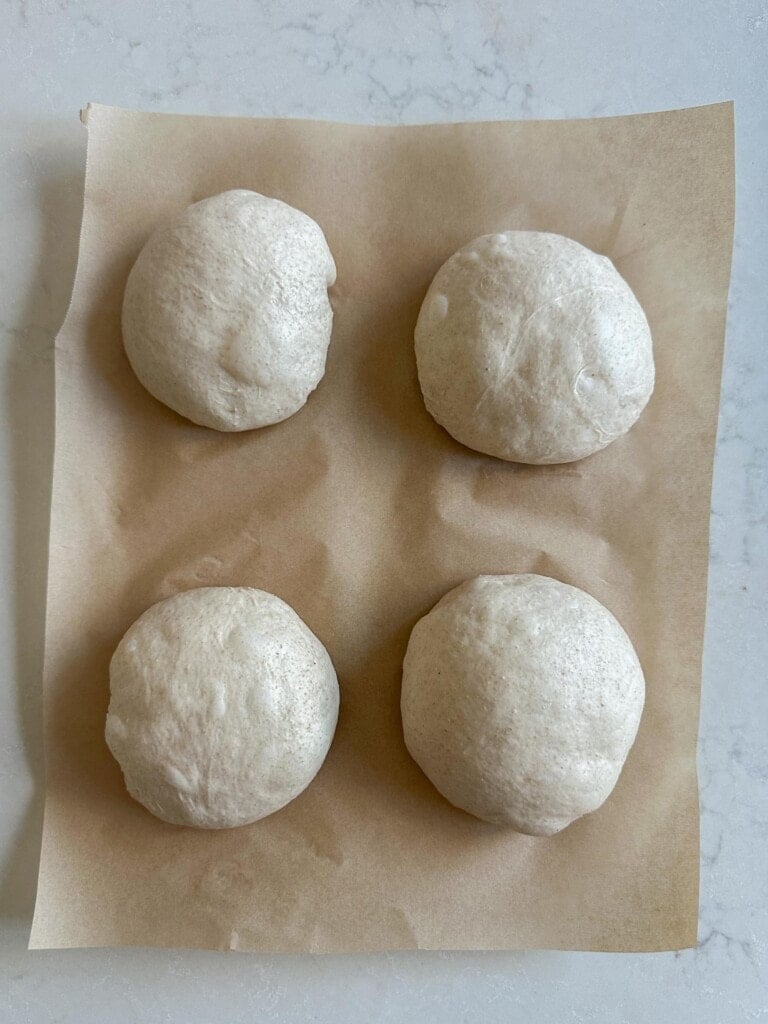
Place each mini loaf on a parchment lined cookie sheet, seam side down.
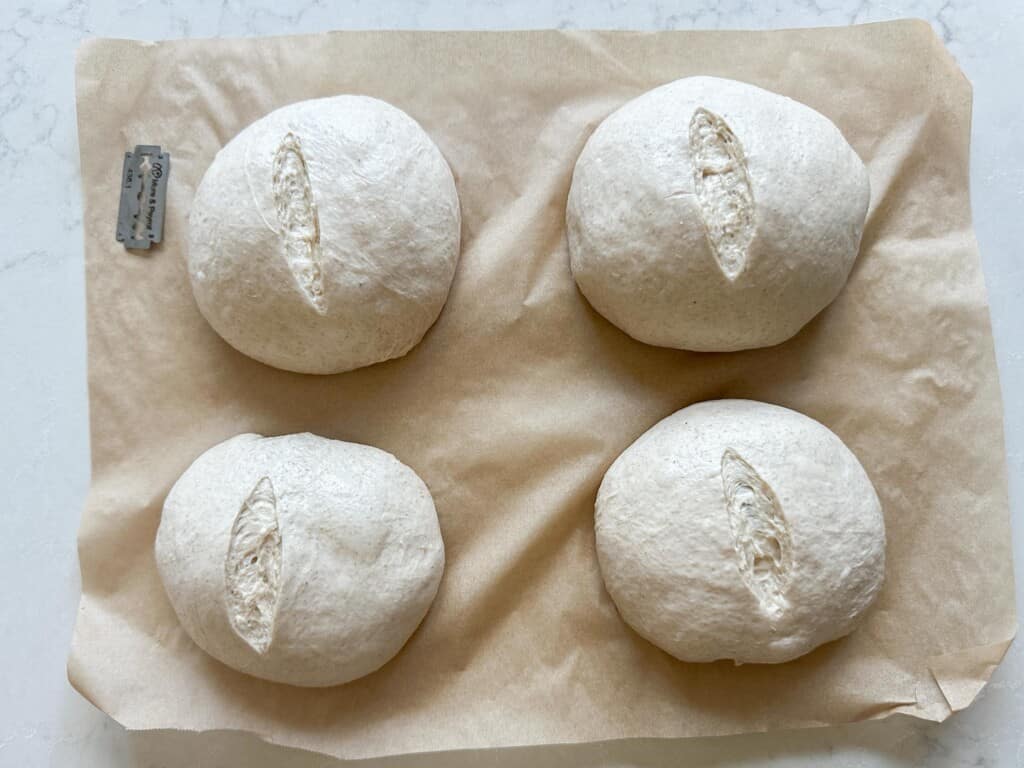
Score each loaf using a razor.
Place the baking sheet in the oven.
If using the dish towel method, carefully pour boiling water over the baking dish with towels and place in the oven. If using the cast iron skillet method, add cold water to the pie weights in the skillet.
You can also simply spritz the dough with water a few times during baking.
Bake for 15 minutes at 500℉ then turn the oven down to 425℉ and bake for about 20 minutes.
Once removed from the oven, make sure your loaves of bread cool on a wire rack before slicing into them or storing.
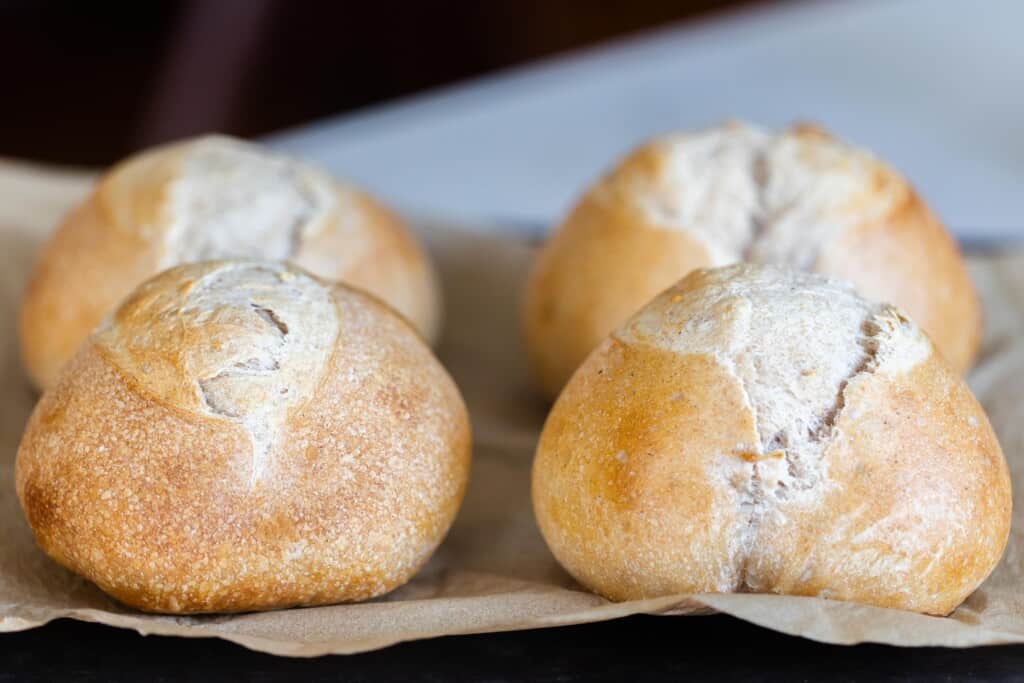
Quick Version of Mini Sourdough Loaves
If you are running short on time, you can skip the overnight fermentation in the fridge.
After the bulk ferment at room temperature, carefully divide the dough into 4 equal sized pieces.
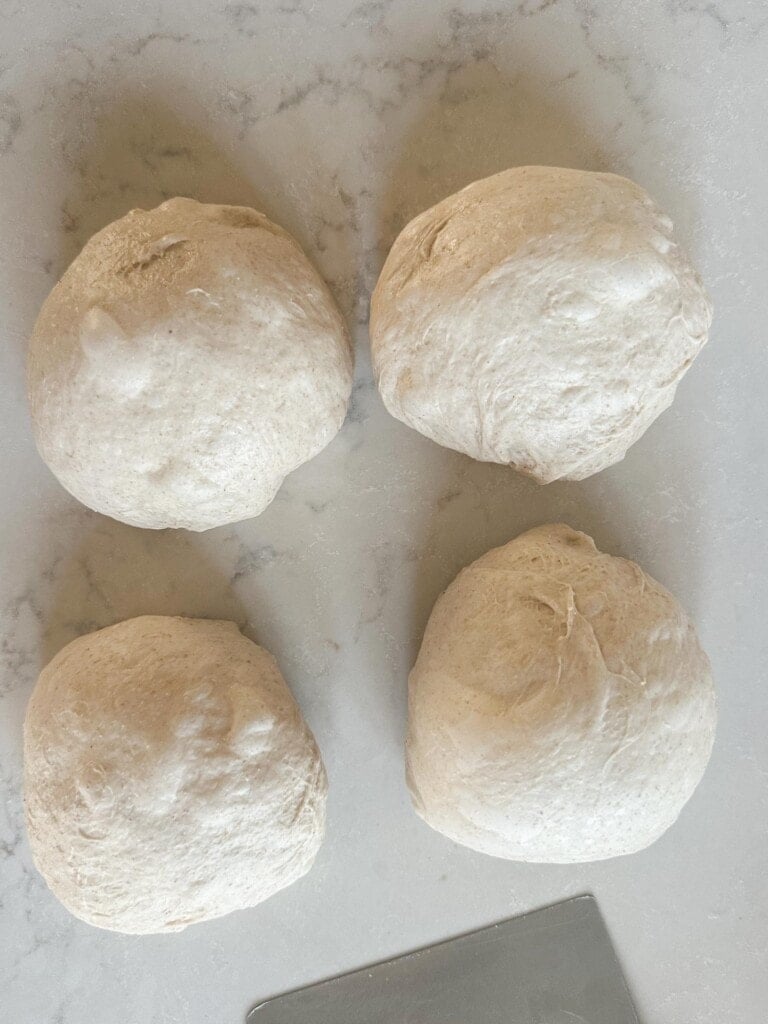
Shape your dough by gently spinning it toward you. Make sure to try not to deflate all the way. Put your mini boules on a parchment-lined cookie sheet and allow to rise at room temperature for about 1 to 3 hours. Score and bake according to the instructions above.
Bakers Timeline for Mini Sourdough Loaves
8 am: Feed your sourdough starter.
12 pm: If the sourdough starter is mature, then proceed to creating the dough.
Combine warm water, flour, active sourdough starter and salt in a large bowl. Mix the dough with your hands for about 5 minutes to bring the dough together. Allow to rest for 30 minutes.
12:30ish pm: Stretch and fold.
Cover with a wet towel or plastic wrap and allow the dough to bulk ferment in a warm spot until doubled.
8:00 pm (may be sooner or later): Split the dough into 4 equal sized pieces with a dough scraper. Shape your dough and allow each boule to sit out uncovered for about 15-20 minutes.
Turn over and shape.
8:30 pm: Transfer to floured baskets with a tea towel and cover with plastic. Place in the refrigerator for 12-15 hours.
Alternatively, you can skip the fridge time, score your boules and bake right away.
The Next Day
9:00 am or even as late as 4 pm to be ready for dinner: Preheat the oven to 500.
Take dough out of the fridge, place on a parchment lined baking sheet, dust with flour, and score with a razor blade.
10:00 am: Bake your mini loaves.
Wait until the loaves cool before slicing or storing.
More of my favorite farmhouse sourdough bread recipes
- Artisan Sourdough Bread
- Sourdough Bread Bowls
- Sourdough Cranberry Walnut Bread
- No Knead Sourdough Bread
- Sourdough Sandwich Bread
If you try this recipe and love it, I would love if you gave it 5 stars! Also, tag me on Instagram @farmhouseonboone.
Mini Sourdough Loaves
Ingredients
- 250 grams unbleached all purpose
- 100 grams freshly ground whole wheat
- 125 grams bread flour, can omit and just add more to the unbleached all purpose
- 100 grams mature starter, active and bubbly
- 325 grams water
- 10 grams salt
Instructions
- Feed a sourdough starter 4-12 hours before starting the bread, ensuring it is active and bubbly.
- Combine warm water, flour, active sourdough starter and salt in a large bowl.
- Mix the dough with your hands for about 5 minutes to bring the dough together.
- Cover with a damp towel or plastic wrap while resting.Allow to rest for 30 minutes for the water to hydrate the flour.
- Stretch And Fold: To develop the gluten and obtain a nice rise, you will want to do 6 rounds of stretching and folding. While the dough is in the bowl, grab the edge and the dough firmly and pull up, stretching it upwards and gently shaking it . Then place the dough that is in your hands into the center. Turn the bowl about a quarter turn and do this process again, and again one to two more times. This is one round.
- First 3 stretch and folds – every 15 minutes. Last 3 stretch and folds – every 30 minutes.
- Cover with a wet towel, lid, or plastic wrap and allow the dough to bulk-ferment (also known as bulk rise) until doubled.
- Split the dough into 4 equal portions. Shape dough balls by gently spinning it toward you.
- Set out 15-20 minutes uncovered. Turn over and shape. I do this by folding the two sides over to meet in the middle, and then the other two sides.
- Transfer the dough to 4 floured bowls with tea towels, seam side up.
- Cover with plastic (I usually just use grocery bags) and proof for 12-15 hours in the refrigerator.
- Preheat the oven to 500 degrees.
- Place a baking dish with rolled up dish towels on the bottom rack. Or a cast iron skillet with pie weights.
- Remove dough from the fridge immediately before scoring and baking.
- Add parchment paper on a large cookie sheet and gently place sourdough bread bowl loafs on the pan seam side down.
- Score with a razor at the top of each dough boule. Place the baking sheet in the oven.
- Add boiling water to the baking dish with towels and place in the oven. Pour cold water into the cast iron skillet with pie weights, or just sprits the dough water.
- Bake for 15 minutes at 500 then turn the oven down to 425 and bake for about 20 minutes.Allow to cool.
Notes
- In order to get the perfect loaf with a crusty exterior, you have to create a lot of steam. For this recipe, you do not use a dutch oven since you are making multiple loaves at a time. Instead, you can place towels in a baking dish and add boiling water into the dish (be careful), add pie weights in a cast iron skillet with cold water, fill up a small baking dish with water in the oven during the preheat and first 15 minutes of baking, or just spray water into the oven with a spray bottle.
Nutrition
Nutrition information is automatically calculated, so should only be used as an approximation.



can you bake these mini loaves in a steam
oven? and what cooking instructions would you recommend?
I made your regular recipe and divided into three 5” bannetons. I cooked in Dutch ovens. I did 475 for 20 with lid on…not sure how long to do with lid off. I didn’t have success last time I did the ice cube in oven thing because it all melted and the cast iron was dry. Any tips?
Hello! I’m pretty excited about these little loaves! I divided the dough in half and just baked the first one in my lodge Dutch oven. I did 20 min @ 500* and 15 @425*. It looks so good! (I’m not one to normally be so positive about my own baking! lol)
Thank you Lisa!
I have actually split these measurements into two loaves not 4. What would you recommend for a cook time only split in 2? I was probably thinking 20 mins on 500 and 10-15 mins at 425?
Yes, that’s about right!
I have whole wheat flour but not freshly ground. What should I do?
You can just use whole wheat.
I just took my first boule out of the oven and GIRL
IT SMELLS SO GOOD IM SO EXCITEDDDD
I just activated more starter to so it again, all my neighbors are getting a boule.
Thank you!
Hannah Finley
I am trying the mini loaves for the first time. You mention in Notes to use baking dish with towels and boiling water, cast iron skillet pie weights with cold water or fill up a small baking dish with water during preheat and first 15 minutes. For all three options do you do have them in the oven during preheat and then 15 minutes of bake?
I have two questions. 1) how do I store the bread so it’s fresh? I plan to make mini loaves as Christmas gifts. 2) can this be made with a kitchen aid? I’d imagine it can since I make my regular loaves with one but still a newbie.
I like to store them in a breathable bag. There’s several brown bag options on amazon that would look great for Christmas gifts. Yes, they can be made with a kitchen aid.
Why do I have to wait for my starter to be at peak? Can I make this if my starter was fed yesterday, tripled, and has gone down but is still double? I’ve been feeding it everyday and it’s very active. I don’t understand why I have to use the starter at a certain time, why can’t i just use it anytime. No one ever really explains this plainly. Won’t it be eating the flour anyways? What’s the difference? Thanks p.s. I so appreciate your recipe slider because I only want to try and make one. It is a God-send.
It needs to be at peak to help your bread rise the most.