Fermented beets are a crunchy and delicious snack, a colorful and nutritious side dish, and a bright and easy topping for a variety of dishes. This method of preserving raw beets is a great way to enjoy these underrated root vegetables any time of year. Ingredients and tools are minimal, making this one of our favorite ways to incorporate them into our diet.
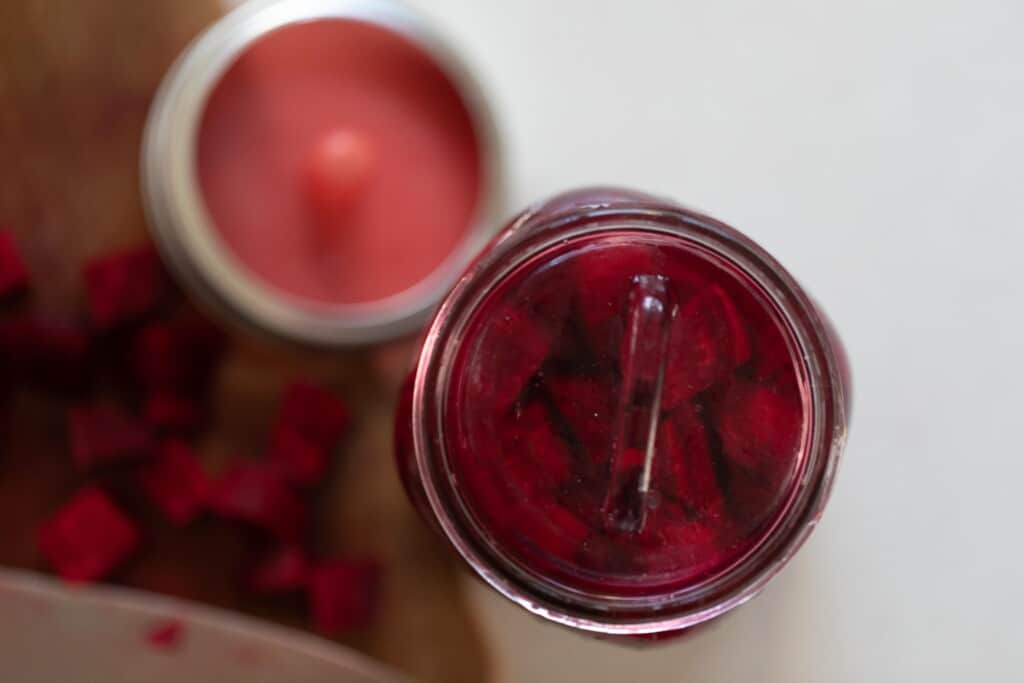
I know that most people wouldn’t list beets as their favorite vegetables. Honestly, most people wouldn’t buy, grow, or even attempt to feed beets to their children.
Which works out, because most children wouldn’t eat beets. This isn’t a jab at picky children, but this is me pointing out that this root vegetable has not always been represented well.
Canned beets? Frozen, then thawed, soggy beets? Can we blame the children for wanting to push these foreign, bland veggies to the edge of their plates?
But I really do love them. I haven’t always loved them, mind you. But now…
It must be something about their vibrant, rich hue, indicating vitamin richness and health that draws me. Or maybe it’s the crunchy, yet strangely smooth texture. Perhaps it’s the natural sweetness.
Whatever it is… dear friend, I’m here to try and change your mind if you’re not yet a fan.
Here I am, the weather has turned cold, the garden is preparing to rest for the winter months, and yet I still have beets that are thriving. We have so many, and I cannot allow them to go to waste.
But eating plain ol’ beets just for the sake of not wasting them is not my aim.
You know me by now. I love sourdough and fermentation and delicious things, and I love feeding my family nutritious, truly enjoyable food.
So forget about plain beets for now. Fermented is where it’s at.
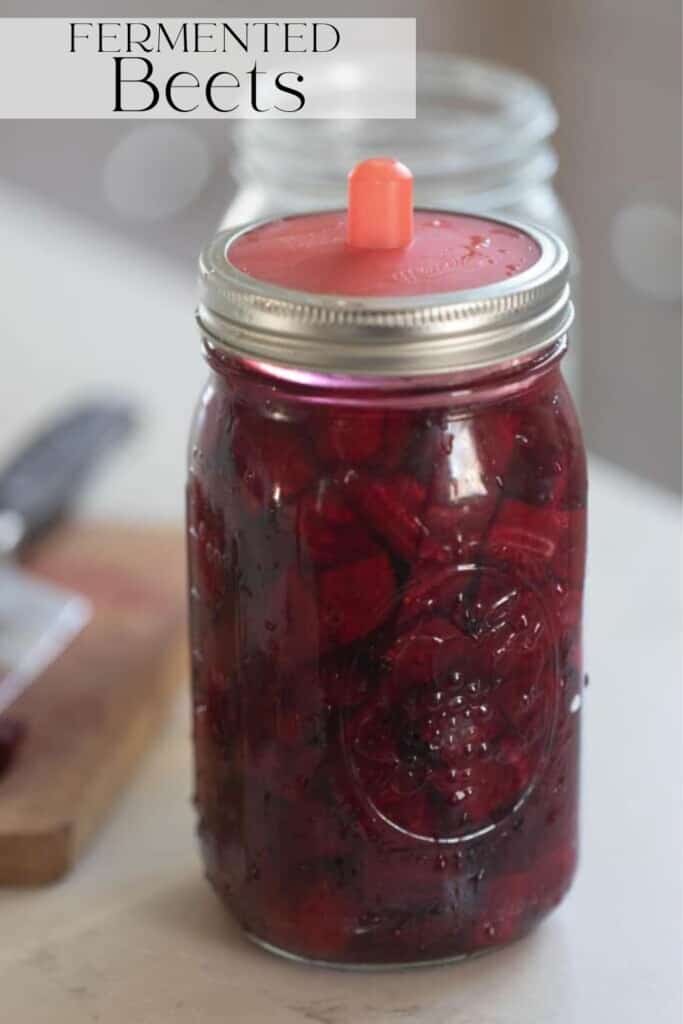
Why You Will Love This Recipe
Delicious: I will argue that this might be the best way to enjoy beets. Fermented beets are crunchy, flavorful, and fresh. They are customizable, as well, leaving the seasonings up to your discretion.
Time-friendly: Fermentation recipes tend to sound more time consuming than they really are. Fermenting beets is delightfully easy, simple enough for a first time ferment or to continue on a regular basis.
Healthy: They contain excellent levels of vitamin C (which is great for the immune system), manganese, and the B vitamin folate (hey, pregnant mommas!). They are also high in antioxidants and have anti-inflammatory properties, with recent studies showing consumption of beets to support heart health and healthy blood pressure (source).
Playing a role in all of these benefits are the gut-healthy probiotics provided by the fermentation process, really illuminating how fermented beets are truly the sweet spot for overall great taste, great immune support, and a healthy cardiovascular system. Who knew?!
Efficient: This is an economical way to use up your bounty of produce while costing next to nothing.
This post contains affiliate links, which means I make a small commission at no extra cost to you. See my full disclosure here.
Tips:
- Filtered water is important for maintaining the beneficial bacteria in a brine. Tap water contains chlorine which kills bacteria, the good and the bad, so it’s best to avoid using tap water. You can also boil tap water on the stovetop for 15 minutes. Be sure to let it cool before use, as hot water can kill the beneficial bacteria on the vegetables.
- Rinse your vegetables using filtered or unchlorinated water, as well.
- Pack those jars full! You want to maximize the jar capacity for the ferment.
- Cut the tops and bottoms off the beets to prep. You can peel the beets, but I find this step unnecessary. Also, don’t waste your beet greens! They are delicious sautéed in olive oil or butter.
- I use 1 tablespoon of salt for every 2 cups of water in this brine. So for this recipe, I’m using a quart jar and 2 tablespoons of salt. I’ve used the same recipe with larger ratios for fermented carrots, making a half gallon and using 4 tablespoons of salt.
- A quart jar packed with veggies takes a bit over 2 cups of brine, so I make a full quart of brine and save the extra brine in the fridge for the next ferment.
- The vegetables should be fully submerged in the brine. If any are are poking up above the brine, they can mold, ruining your whole batch.
- You can easily experiment with flavors! Add cloves of garlic and peppercorns, bay leaves, mustard seeds, or fresh dill, for a savory option. Fresh beets are naturally sweet, so you can complement that sweetness with cinnamon and cloves. Try adding hot peppers or chili flakes. There are so many options!
- If your brine develops a thin, filmy white layer on top, don’t be alarmed. This is called kahm yeast, and is harmless. Kahm yeast develops when the pH of the ferment drops from increased lactic acid and the sugars being used up. You can scrape it off and toss it.
- Your brine may appear cloudy until fermentation is achieved, at which point, the brine should be clear.
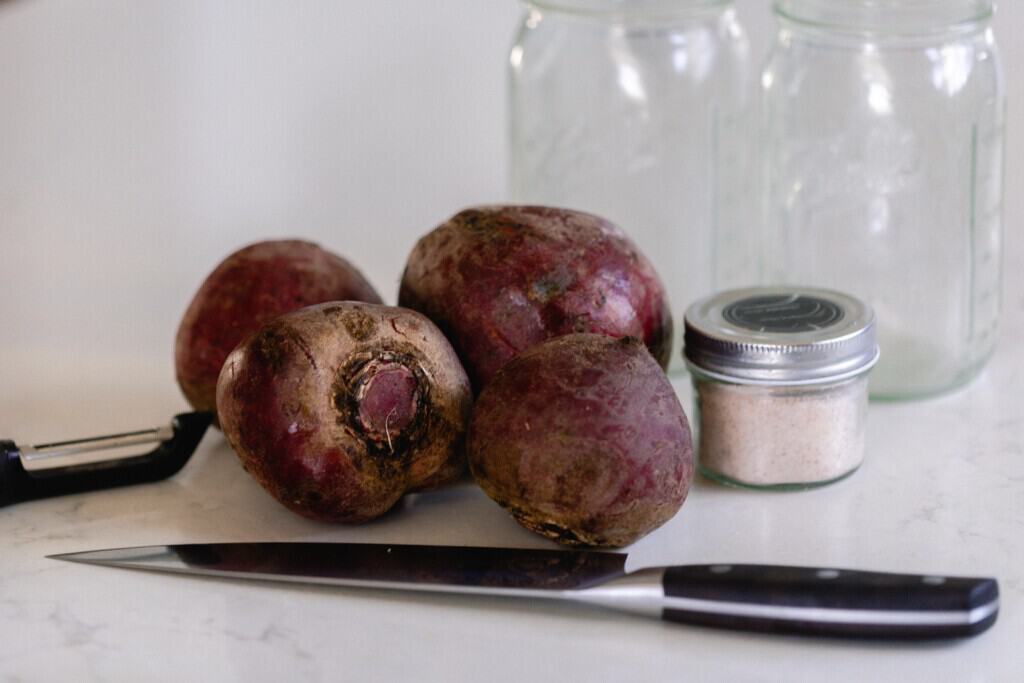
Ingredients
- 2 large beets (organic beets are best)
- 4 cups water, filtered
- Salt – Himalayan or sea salt (not iodized)
Tools You May Need
- Fermentation lids (A regular canning lid or other cover can work – see below.) Some people also use airlock lids, but I have never used them. My favorite silicone ones have been just fine.
- Fermentation weights – These are my favorite glass weights.
- Quart jars (one to hold prepared brine, one to fill with beets and brine) or a larger jar
- Water Filter (or a saucepan, if boiling tap water)
- Knife
- Cutting board
- Measuring spoons
- Measuring cups
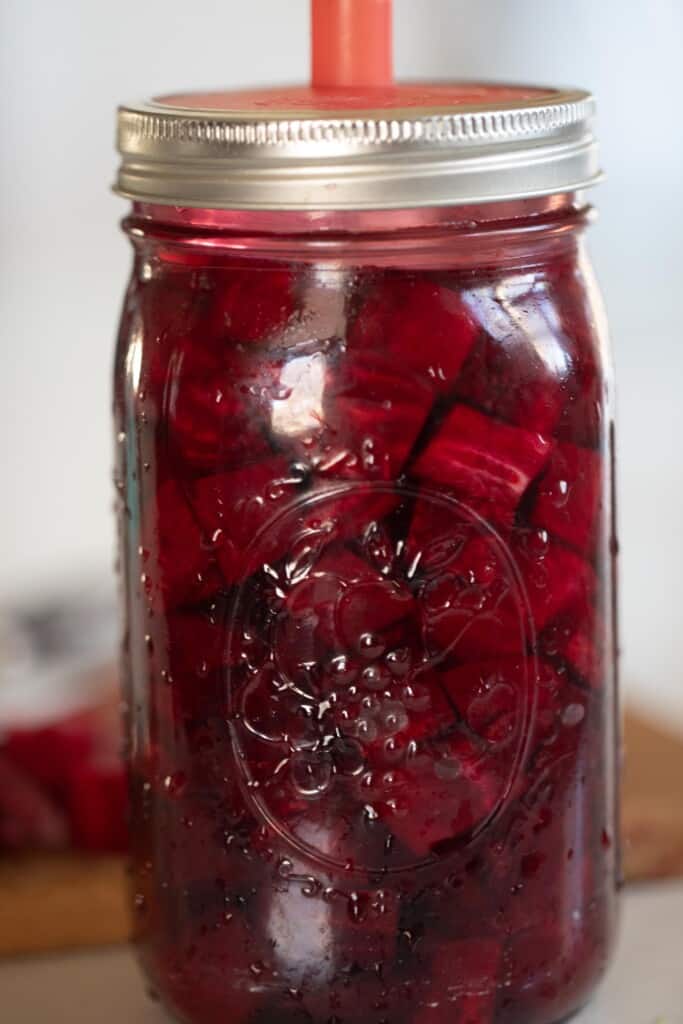
How To Make Fermented Beets
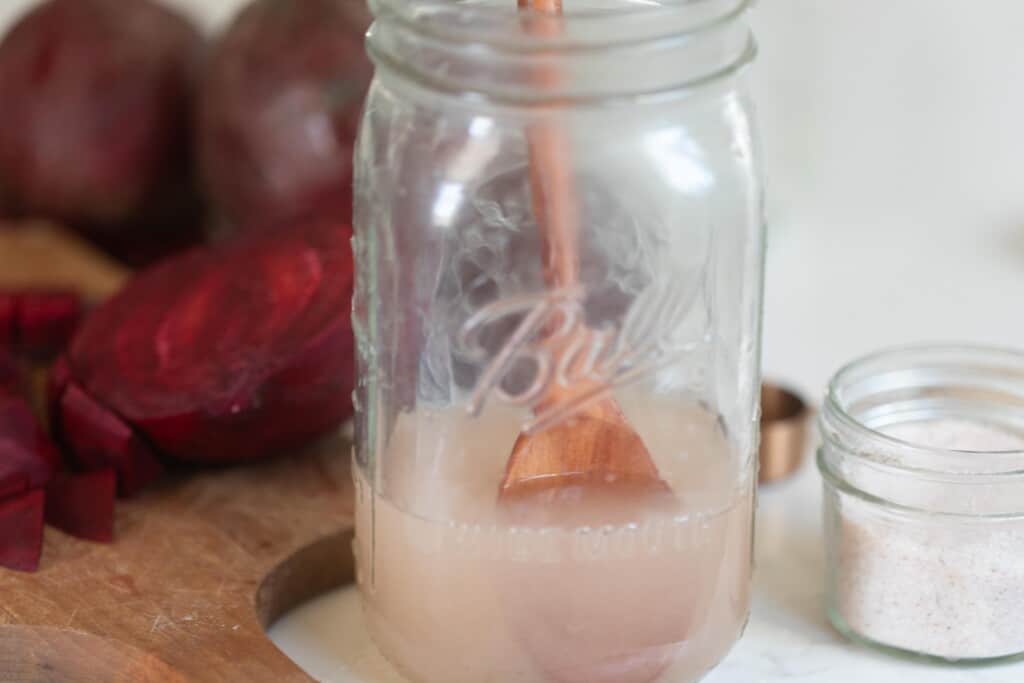
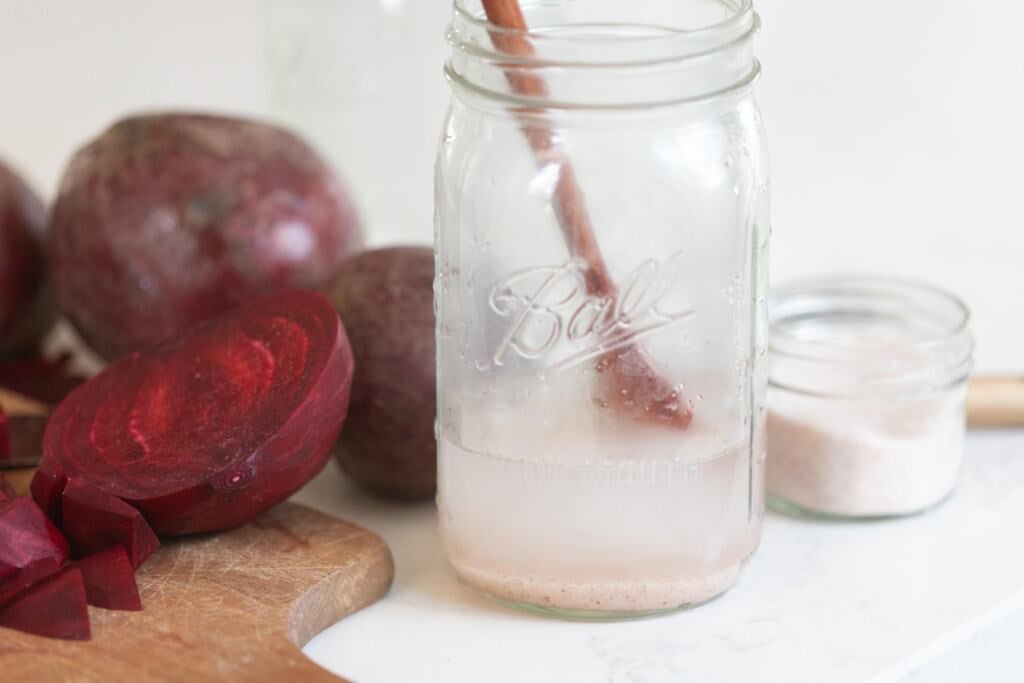
Stir two cups of filtered water in a saucepan with two tablespoons of salt, warming over low-medium heat just until dissolved.
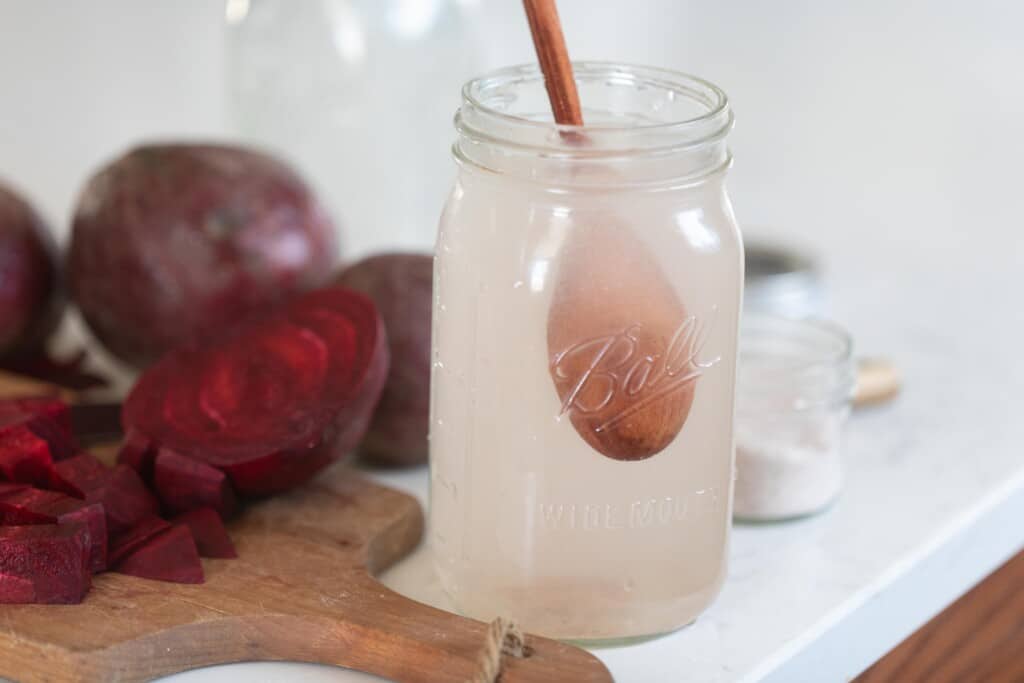
Pour the salt water into a clean quart jar, filling the rest of the way with additional filtered water.
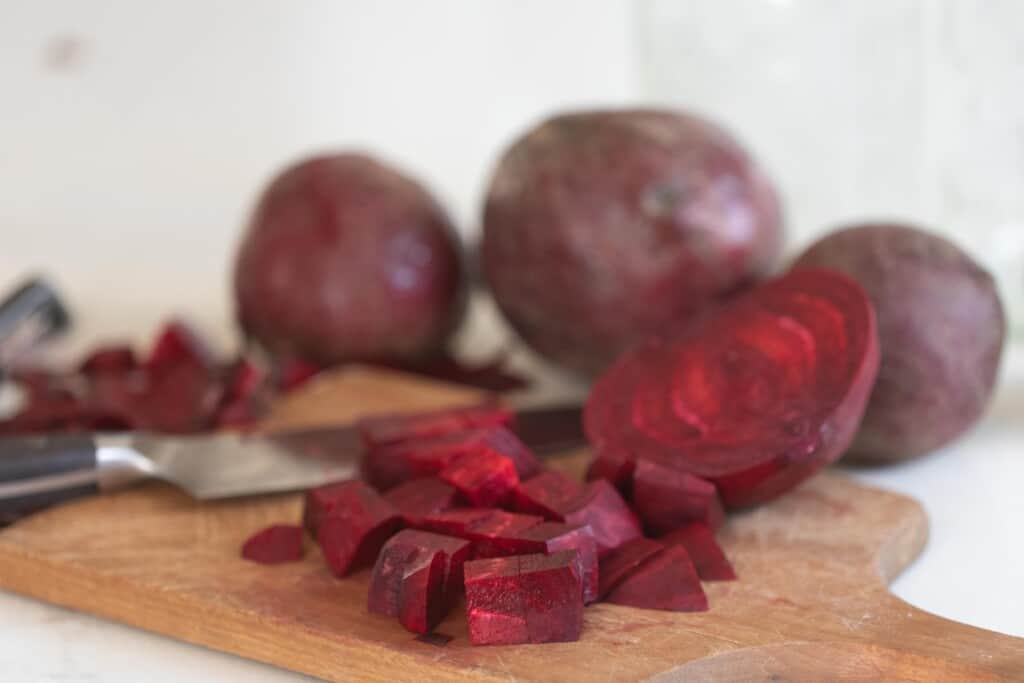
Slice beets into bite-sized cubes and add to your empty quart jar with desired seasonings (garlic, peppercorns, etc).
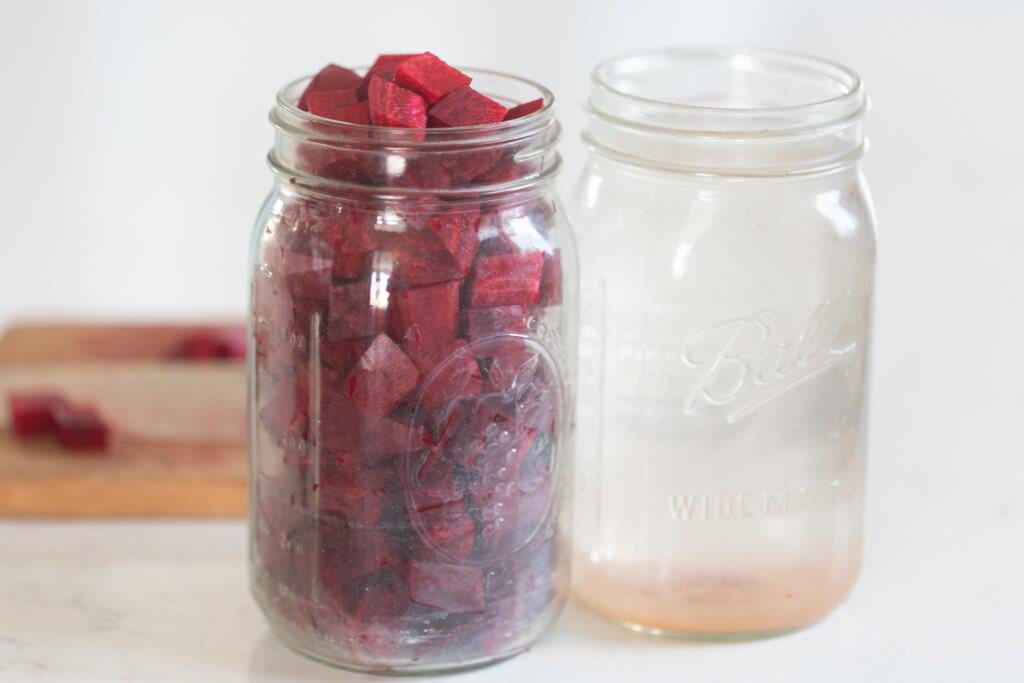
Layer beets and seasonings to really disperse the flavors.
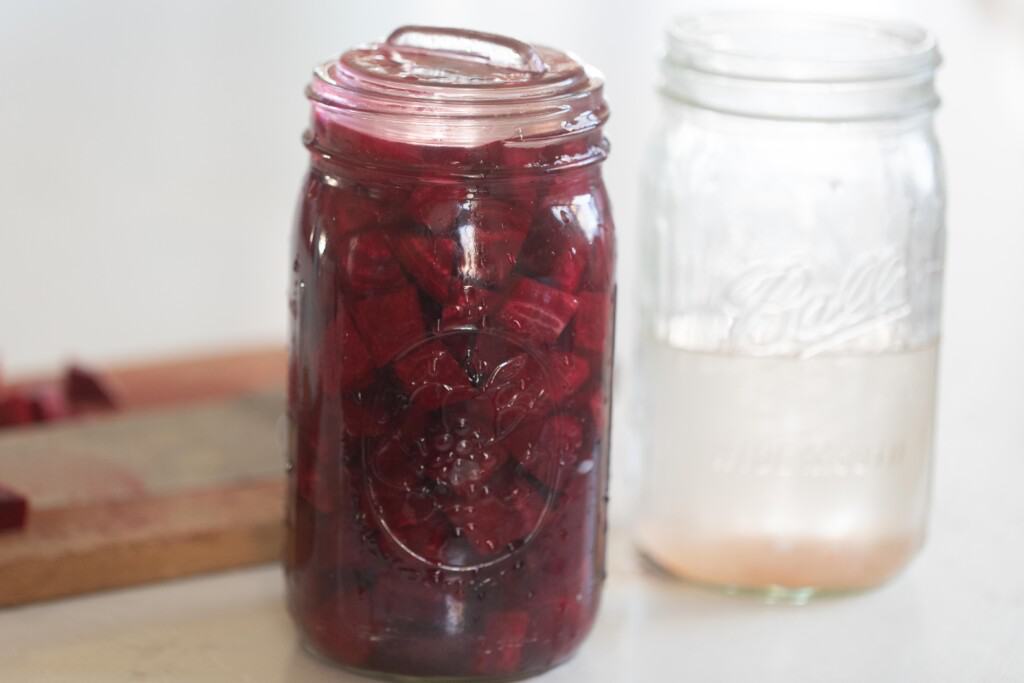
Pour your salt brine over the beets until fully submerged. Leave 1-2 inches at the top of the jar. You can use a fermentation weight or improvise with a smaller, clean jar or even a large, folded cabbage leaf to keep the submerged beets in place.
Extra brine can be reserved in your refrigerator until the next ferment.
Cover with a fermentation lid, or even a loosely placed canning lid or tea towel. You want to protect your fermentation while allowing air to be released. If using a regular canning lid, open the jar once a day to release the gas.
Leave the jar at room temperature for 2-10 days until your desired flavor and texture is achieved.
Once your ferment is done, cover with a tight lid and move to the refrigerator.
Storage:
Store in a cool place, like your refrigerator, for 3-5 months (possibly longer), or at room temperature for several weeks if they last that long.
FAQ
Do fermented beets have more health benefits?
Fermented beets have the added health benefits of gut-healthy probiotics, aiding in digestion with more bioavailable nutrients, preserved vitamins and minerals, and beneficial bacteria.
What is the difference between fermented beets and pickled beets?
Pickling involves hot brine and acidic brine, which kills some of the nutrients of the vegetable. Fermenting achieves the same sour flavor but without the heat or acid, preserving more of the nutrients of the raw veggies and increasing their bioavailability or the proportion of the nutrients that can be utilized by the body.
What do fermented beets taste like?
They are salty, reminiscent of a good pickle, delightfully sour, crisp and earthy.
How long do fermented beets last?
In the fridge, they can last from 3-5 months, sometimes much longer. At room temperature, but still in a cool, dark place, your ferment could last several weeks to several months, all depending on the temperature of your home and the conditions of your ferment. Be sure that your veggies stay submerged and that you let the gas out of the jar frequently.
Do I have to use filtered water for the fermentation process?
Filtered water is very important, as the chlorine in tap water will kill the good bacteria along with the bad bacteria.
Find More Fermenting Recipes:
Fermented Beets
Ingredients
- 2 large beets, organic beets are best
- 4 cups water, filtered
- 2 tablespoons salt, Himalayan or sea salt, not iodized
Instructions
- Stir two cups of filtered water in a saucepan with two tablespoons of salt, warming over low-medium heat just until dissolved.
- Pour the salt water into a clean quart jar.
- Add remaining 2 cups of water to the salt water mixture,.
- Slice beets into bite-sized cubes and add to your empty quart jar with desired seasonings (garlic, peppercorns, etc). Layer beets and seasonings to really disperse the flavors.
- Pour your salt brine over the beets until fully submerged. Leave 1-2 inches at the top of the jar. You can use a fermentation weight or improvise with a smaller, clean jar or even a large, folded cabbage leaf to keep the submerged beets in place.
- Extra brine can be reserved in your refrigerator until the next ferment.
- Cover with a fermentation lid, or even a loosely placed canning lid or tea towel. You want to protect your fermentation while allowing air to be released. If using a regular canning lid, open the jar once a day to release the gas.
- Leave the jar at room temperature for 2-10 days until your desired flavor and texture is achieved.
- Once your ferment is done, cover with a tight lid and move to the refrigerator.
Notes
- Filtered water is important for maintaining the beneficial bacteria in a brine. Tap water contains chlorine which kills bacteria, the good and the bad, so it's best to avoid using tap water. You can also boil tap water on the stovetop for 15 minutes. Be sure to let it cool before use, as hot water can kill the beneficial bacteria on the vegetables.
- Rinse your vegetables using filtered or unchlorinated water, as well.
- Pack those jars full! You want to maximize the jar capacity for the ferment.
- Cut the tops and bottoms off the beets to prep. You can peel the beets, but I find this step unnecessary. Also, don't waste your beet greens! They are delicious sautéed in olive oil or butter.
- I use 1 tablespoon of salt for every 2 cups of water in this brine. So for this recipe, I'm using a quart jar and 2 tablespoons of salt. I've used the same recipe with larger ratios for fermented carrots, making a half gallon and using 4 tablespoons of salt.
- A quart jar packed with veggies takes a bit over 2 cups of brine, so I make a full quart of brine and save the extra brine in the fridge for the next ferment.
- The vegetables should be fully submerged in the brine. If any are are poking up above the brine, they can mold, ruining your whole batch.
- You can easily experiment with flavors! Add cloves of garlic and peppercorns, bay leaves, mustard seeds, or fresh dill, for a savory option. Fresh beets are naturally sweet, so you can complement that sweetness with cinnamon and cloves. Try adding hot peppers or chili flakes. There are so many options!
Nutrition
Nutrition information is automatically calculated, so should only be used as an approximation.







Is it ok to have a little mold on top? when I opened my jar there was a spot of mold.
Yes, that just means something floated to the top and came into contact with air. I usually just scoop it out with a spoon. However, that is my opinion. Please make your own decision based on what you believe is best.