Learn how to sew a ruffle bench slipcover that is perfect for beginners and will add texture to any space. Update a family heirloom or even a thrift find. They are easy to clean and perfect for a house full of kids.
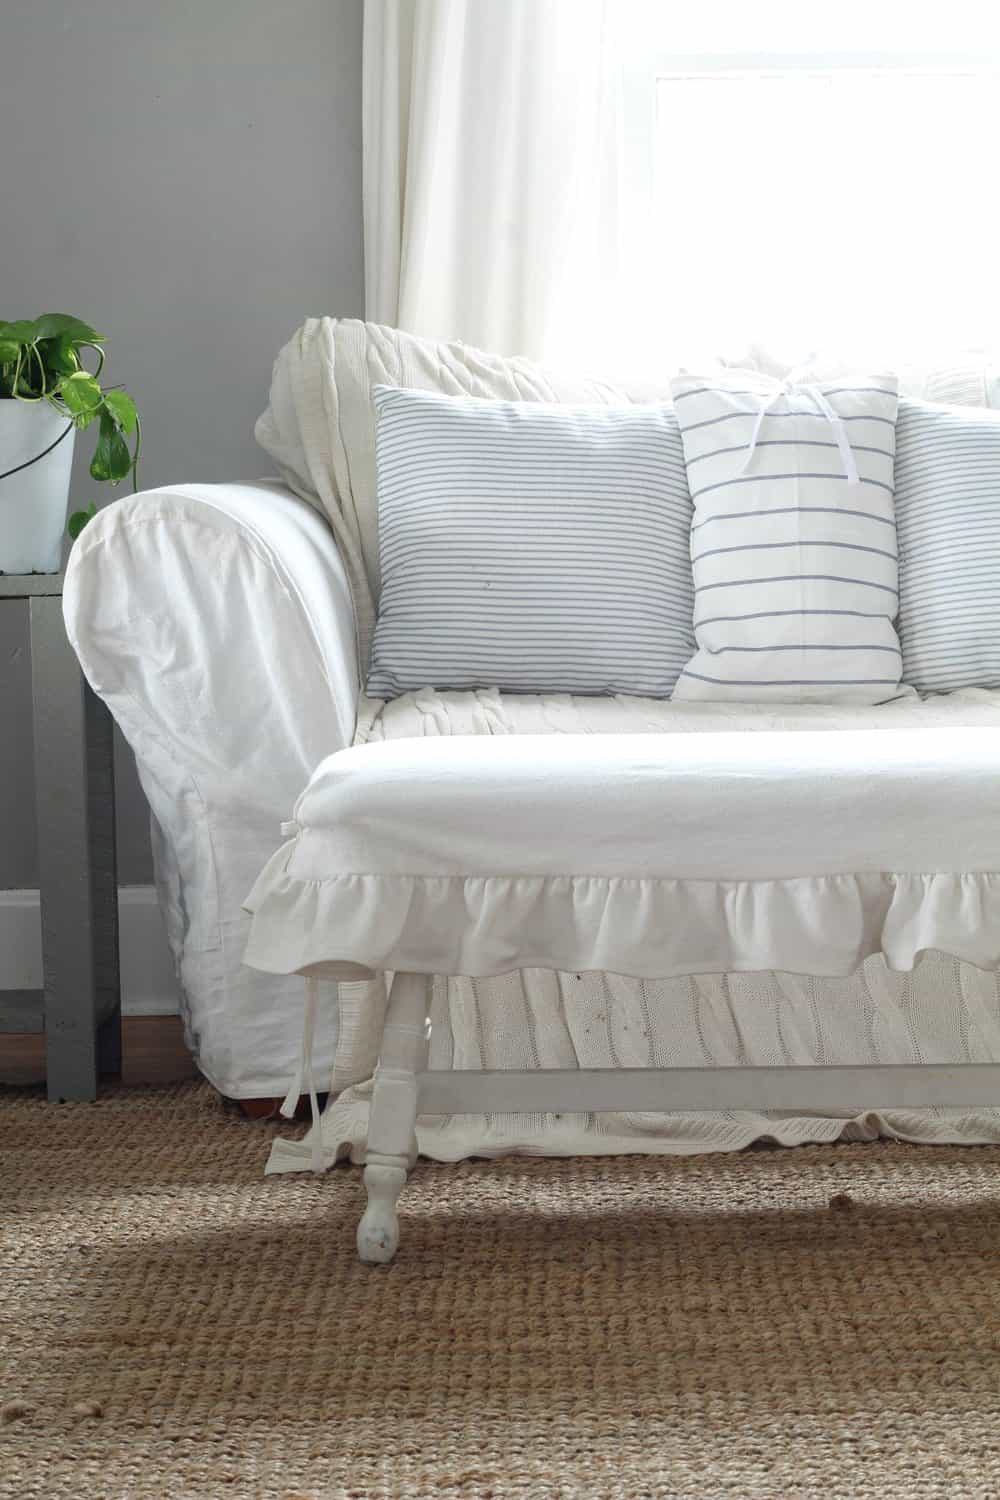
I have a lot of people ask me how I can live with so much white in a house full of kids.
Well, the answer is slipcovers.
Slipcovers can be removed and thrown in the wash. Over the years, I’ve made some for our couches, chairs, Ikea chairs, you name it.
My kids get the furniture really really dirty. Anything that is not removable might as well be disposable.
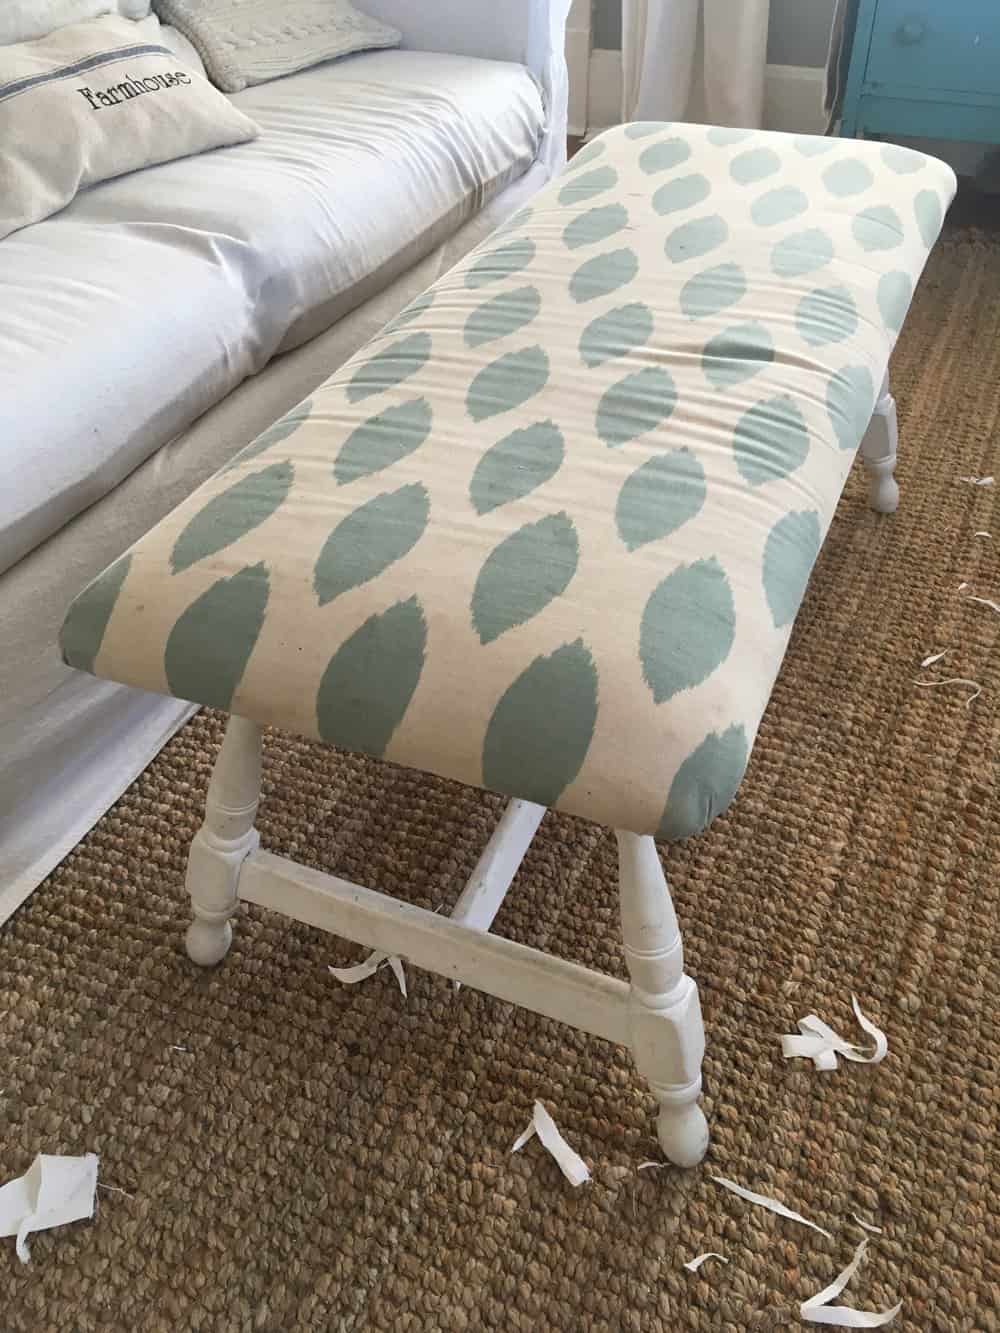
Case in point….the ‘before’ picture of this bench.
A couple years ago I picked up this bench for $20 on Craigslist. It was covered with pink butterfly fabric. I reupholstered it with this cream and teal fabric.
And it stayed looking pretty for all of a few months. I tried spot cleaning it with Oxyclean, but when something can’t be thrown in the wash, it just stays looking dingy.
The only reason I have held onto it this long is we still haven’t gotten around to building a coffee table for this space, and it kind of served that purpose for the time being.
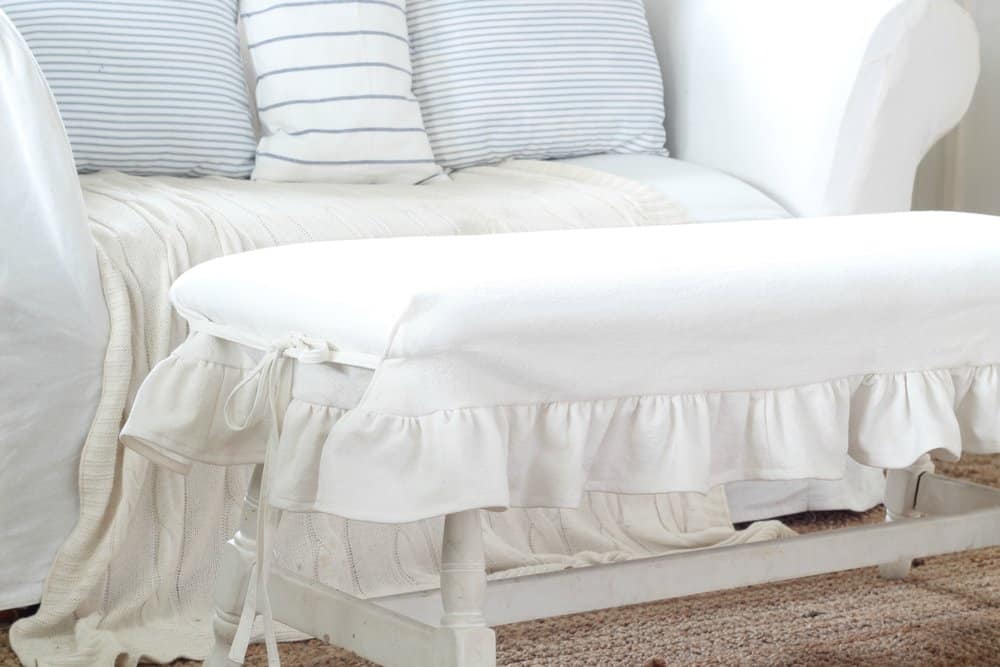
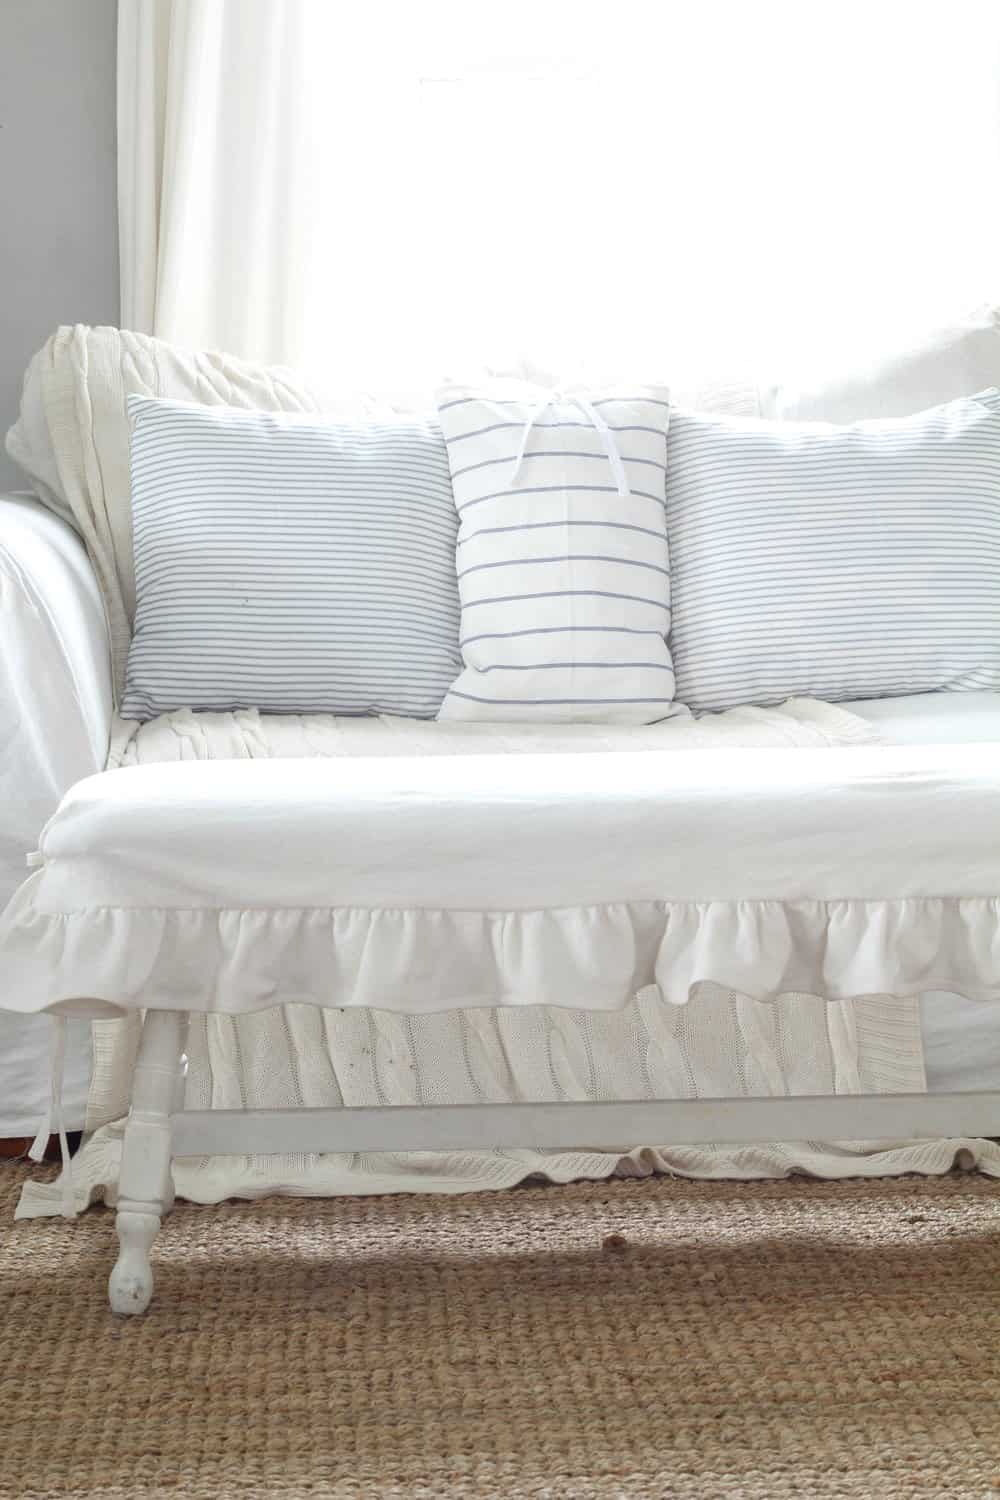
Well, now I love it again. And all it took was a simple bench slipcover made with bleached drop cloth.
This post contains affiliate links, which means I make a small commission at no extra cost to you. See my full disclosure here.
Tips For Making This Slipcover
- The brand of drop cloth matters! I have heard from several readers that the brand of drop cloth you use makes all the difference. I did not know this, since I have only ever used this brand from Amazon. Other brands turn gray and off white.
- Thanks to Lori, a lovely reader of my blog, I now know why some other brands won’t turn white. The drop cloths I recommend from Amazon are 100% cotton, so they’re bleachable. Some brands are made with 50% polyester, so they’re unbleachable. I knew people were having trouble with other brands, but now I actually know why!
- With this tutorial, I did not think through adding the ties until later, so some things needed to be readjusted. I will walk you through it so you can avoid my mistakes, but bear with me.
Tools you may need:
Serger (optional)
Fabric – I used drop cloth that was bleached. See notes above when it comes to bleaching drop cloth. I only recommend the brand that I linked.
Pins
Bench: this was a inexpensive Craigslist find.
Sewing Scissors
How To Make A Ruffle Bench Slip Cover
Place Fabric Over Bench
- Drape a piece of bleached drop cloth over your bench and trim it until you have the right size, factoring in for seam allowance. I wanted it to hang about four inches down, so I would have plenty of material to attach the ruffle to.
- I just kept trimming it until it looked even all the way around. You can see how precise I am with my measurements.
- I just kept trimming it until it looked even all the way around. You can see how precise I am with my measurements.
- Pin with a fold in all four corners until the cover fits snugly.
- Now, this is the step I would have done differently if I had known I was going to add the ties.
- See how the fold faces outward? Well I wanted them to both face inward, so I could sew the ties into the folds.
- You will see how I corrected this mistake later. It was a cinch, but if you are making this, just do it right from the beginning.
- Side note: Most of my DIYs go like this. They are a trial and error process and I almost never get it right on the first try.
- Next, I sewed down my folds on all four sides.
- This is the part where you should sew your ties in, and not later when I did it!
Create Ties
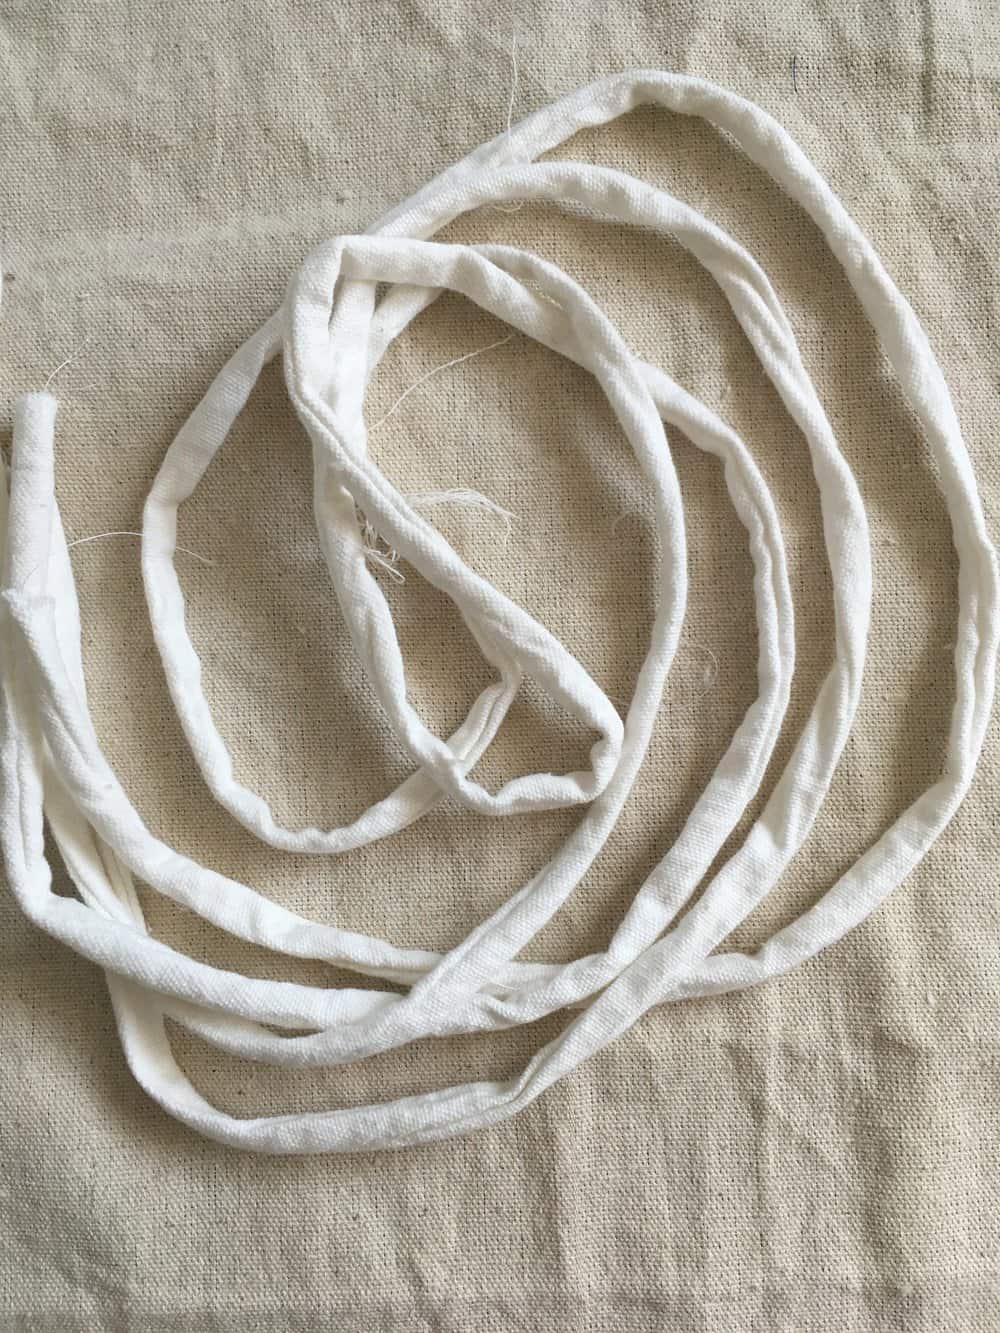
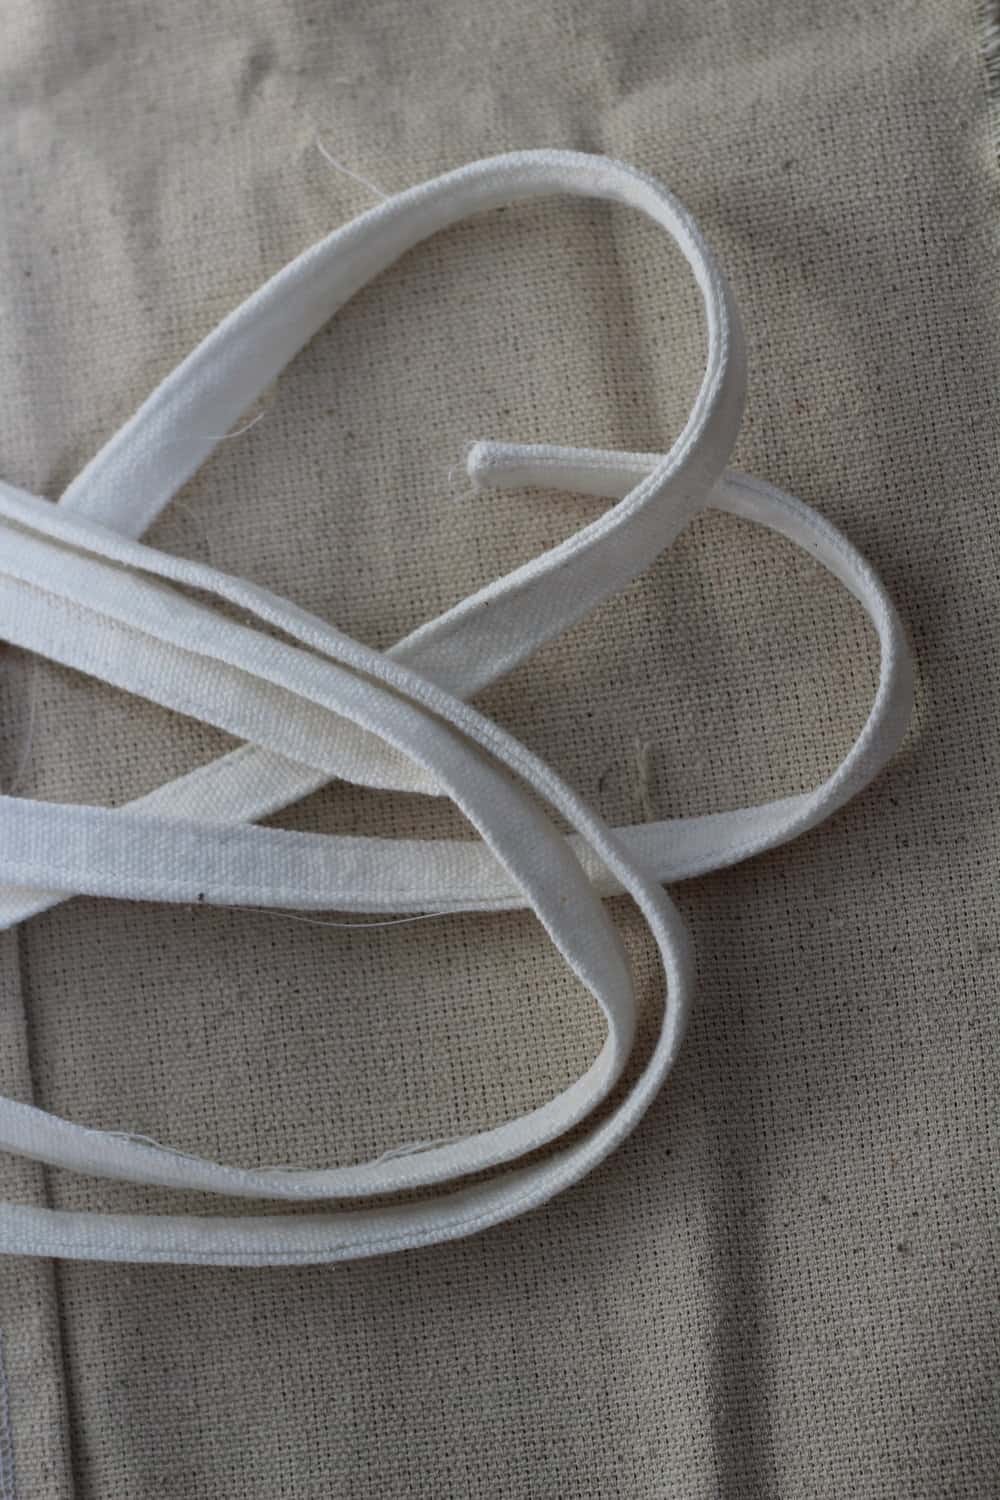
- Next, I cut two strips of bleached drop cloth 60″ by 1.5″
- I folded them in half and sewed all the way down.
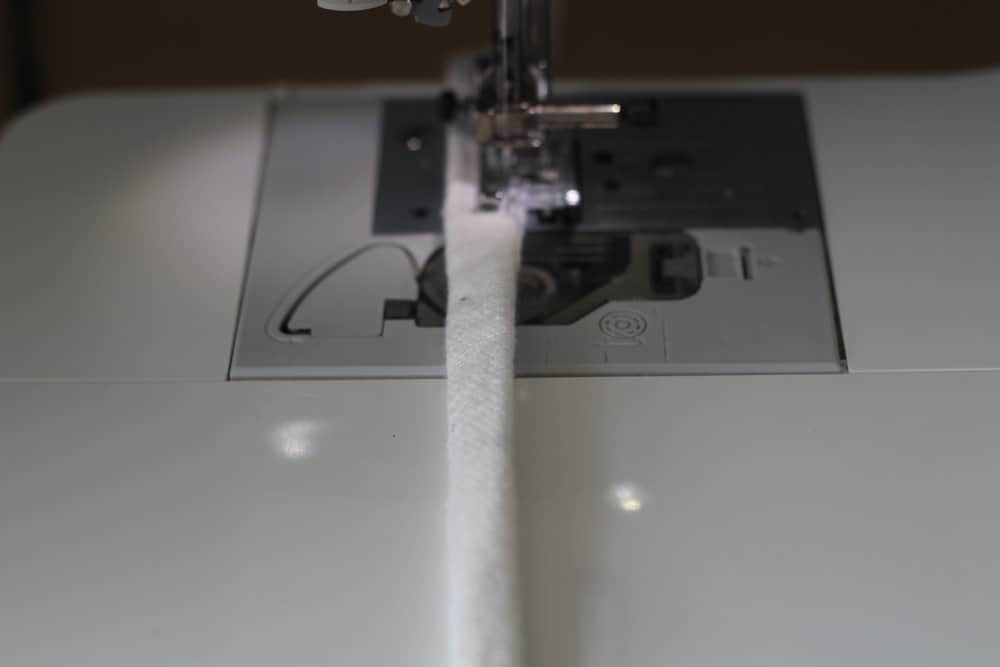
- I then pressed them flat and top stitched all the way around, folding the ends under to hide the raw edges.
- After I finished them, I cut them both in half, so I ended up with four ties each 30″ long.
Create Ruffle
- Next, cut out ruffle pieces. You can find my ruffle tutorial here.
- I made them 6″ wide, but the length will depend on the size of your bench.
- The rule of thumb for cutting a ruffle piece is one and half times the length of the piece you will be attaching it to. So, for example, if you want to sew a ruffle onto a 10″ piece of fabric, you should cut your ruffle piece to 15″ in length.
- So, if the diameter of your slipcover all the way around is 180″, your ruffle piece will need to be 270″ long.
- I did not actually have a piece of drop cloth that long, so I sewed several sections together.
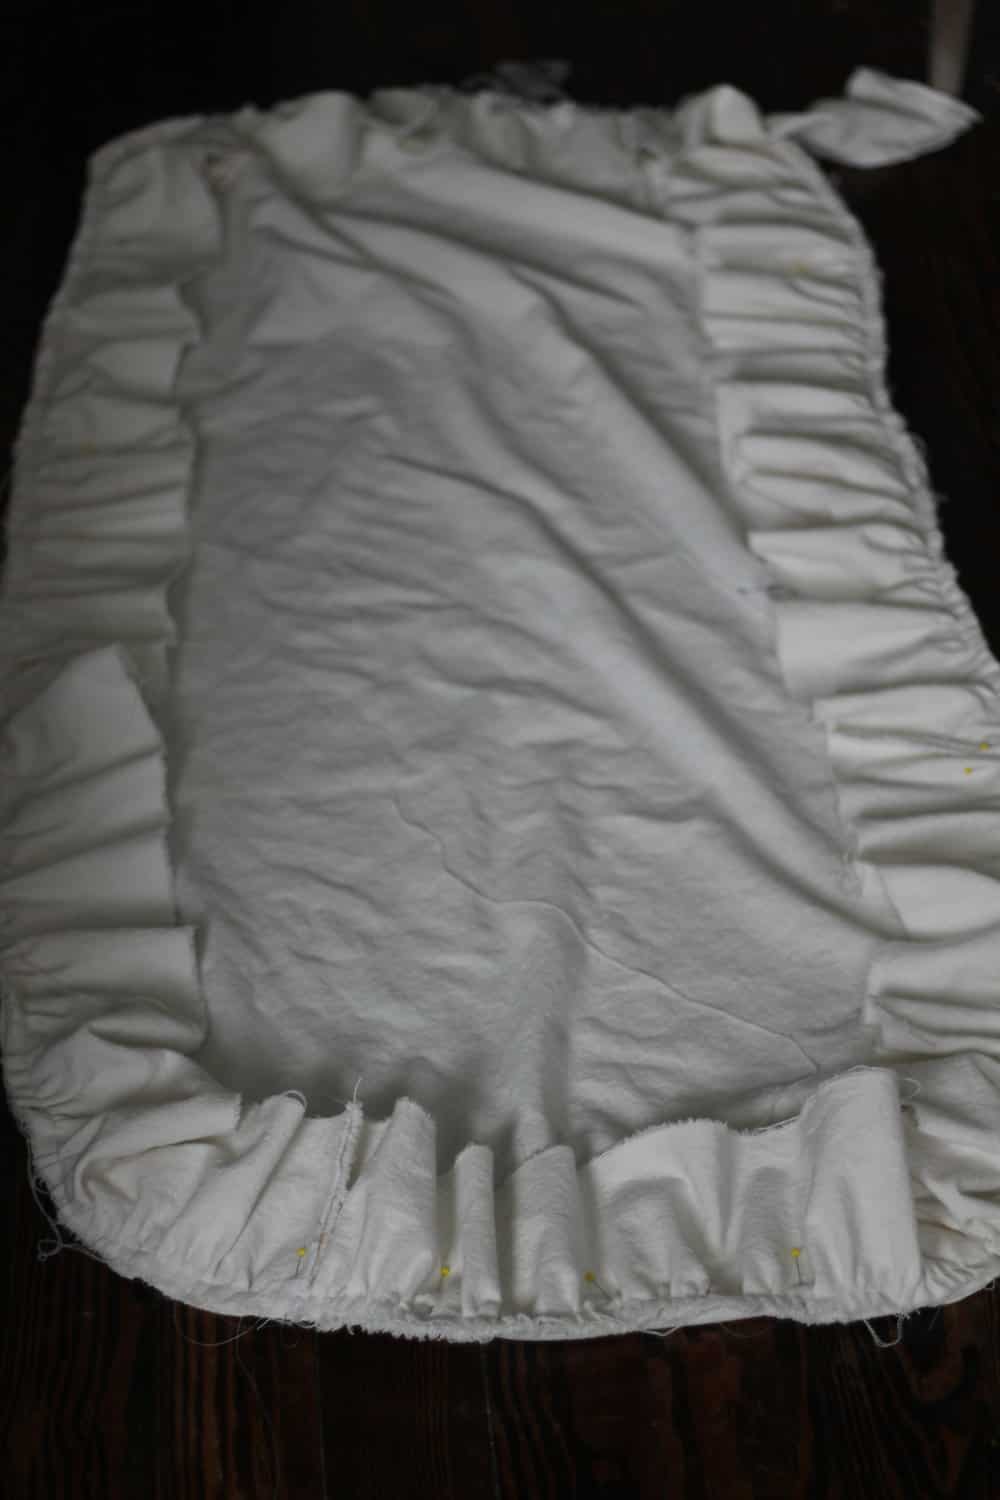
- Put a gathering stitch in all the way down, and then pin the ruffle piece to the main slipcover piece.
For more details on making ruffles, if you are a beginner, see THIS VIDEO.
Pin On The Ruffle And Add The Ties
- Lay the main piece on the floor, with the right side facing the floor. Pin the ruffle piece onto the main bench piece while pulling the ruffle until the correct length is achieved.
- Sew the ruffle onto the main piece.
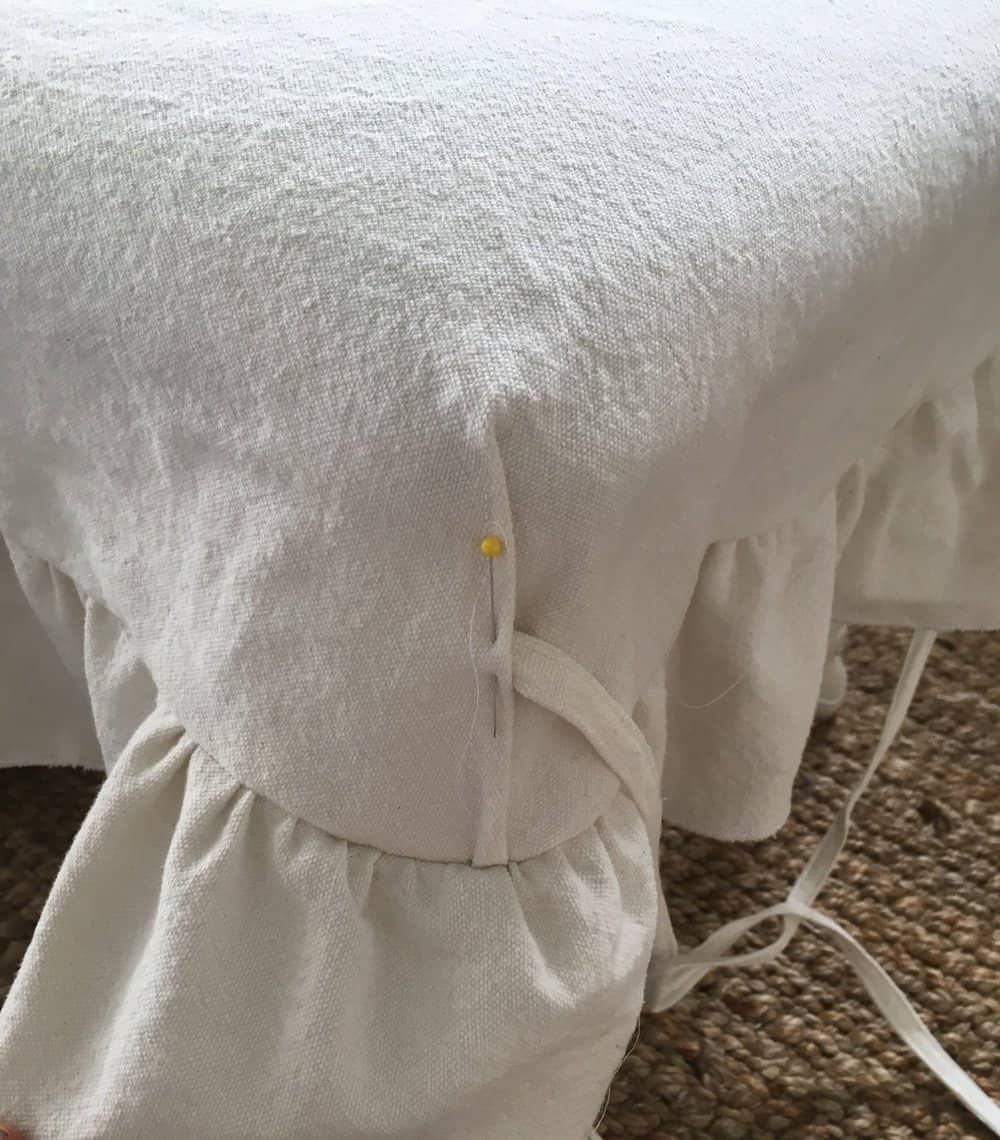
- Add the ties. I just ripped out the seams and pinned them back in the right way, with the ties. See above to do it correctly the first time.
- Stitch the ties in.
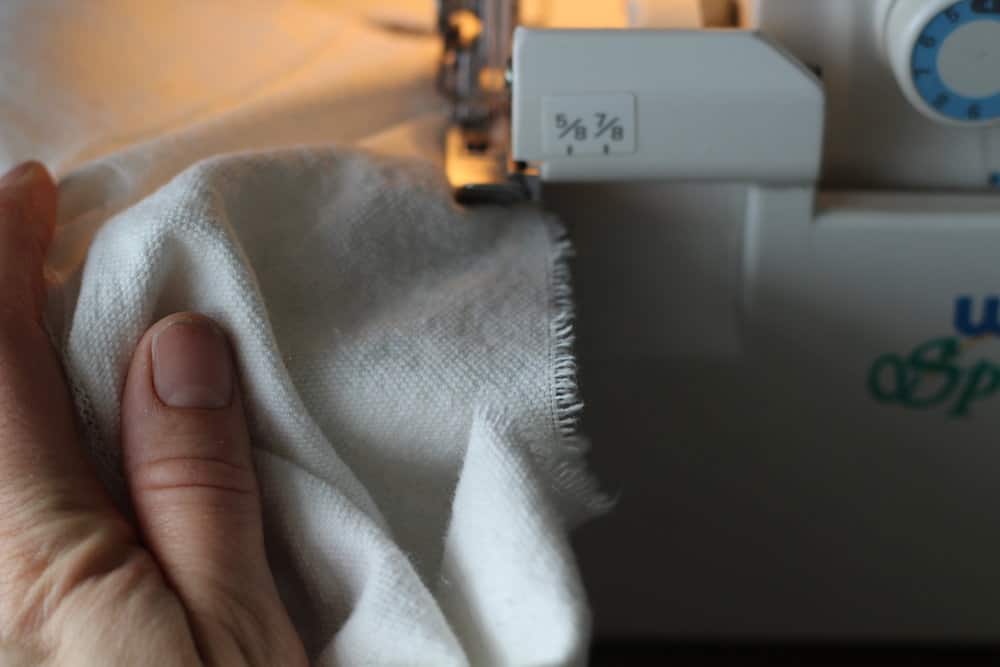
- Next, I serged all the way around the bottom of the ruffle to finish the edge and hide any loose strings.
- If you don’t have a serger, you have two options. You can either use a zigzag stitch (or any other finishing type of stitch your machine offers) or you can just hem the edge by pressing it over 1/4″, and then another 1/4″, to hide the raw edge inside. I didn’t want the hem to be too bulky, which would cause the ruffles to lay funny.
Create A Hem And Check The Fit
- Next, fold the serged edge of the ruffle over 1/2″ and sew it all the way around.
- I brought it back to my bench and tried it on.
Ah, so much better!
Find More Sewing Tutorials:
- Ruffle Linen Pillow Cover Sewing Pattern
- DIY Drop Cloth Curtains
- How to Sew a Slipcover for a Wingback Chair
- Linen and Flannel Ruffle Throw Blanket Tutorial
- Cross Back Apron Pattern for Women- with video!
Ruffle Bench Slipcover Tutorial
Equipment
- Sewing machine
Ingredients
- bleached drop cloth
- pins
Instructions
- So, first, I just draped a piece of bleached drop cloth over my bench and trimmed it until I had the right size. I wanted it to hang about four inches down, so I would have plenty of material to attach the ruffle to.
- Keep trimming until it looks even all the way around. You can see how precise I am with my measurements.
- Pin it with a fold in all four corners until it fits snugly.
Now, this is the step I would have done differently if I had known I was going to add the ties.
The fold faces outward. Well I wanted them to both face inward, so I could sew the ties into the folds. - Next, sew folds down on all four sides.
This is the part where you should sew your ties in, and not later when I did it! - Next, cut two strips of bleached drop cloth 60″ by 1.5″
Fold them in half and sew all the way down. - Press them flat and top stitch all the way around, folding the ends under to hide the raw edges.
- Cut them both in half, so you end up with four ties each 30″ long.
- Next, cut out the ruffle pieces.
I made them 6″ wide, but the length will depend on the size of your bench. So, if the diameter of your slipcover all the way around is 180″, your ruffle piece will need to be 270″ long.
Since I didn't have a piece of drop cloth that long, I sewed several sections together.
Place a gathering stitch in all the way down and then pin the ruffle piece to the main slipcover piece. - I brought it back to the bench and readjusted to add the ties.
I just ripped out the seams and pinned them back in the right way, with the ties. - I stitched the ties in.
Next, serge all the way around the bottom of the ruffle to finish the edge and hide any loose strings.
If you don’t have a serger, you have two options: you can either use a zigzag stitch (or any other finishing type of stitch your machine offers), or you can just hem the edge by pressing it over 1/4″, and then another 1/4″, to hide the raw edge inside. I didn’t want the hem to be too bulky, which would cause the ruffles to lay funny. - Next, fold the serged edge of the ruffle over 1/2″ and sew it all the around.
- Place it back on your bench and tie the slipcover. Adjust if needed.
Notes
- Now, please keep in mind with this tutorial that I did not think through adding the ties until later, so some things needed to be readjusted. I will walk you through it so you can avoid my mistakes, but bear with me.
Nutrition information is automatically calculated, so should only be used as an approximation.







Hi, Lisa! I know you are so busy right now with a newborn (he is so beautiful!), but can you tell me how you clean your slip covers to get them clean and white again? I am afraid I would never get mine clean with my bunch of rough and tumble children! Thank you for the tutorial-maybe I will give it a try sometime!
I just made a slipcover for my ugly ottoman using this tutorial! This is actually the third one I have made for it! My boys are rough and everything! I bought the sure fit ruffled slipcover for the chair, and the old cover just didn’t go anymore! Thanks for the awesome tutorial! It turned out great! It was my first time making ruffles, and I watched your YouTube video on that as well!
I have an oval shorty table I would love to turn into a bench like this, would I make it the same way for an oval? I love yours!
This is so beautiful!!
Thank you so much Lindsay!
I’m so excited to try this project.
Did you make the cover for your couch too? apologies if I missed that info.
Love the look of your drop cloth slip covers. I went to Amazon website and discovered that drop cloth is £85 in the UK. Sadly not such a bargain!!
Oh no! What a bummer!
Love all ur great ideas and ur home.
Love the Farmhouse theme n love my antiques so I mixed them all together.
Live in a 1950 home with beautiful original oak floors in South Florida but I’m limited to space. Again thanks Lisa for sharing ur home n ur great ideas.
Sincerely, Shelly D
Thank you so much Shelly!!
This is so so sweet. I have a couple benches I could do this with but can you tell me if you preshrunk the drop cloth before you sewed it? I am assuming since it’s 100% cotton it will shrink in the wash. Thanks!
Erica
Yes! I bleached it, washed and dried it. 🙂 Drop cloth will shrink.
Oh my gosh! I have wanted to make a cute cover for my piano bench and wasn’t sure the best way to do it…now I know, thanks to you!
Oh I am so happy you are going to make this! It will be beautiful for a piano bench, I’m sure! 🙂
I just wanted to say that I love this! I also LOVE the way the ties look! It adds a great deal of farmhouse charm!!
Thank you sooo very much for your sweet comment!
I love this! I have a piano bench that I paid $5 for. I chalk painted it white, but redid the cushion in blue velvet because a friend wanted one in that color…but backed out, and.. I think i would prefer the slip cover that you made. I already have drop cloths, so now you’ve added another project to my list!! 🙂
Let me know if you try it, Maureen! It was super simple to make. 🙂