Learn how to dry sourdough starter for a convenient way to keep a starter without the constant feeding schedule. When you are ready to revive it, it will only take a few short days.
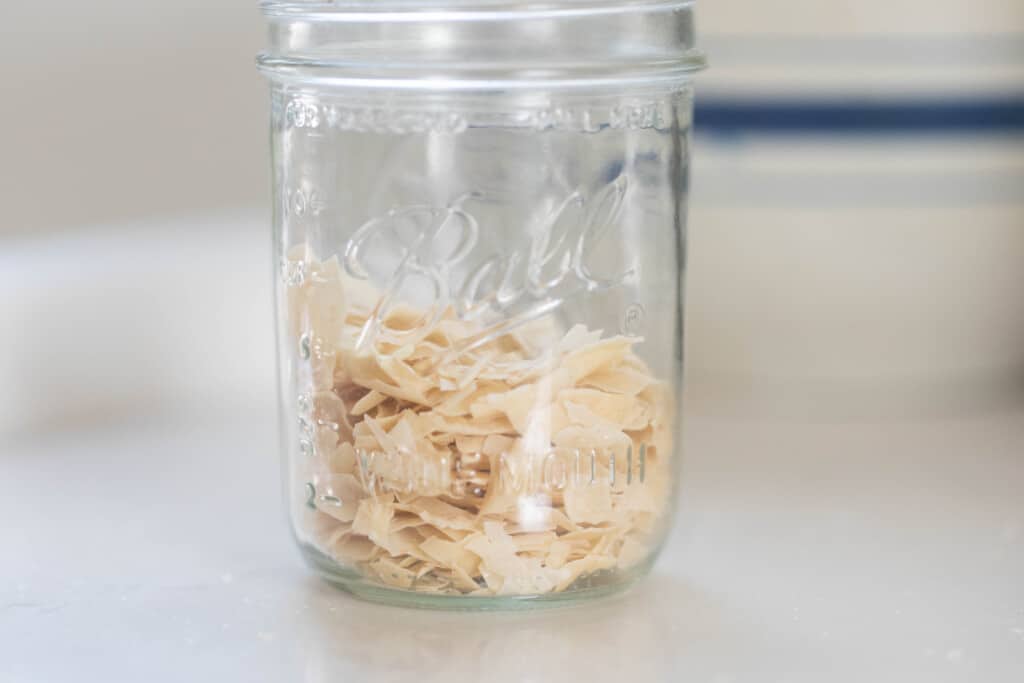
Table of Contents
When people first start getting into sourdough baking, it is easy not to get overwhelmed. New terms, baking schedules, and constant feeding of your new pet starter… who could blame them?
But what if there was a way to preserve your sourdough starter so you can leave it for long periods of time without feeding it? That is where a dry sourdough starter comes into play.
Drying an active starter preserves the natural yeasts and bacteria, putting it into a hibernated state. It is still a living and active food, just sleeping. And when you are ready to use it you can easily just reactivate it to start baking.
One thing to consider though, it is not like active yeast where you can just tear open a little basket, add it to your recipe and let the rising begin. But rather it will need to be reactivated, fed for a few days before it is alive again. It is still easier than starting a starter from scratch all over again.
In this post, we will talk about the three different ways to dry a sourdough starter so you can find the one that works best for you. One way even requires no equipment.
Benefits Of A Dry Sourdough Starter: Why You Would Want To Keep One
- Long term storage. Drying puts the starter in a dormant state that can
- Ship to a friend or relative. Shipping it dry is way easier than shipping it hydrated (although I’ve done this before too).
- Putting it away for a long term break (postpartum or a long family vacation) or
- To create a backup in case something should happen to your starter. For example, when a kid knocks the glass jar off the counter (not that this ever happened to me and I saved a very tiny bit and revived it), mold, fruit flies, etc.
Tips:
Before drying, you will want to make sure your sourdough starter is nice and active. Feed 4-6 hours before drying.
If your starter is a little on the neglected side, I would suggest feeding it every 12 hours for a few days until it perks up and gets nice and bubbly before making this.
For long term storage, dry AND freeze. Freezing a wet sourdough starter will last for about two weeks before it will go bad, but drying and freezing will keep the starter healthy much much longer.
FAQ:
Is dry sourdough starter good?
Yes. It is easy to store and easy to use. You don’t have to worry about skipping feedings or killing it.
How long is a dry sourdough starter good for?
It is good indefinitely as long as it is properly stored in an air-tight container in a cool dry place. It is basically in a dormant state just waiting to be activated.
Can you buy dried sourdough starter?
Yes. You can typically find online sellers on Etsy, Cultures For Health, and some specialty natural grocery stores.
How do you use a dry sourdough starter?
Before using you will need to reactivate the starter. This is done by adding water, flour, and starter together. See below for full directions.
Can you dry sourdough starter in the oven?
Yes, but there is a caveat… You can’t turn it on. An oven will get too warm, potentially risking baking and killing the active yeasts in the starter. Place it in the oven with the light on.
Ways To Dry A Sourdough Starter
Freeze dried: I actually do not recommend this, as it can give you inconsistent results.
Dehydrated
Air-dried
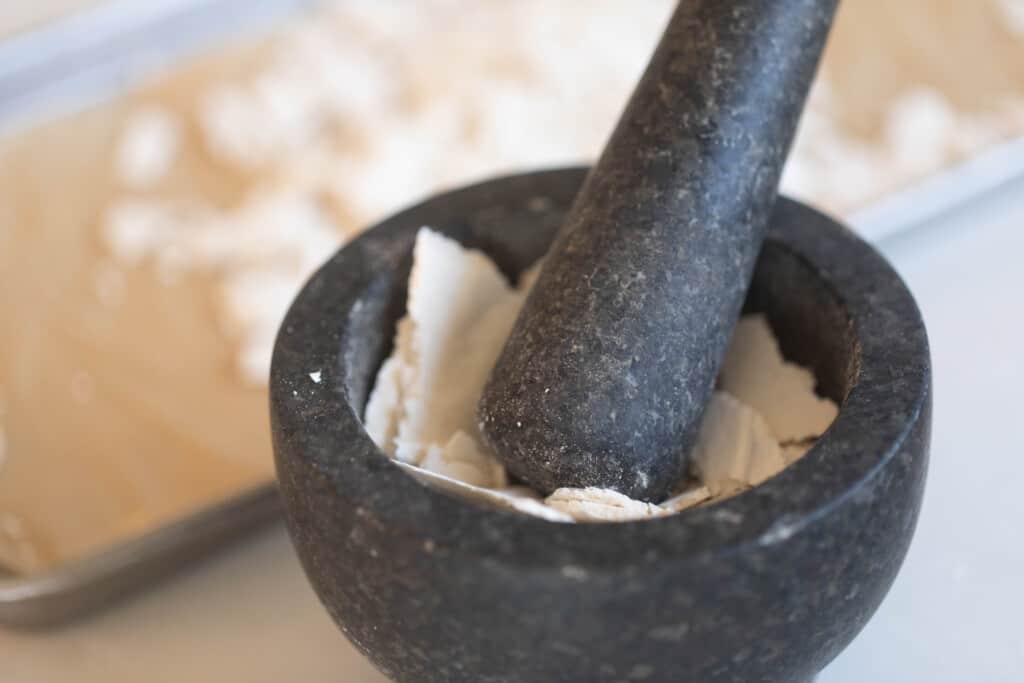
How To Dry Sourdough Starter Without A Dehydrator
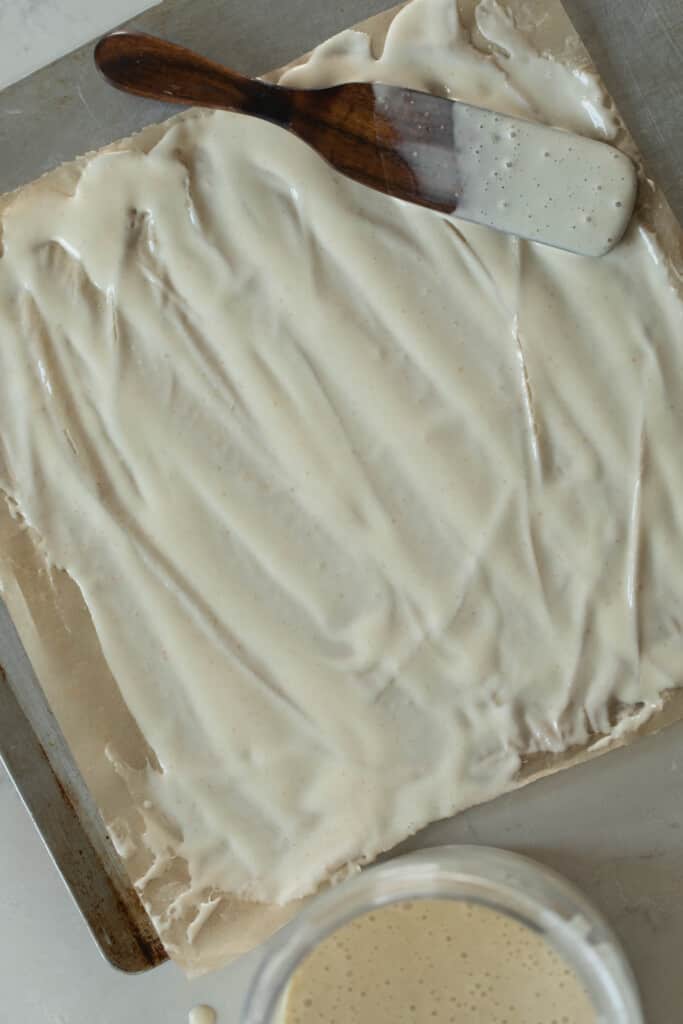
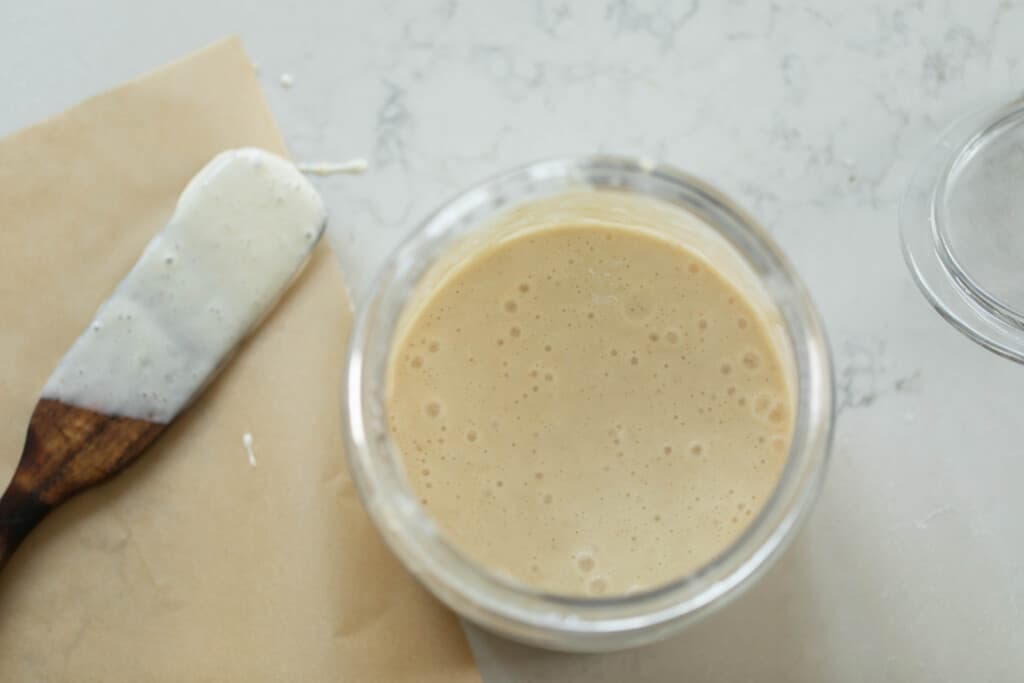
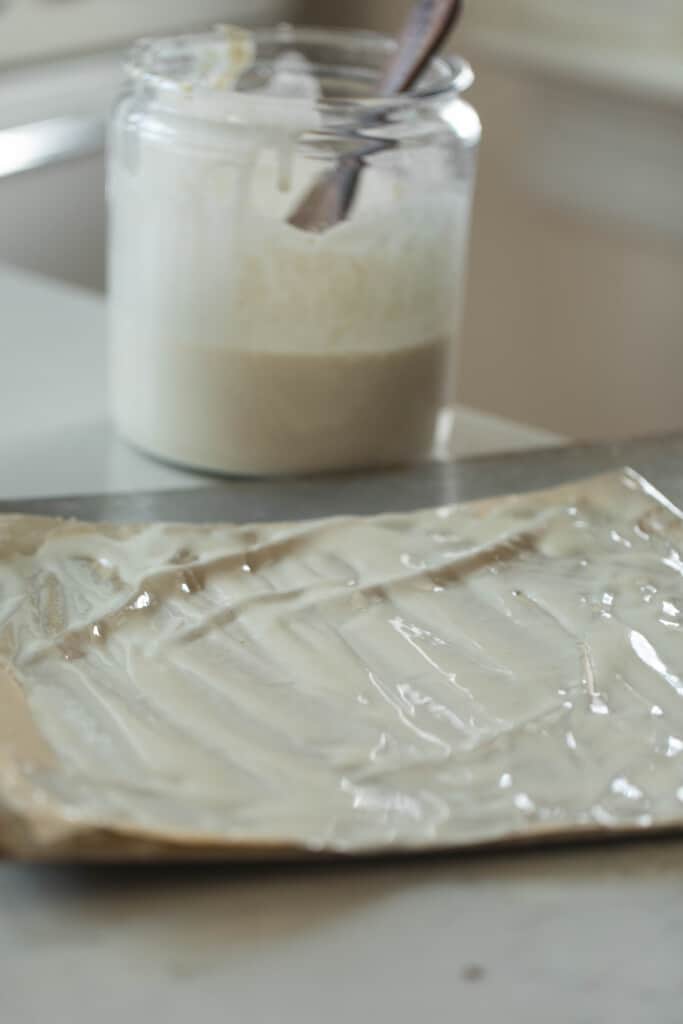
Spread active starter (fed 4-6 hours prior) onto parchment paper or silicon baking mat in a very thin layer. Use a spatula, bowl scraper or bench scraper to accomplish this.
Place in an out of the way place in your kitchen, such as on top of a cabinet, a shelf in an open pantry.
You want to make sure it has airflow, so it can dry out properly.
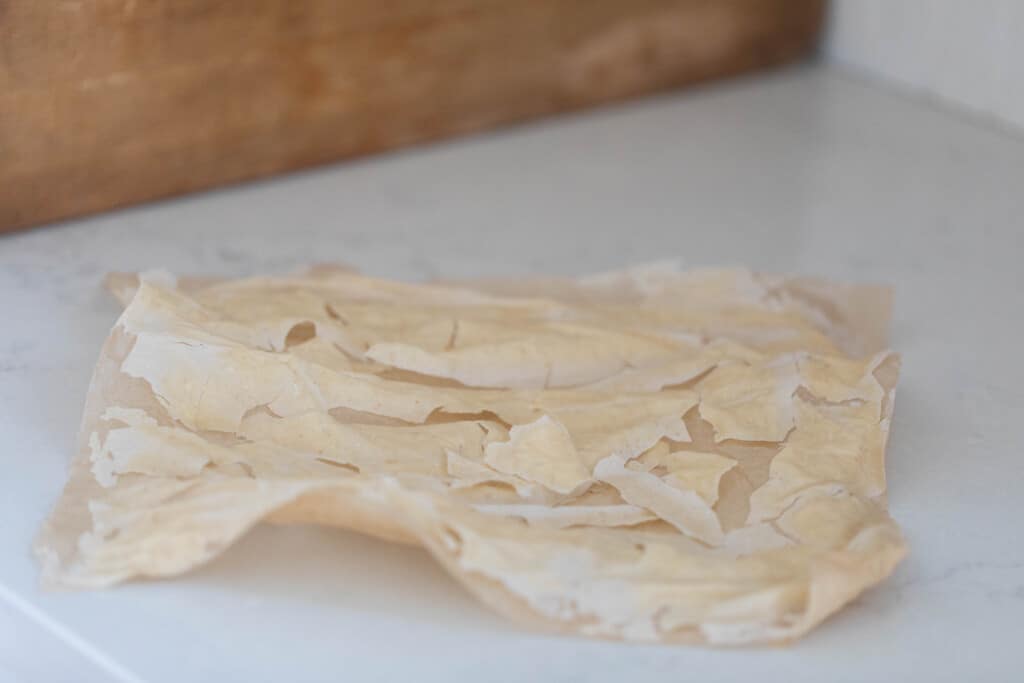
Allow it to dry for 24-48 hours.
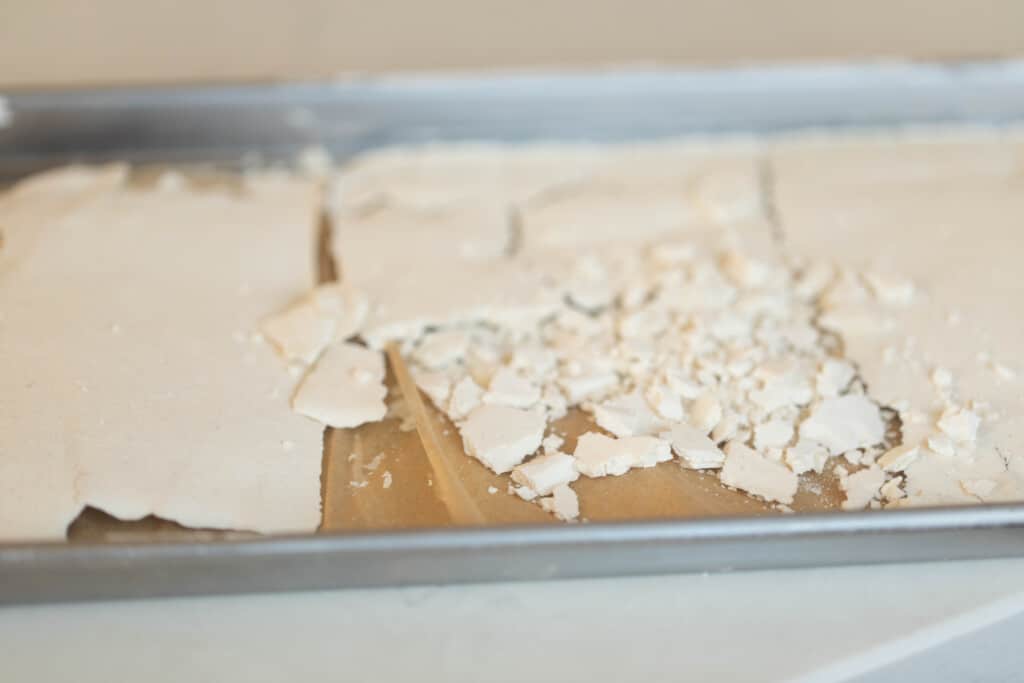
Once completely dried, place in an air-tight container. You can blend it to make a powder.
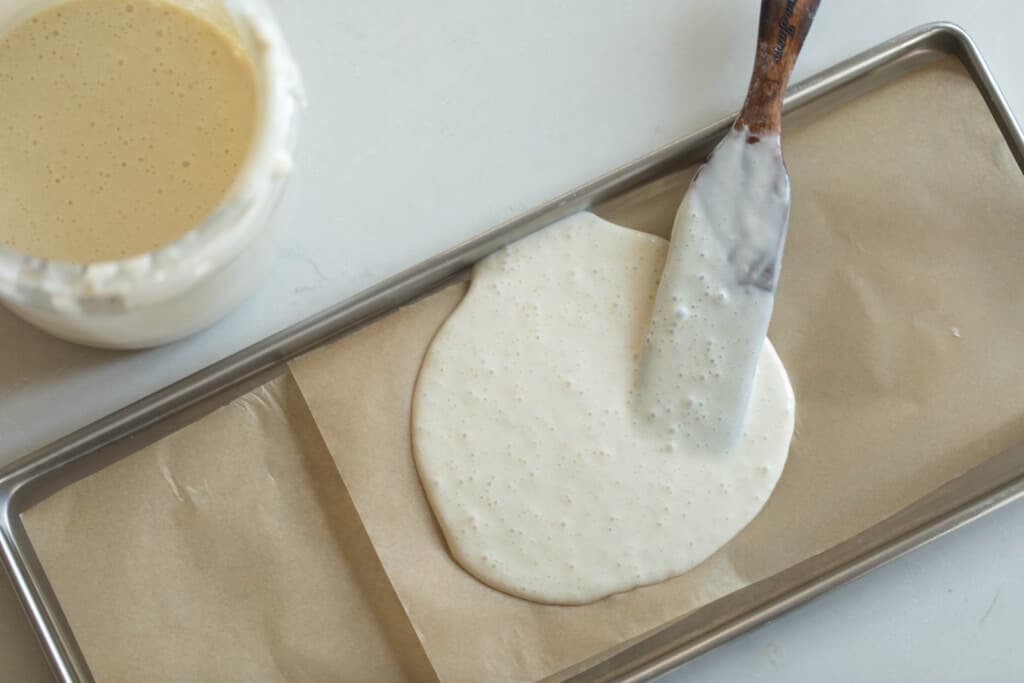
How To Dry Sourdough Starter With A Dehydrator:
Before drying, freshen it up by feeding it about 4-6 hours before. You want it nice and active.
Cut parchment paper to the size of your trays
Spread active starter in a very thin layer
Use the lowest setting to avoid killing any of the yeasts. Preferably around 95-100 degrees.
Dehydrate for 4-6 hours.
Break into crumbles and store in an air-tight container.
Freeze Drier Method:
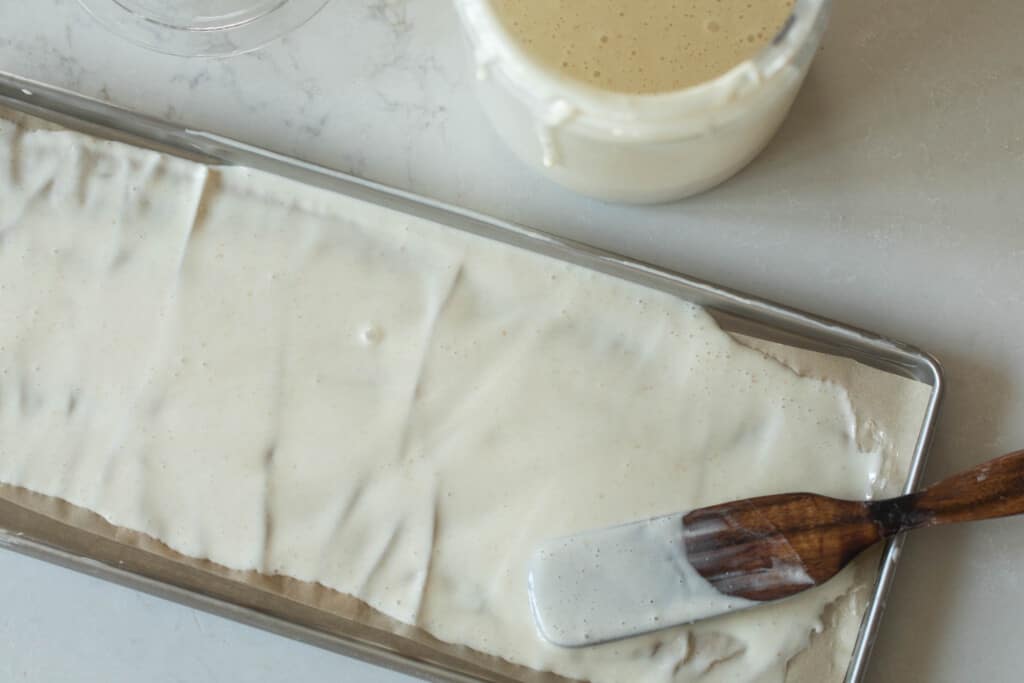
*Warning: I have had inconsistent results with freeze drying sourdough starter. It is not a method I would recommend and would suggest the other methods over freeze drying.
Line freeze dryer trays with parchment paper.
Spread active sourdough starter in a thin layer onto parchment lined trays.
Place in the freeze dryer and press start.
Once the freeze drier has worked its magic and has turned off, check to make sure it is completely dry.
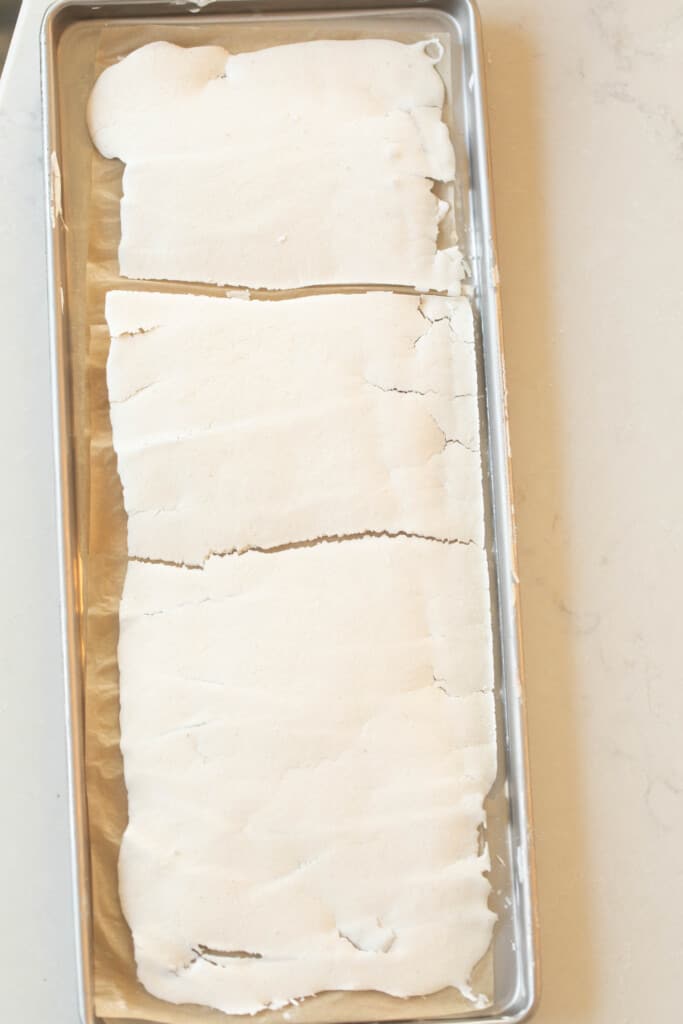
Store in an air-tight container and place in a cool dry area. You can also store in mylar bags.
Reviving Dried Sourdough Starter
Add about 1.5 tablespoons water and 1/2 tablespoon dry sourdough starter powder until dissolved. Add 1 tablespoon flour and stir until everything is combined well. Cover and allow to sit for 24 hours.
The next day, feed again with about 1 tablespoon flour and about 1/2 tablespoon water, and stir until well combined. I really do this based on consistency. It should be like thick pancake batter. Cover and allow to sit for 24 hours.
On day 4, feed the starter 1/2 cup flour and 1/3 cup water. Cover and allow to sit for 24 hours.
On day 5 there should be a lot of activity. It should be doubling in size. Add one cup of flour and 1/2 cup water to the starter and mix well. Cover.
When 5 days are up, your starter should be nice, active, and ready to use in recipes.
Feed regularly.
Low Hydration Dry Sourdough Starter
The last type of dry sourdough starter I want to chat about is a low hydration starter. This is a starter that has much less water added, can be stored in the fridge for longer term without feeding. Just using and freshening as needed.
You can convert a regular starter into a dry starter by taking one tablespoon of starter and adding 30g of water to 60g of flour. Mix well and cover. Allow to sit for 24 hours. Feed the same ratio again every 24 hours for 5 days. On the 5th day, remove 10 grams of the starter and refresh with the same ratio





Hi Lisa, first I want to say I love your recipes and the way you help us through them. But the recipe for rehydration of the starter. I accidentally discarded all of the starter, which was really nice and strong. But I dried and stored starter in the freezer. I followed your directions but step 3 is missing and there is no mention about discarding. This is frustrating because I am a fairly new baker.
I did the following, I repeated step 2 for the missing step . This is also when I discarded. We will wait and see. Hopefully it works.
Can you please fix these issues so others don’t have the same problem.
Yes. Thank you for letting me know!