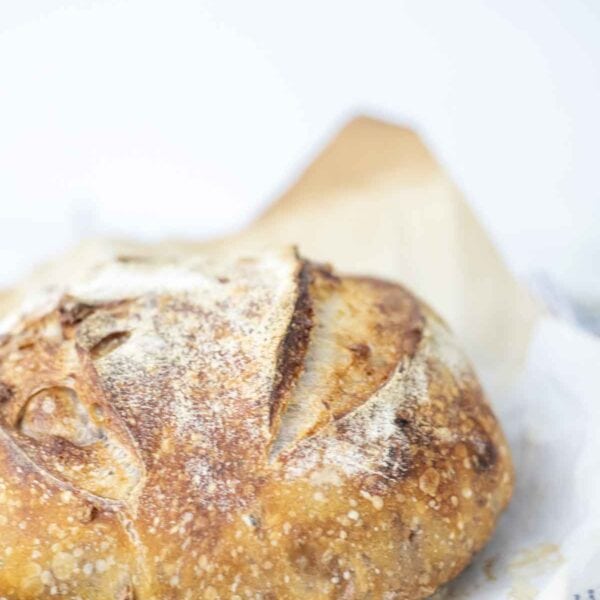
This easy gluten free sourdough bread is only made with four ingredients and there is no kneading involved. Mix it together, allow it to ferment, then bake the next day. Crusty on the outside with lots of bubbles on the inside, it’s absolutely delicious.
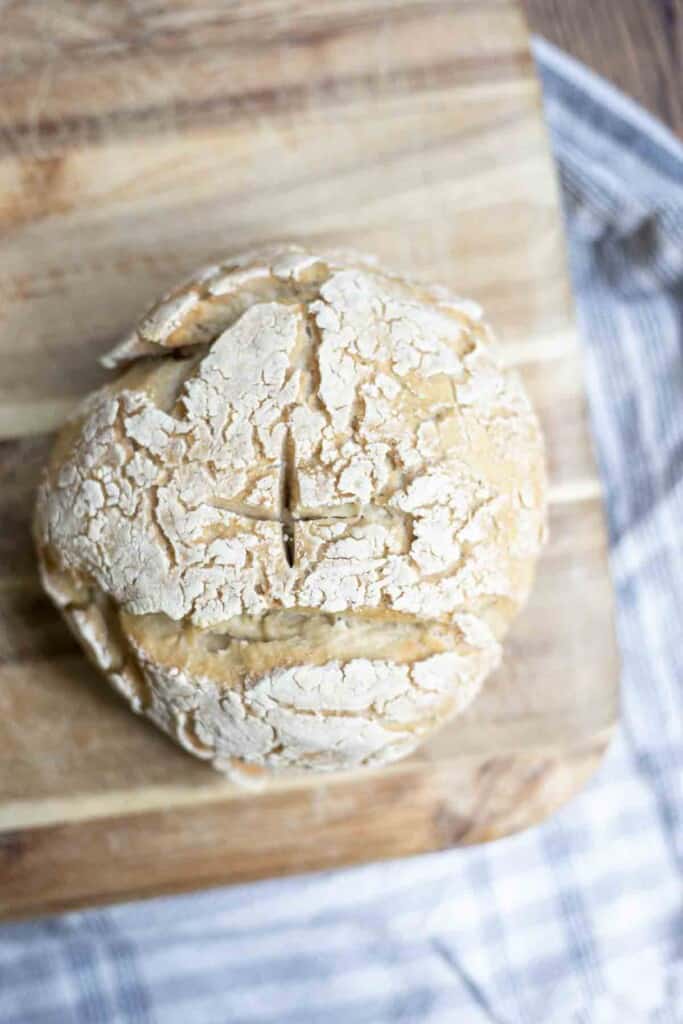
My love for sourdough runs deep. This is obvious by the hundred or so recipes here on the blog.
And while sourdough made with wheat is perfect for those with gluten sensitivities (due to being easier to digest and having a lower gluten count compared to unfermented grains), those who have to be strictly gluten free cannot enjoy it.
So I set out to create an easy,gluten free, sourdough bread recipe. I didn’t want a recipe that required a bunch of ingredients you needed to search for in a fancy grocery store, but rather one that used one type of flour that is easily found.
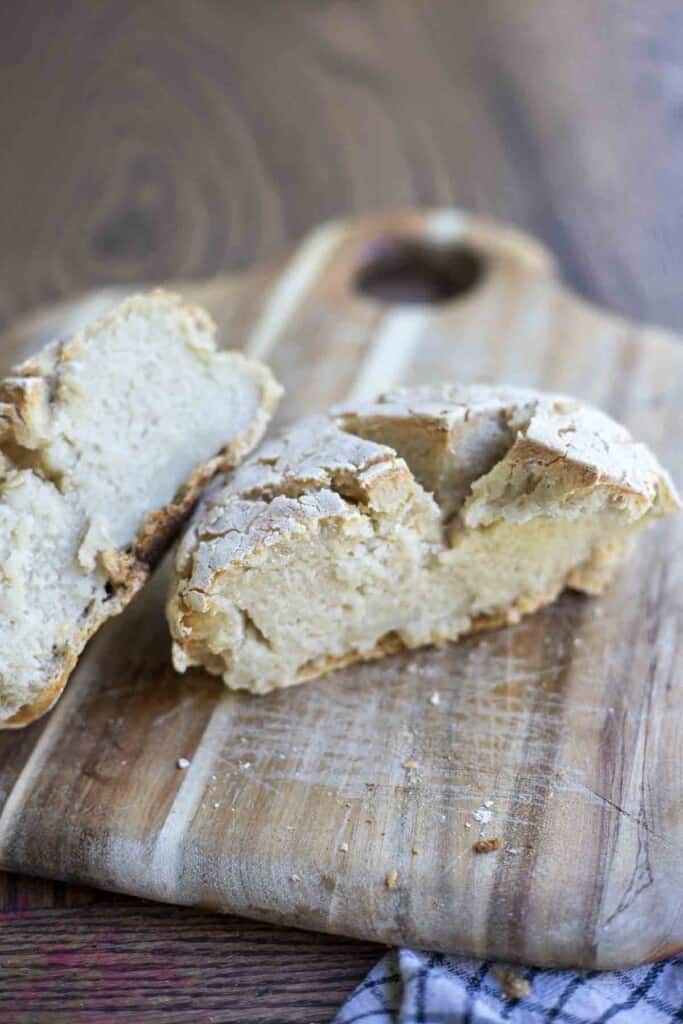
The trouble I’ve found with gluten free bread, whether store-bought or homemade, is that it has issues with being gummy. The texture is just not the same as regular bread. This is because gluten protein adds the structure, and without the gluten, we are trying our best to recreate this.
So this recipe doesn’t have the same texture as regular bread, it is still delicious and makes a wonderful side or sandwich bread. I will suggest you toast the bread to dry it out and reduce gumminess further.
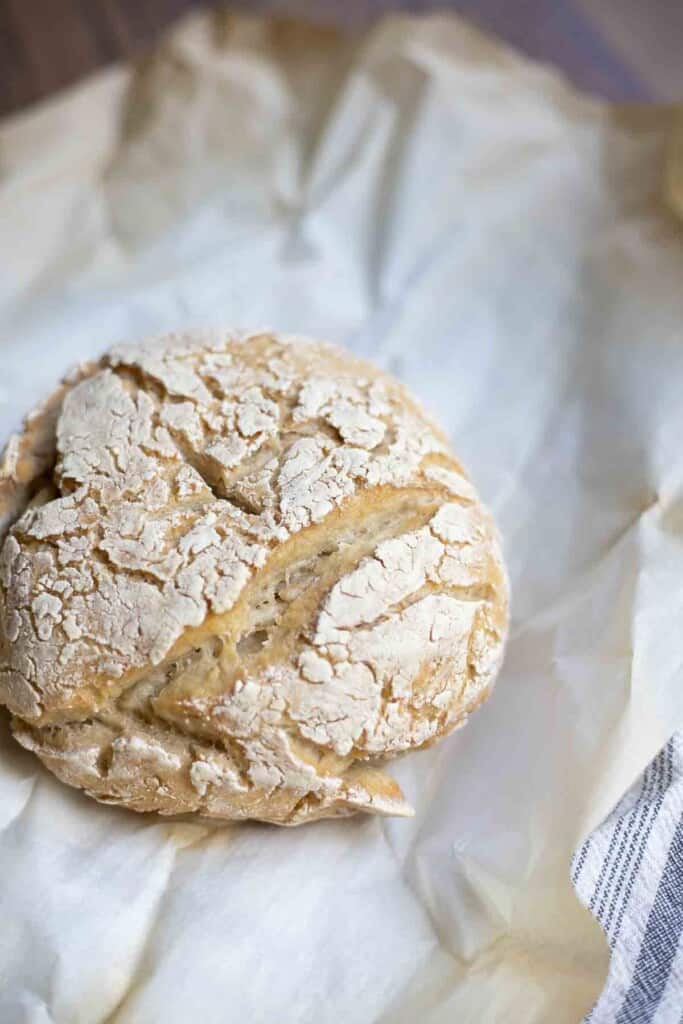
Tips:
- While this has a delicious flavor, I will say that it tastes and works best if you slice the bread and then toast it. It still has that slightly gummy/wet texture that most gluten free breads do, so the toasting helps dry it out.
- You will want your starter to be super bubbly and active, of you will end up with bricks.
- Depending on the hydration of your starter, you may have to adjust the amount of flour and liquid. I suggest starting with one cup of water and then adding a teaspoon or two at a time until everything comes together.
- Gluten free bread doesn’t need to be kneaded like regular bread. It just needs to be mixed up and left alone to ferment.
This post contains affiliate links, which means I make a small commission at no extra cost to you. See my full disclosure here.
Ingredients:
Gluten free sourdough starter: Here is how to make your own gluten free sourdough starter. I feed mine with equal parts water and buckwheat flour.
One-For-One Flour: I used Bob’s Redmill Gluten Free One-For-One flour. It was not tested on other flours, so I’m not sure other flours will work. I chose this type of flour because it’s easy to find and already includes xanthan gum. If you use a different flour blend, you will want to add xanthan gum or make sure the blend already has it.
Water: Non-chlorinated water works best. Using chlorinated water may kill or reduce the activity of your starter. The hydration of your starter will determine how much water you will need to add to your dough.
Salt: Preferably unrefined sea salt.
Tools:
Stand mixer with dough hook or large bowl. You can definitely just use your hands to make this bread, but the stand mixer does make it easier.
Measuring cups and spoons
Dutch oven
Parchment paper
FAQ:
Can I use a different flour?
This recipe was only tested with Bob’s Redmill one-for-one flour (and a mix of one-to-one and buckwheat – wouldn’t recommend FYI), so I cannot comment on how other flours would work. I chose this flour because it is readily available and contains xanthan gum.
Are all sourdough breads gluten free?
No. Your standard sourdough bread, although it contains less gluten than non-fermented bread, does still contain gluten. For it to be truly gluten free, you will want to ensure that it is made with gluten free flours and a gluten free sourdough starter.
What kind of sourdough bread is gluten free?
The only gluten free sourdough bread is one that is made from gluten free flour and a gluten free sourdough starter.
Is sourdough bread better for gluten intolerance?
Regular sourdough bread made with wheat flour is usually better for those who have a hard time digesting gluten. Some people who have difficulty with wheat/bread can tolerate sourdough that has been long fermented. Those with celiac disease still cannot have any wheat whatsoever, so sourdough bread will have to be gluten free sourdough bread.
What flour has no gluten?
The only flours containing gluten are wheat, barley, and rye (also Triticale, which is a cross between wheat and rye), so any other flours not blended with those will be gluten free.
Oats often contain gluten, due to cross contamination from sharing the same equipment as gluten containing grains. So if you are celiac, you will want to make sure you use gluten free oats.
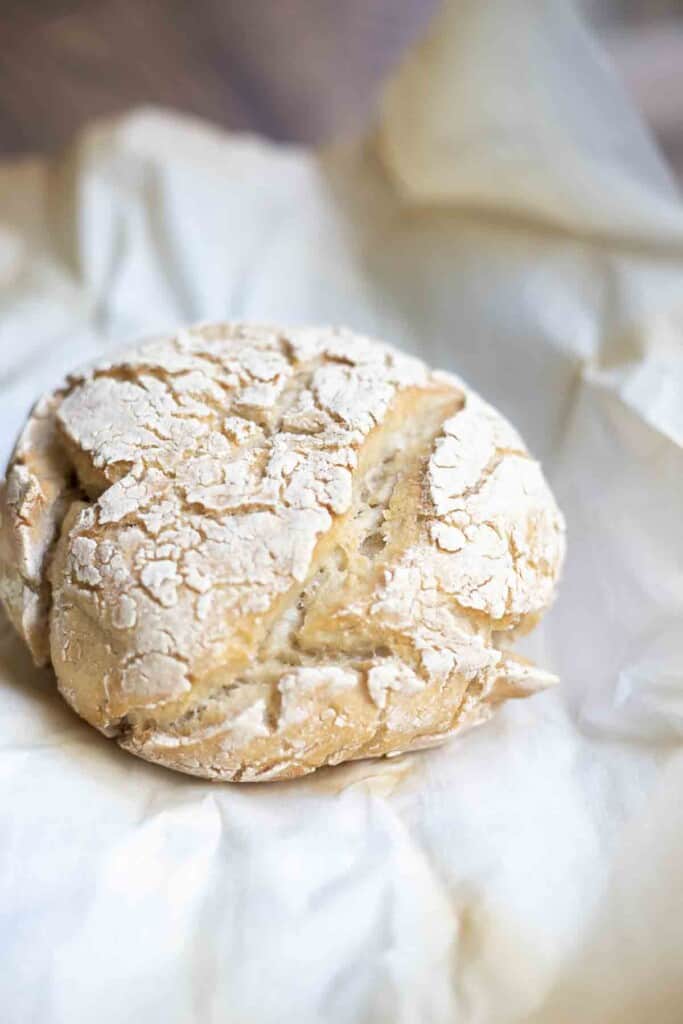
How To Make Gluten Free Sourdough Bread:
Feed your sourdough starter 4-12 hours before starting this recipe. My sourdough starter never looks very bubbly, but it is still active.
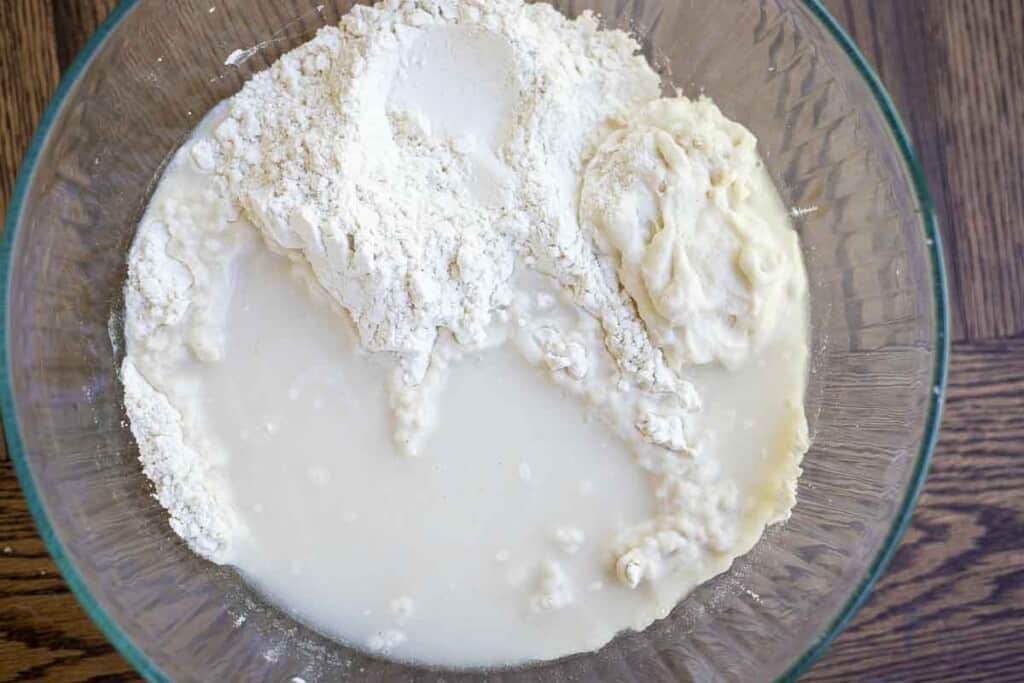
In a stand mixer with a dough hook or a large bowl, add flour, sourdough starter, salt, and one cup of water. The stand mixer is easier, but your hands also work just fine.
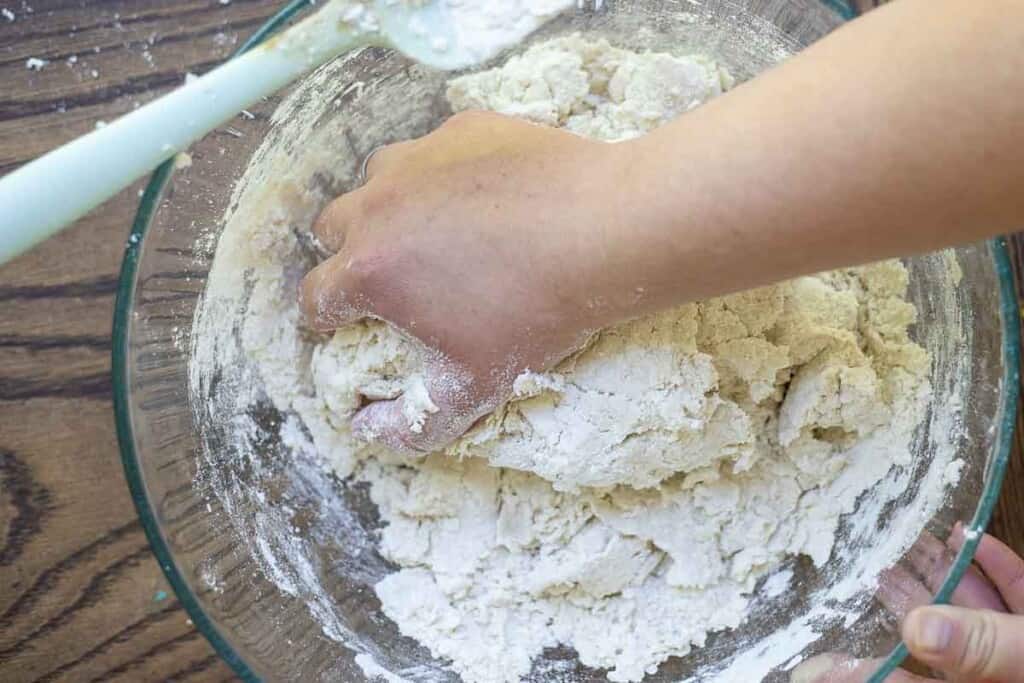
Start the mixer on low and work up to medium. Mix until the dough starts to turn into large crumbles.
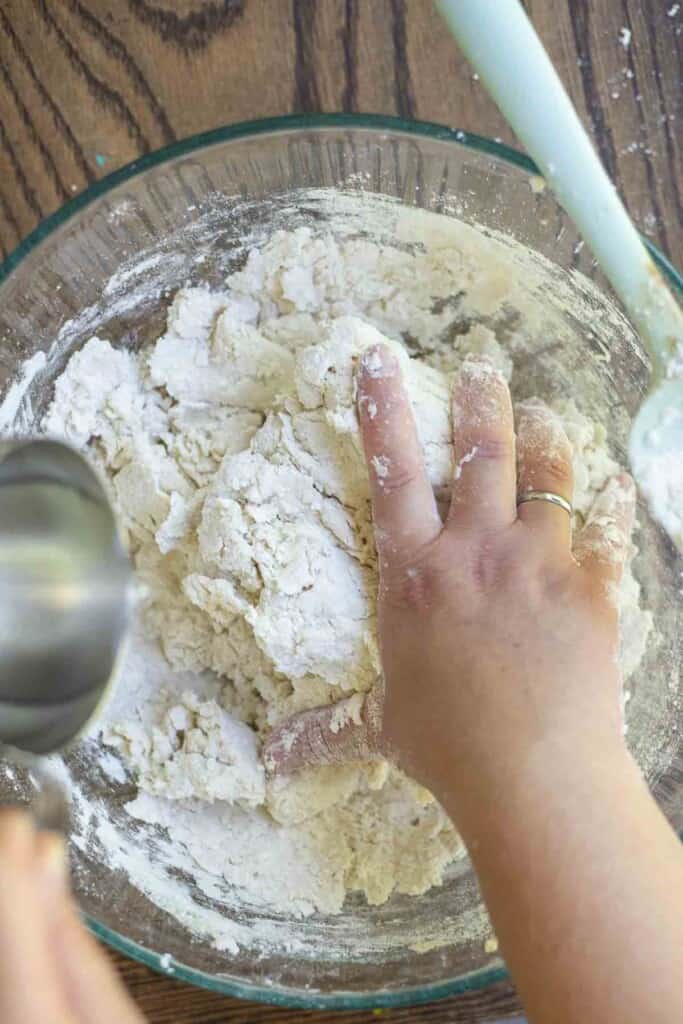
If the dough is too dry, add a teaspoon or two of water until all the dough turns into large crumbles and there isn’t any loose flour around the edges and bottom. You want the dough to be more on the dry side than the wet side.
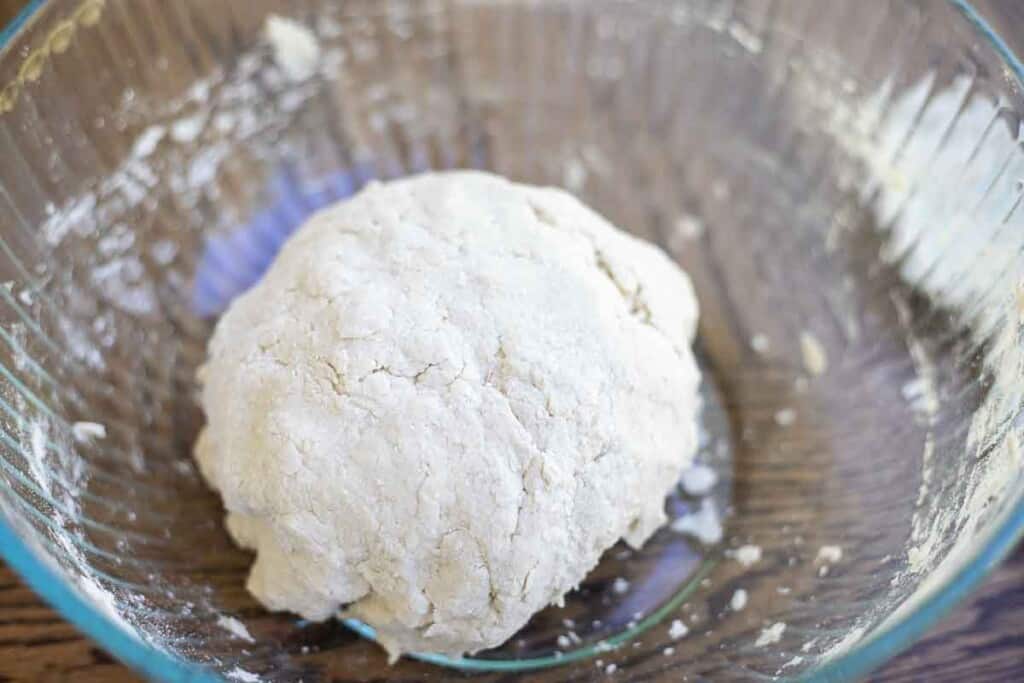
Knead the dough with your hands until the dough forms a ball.
Shape into a 6-inch disk-like ball (basically the shape you want the bread to bake) and place onto parchment paper.
Put the parchment paper and bread dough into a large bowl with a lid, or a large bowl you can cover with plastic wrap. It should be airtight.
Ferment
Allow the dough to “rise” and ferment in a warm place for 6-12 hours. I say “rise” because it doesn’t really rise much at all. Don’t expect this to double in size like a standard bread.
Once the bulk fermentation has happened, place the bowl with lid or plastic wrap into the fridge. You could also dust a banneton basket with rice flour, transfer the dough to the banneton, place in a plastic bag (I usually use plastic grocery bags), tie and place in the fridge.
Allow the gluten free sourdough bread dough to chill for 3-12 hours. Could also be as little as an hour.
Bake
When you are ready to bake, set the oven to 425 and place the dutch oven in the oven for one hour. It could be as long as 30 minutes, but I like to just let the dough rise while heating up the dutch oven at the same time.
Take the dough out of the fridge and place in a warm place for one hour. I usually just place it on my stove.
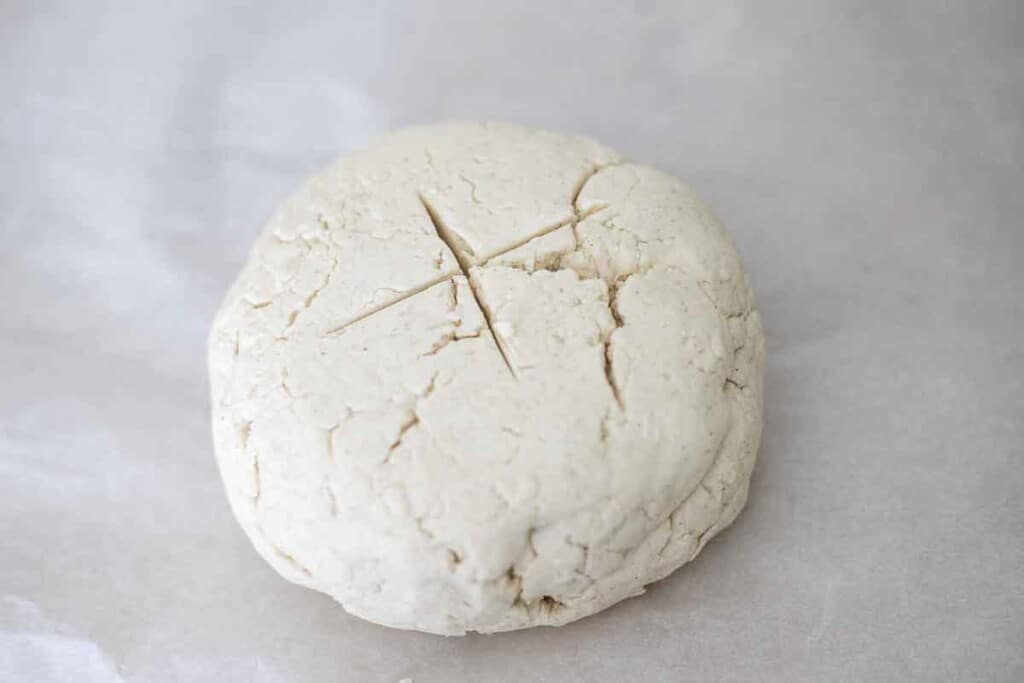
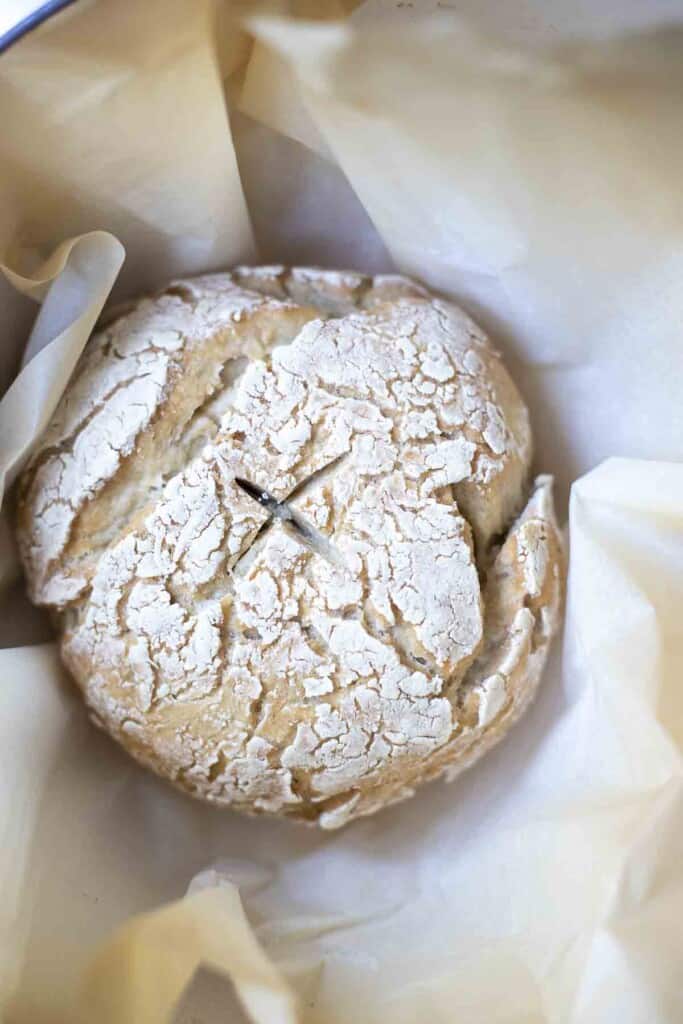
Once the hour is up, score the dough with a knife and drop the dough and parchment paper into the hot dutch oven, replace the lid, and place the dutch oven back into the oven.
Bake for 35 minutes with the lid on, then remove lid, turn heat to 400 and bake for another 25-30 minutes.
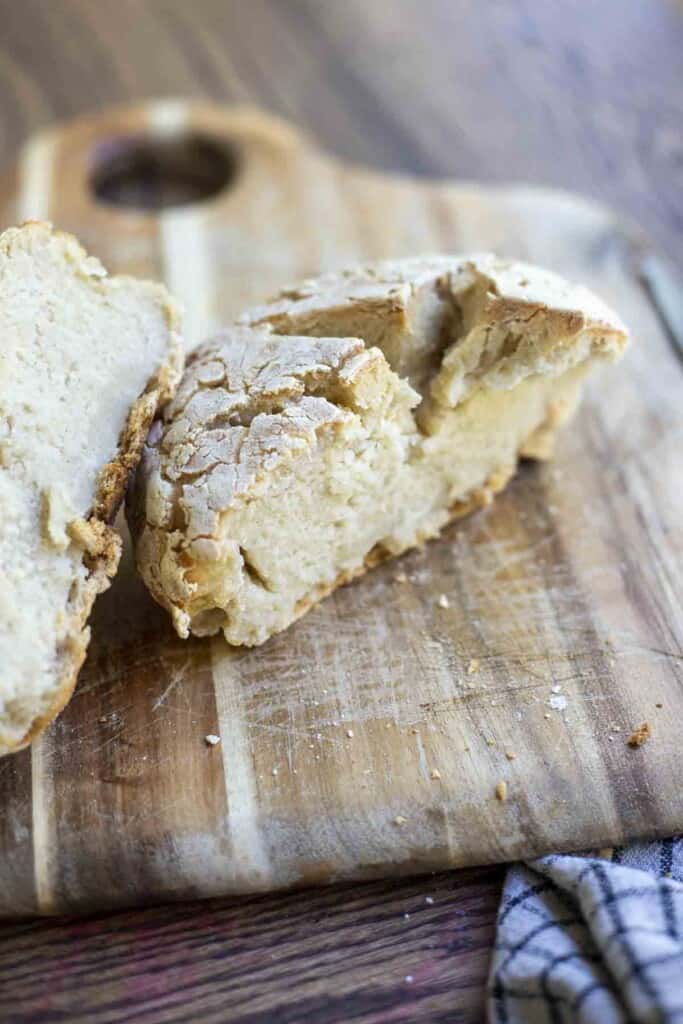
Once it is done baking, allow it to cool completely before slicing. At least an hour or more will help reduce the gumminess.
Slice and toast. This bread really needs to be toasted in order for the texture to be good. I wouldn’t recommend eating it un-toasted.
Baking Schedule:
8 AM: Feed sourdough starter
1 PM: Create dough. Place dough on parchment paper and place in a bowl with a lid or plastic wrap. Put in a warm spot.
9 PM: Refrigerate dough.
9 AM: Preheat oven and dutch oven. Place the dough and parchment paper in a warm place. Cover with a towel.
10 AM: Bake
Find More Gluten Free Recipes:
- Gluten Free Lemon Cake
- Homemade Gluten Free Granola Bars
- Sourdough Buckwheat Pancakes
- Strawberry Cheesecake Ice Cream
- Coconut Flour Lemon Poppy Seed Muffins
If you try this recipe and love it, I would love if you could come back and give it 5 stars!
Gluten Free Sourdough Bread
Ingredients
- 3 cups gluten free 1-to-1 flour, I used Bob’s Redmill
- 1 – 1 1/2 cups water
- 1/2 cup sourdough starter
- 1 1/2 teaspoons salt
Instructions
- Feed your sourdough starter 4-12 hours before starting this recipe. My sourdough starter never looks very bubbly, but it is still active.
- In a stand mixer with a dough hook, add flour, sourdough starter, salt, and one cup of water.
- Start the mixer on low and work up to medium. Mix until the dough starts to turn into large crumbles. If the dough is too dry, add a teaspoon or two of water until all the dough turns into large crumbles and there isn't any loose flour around the edges and bottom. You want the dough to be more on the dry side than the wet side.
- Knead the dough with your hands until the dough forms a ball.
- Shape into a 6-inch disk-like ball (basically the shape you want the bread to bake) and place onto parchment paper.
- Put the parchment paper and bread dough into a large bowl with a lid, or a large bowl you can cover with plastic wrap. It should be airtight.
- Allow the dough to “rise” and ferment in a warm place for 6-12 hours. I say “rise” because it doesn’t really rise much at all. Don’t expect this to double in size like a standard bread.
- Once the bulk fermentation has happened, place the bowl with lid or plastic wrap into the fridge. You could also dust a banneton basket with rice flour, transfer the dough to the banneton, place in a plastic bag (I usually use plastic grocery bags), tie and place in the fridge.
- Allow the gluten free sourdough bread dough to chill for 3-12 hours.
- When you are ready to bake, set the oven to 425 and place the dutch oven in the oven for one hour. It could be as long as 30 minutes, but I like to just let the dough rise while heating up the dutch oven at the same time.
- Take the dough out of the fridge and place in a warm place for one hour. I usually just place it on my stove.
- Once the hour is up, score the dough with a knife and drop the dough and parchment paper into the hot dutch oven, replace the lid, and place the dutch oven back into the oven.
- Bake for 35 minutes with the lid on, then remove lid, turn heat to 400 and bake for another 25-30 minutes.
- Once it is done baking, allow it to cool completely before slicing. At least an hour or more will help reduce the gumminess.
Notes
- While this has a delicious flavor, I will say that it tastes and works best if you slice the bread and then toast it. It still has that slightly gummy/wet texture that most gluten free breads do, so the toasting helps dry it out.
- Depending on the hydration of your starter, you may have to adjust the amount of flour and liquid. I suggest starting with one cup of water and then adding a teaspoon or two at a time until everything comes together.
Nutrition
Nutrition information is automatically calculated, so should only be used as an approximation.



Thank you for the recipe. I’ve followed your recipe, great gluten free sourdough as a result! Patience makes it perfect😄
Does it matter what kind of flour is used to feed your starter? I have been feeding my starter with sorghum flour. I have not tried to make this recipe yet and I am very new to GF sourdough bread, but not Sourdough bread itself. This is a whole new world to me!
BTW, I love following you and you’re recipes are so yummy!
Hello! I’ve made this recipe twice now, and both times, it’s been raw on the inside despite the outside appearing browned (and the crust being incredibly hard). I created a starter from your recipe – it’s about 10 weeks old now. I followed your instructions exactly as I could – Bob’s Red Mill 1:1 flour, etc. – and baked it in a Dutch Oven. The only difference is that I used a silicone pad instead of parchment. I proofed it in the fridge in a bowl with a disposable shower cap covering the bowl and noticed a LOT of condensation on the plastic, which dripped onto the loaf, and I had to dry it with a paper towel. Could this be part of the problem?
Thanks for any help you can offer. I am really determined to get it right! I am not GF, but several important people in my life are, and I really want to get this right for them!
I would say that the dough is under fermented. I would let it ferment longer. Is your starter active?