Learn how to make a simple and custom DIY bed skirt with linen. Give your bed a soft and airy feel while hiding any unsightly box springs.
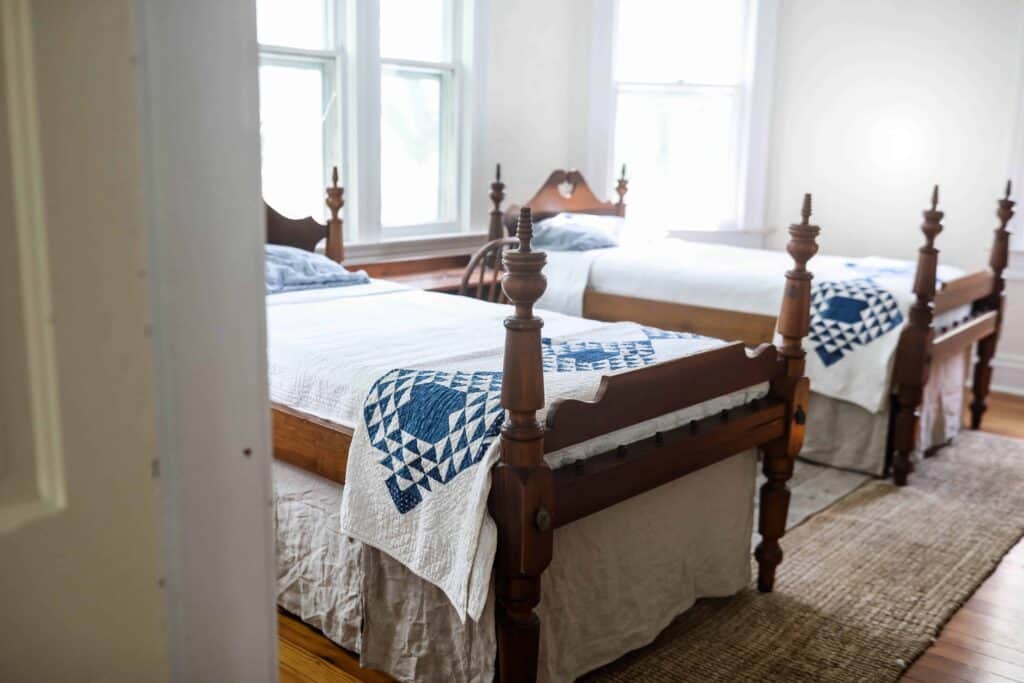
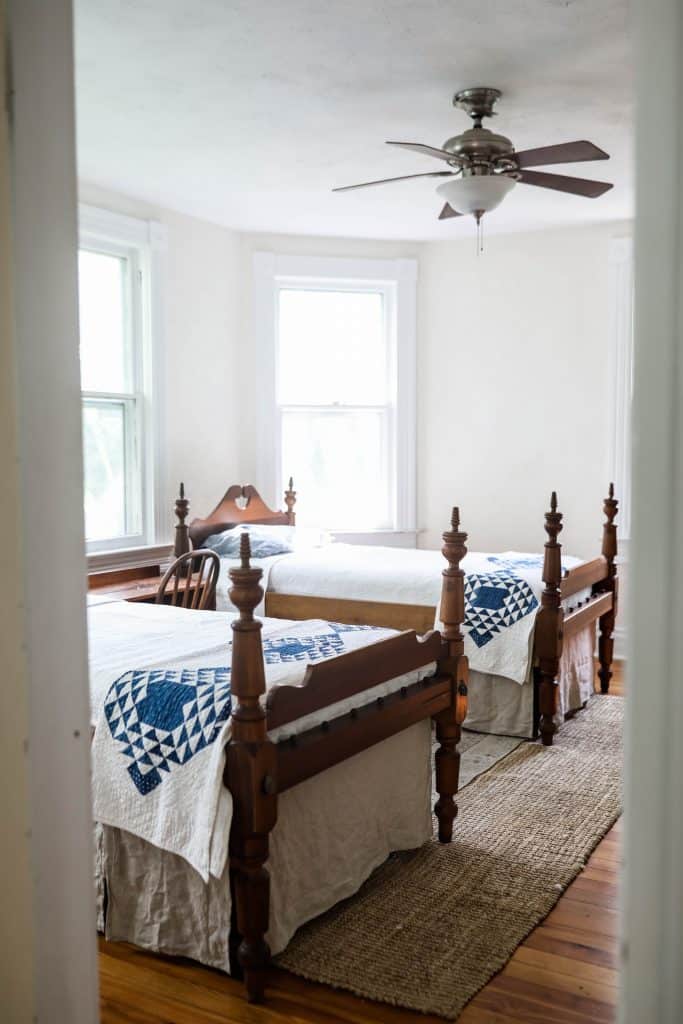
We’ve been working on a little makeover for the boys’ room. After years of wear, tear, and wrestling matches, their cheap iron beds were just not holding up to the test of time.
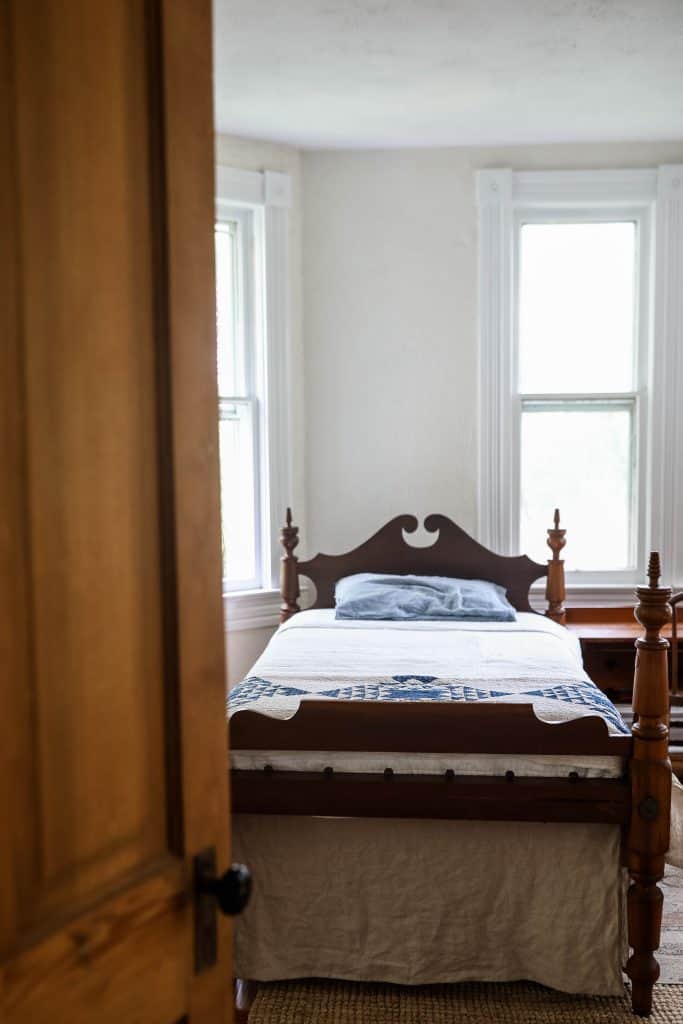
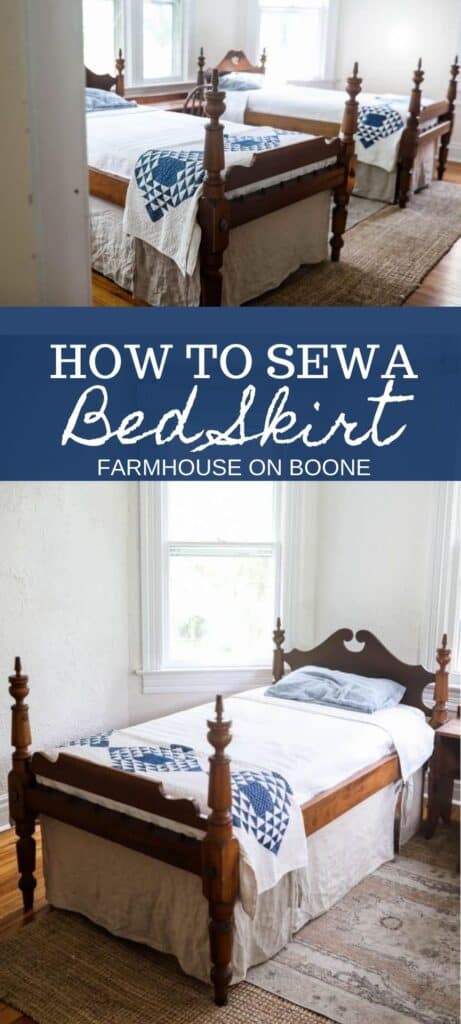
I recently purchased inexpensive, antique wood beds on Facebook Marketplace for $10 apiece, and they work perfectly for the space. Originally, they included rope instead of box springs.
Over the years the rope had been removed, so we needed to replace it by making wood platforms to hold the mattresses.
That was an easy fix, but then came the challenge of finding a bed skirt that would fit around the steel supports.
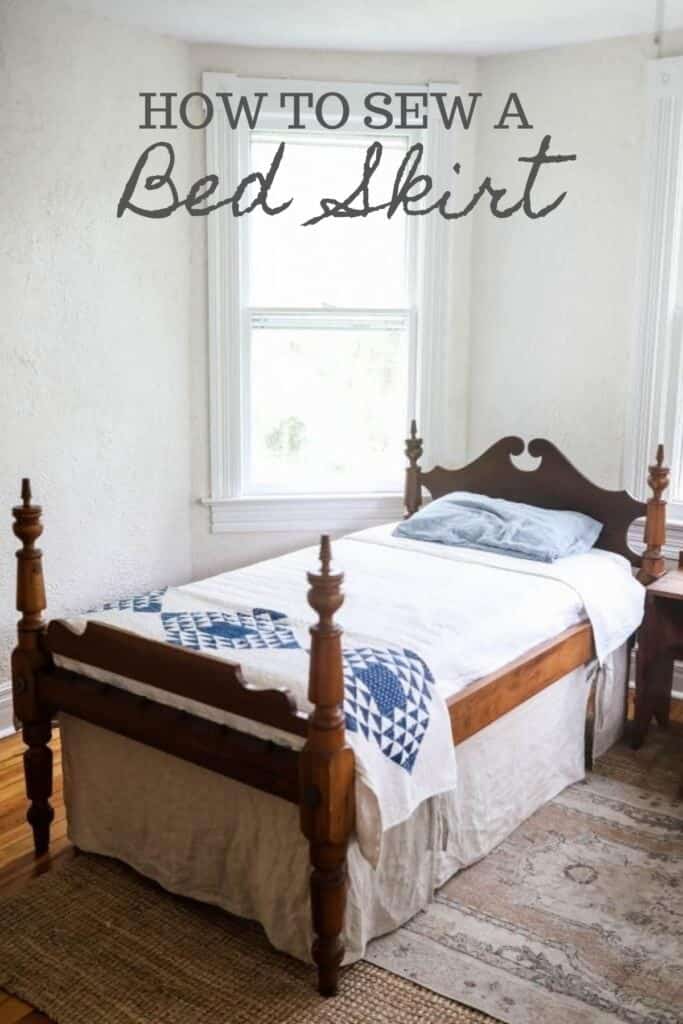
Luckily, this DIY bed skirt is fairly simple and uncomplicated.
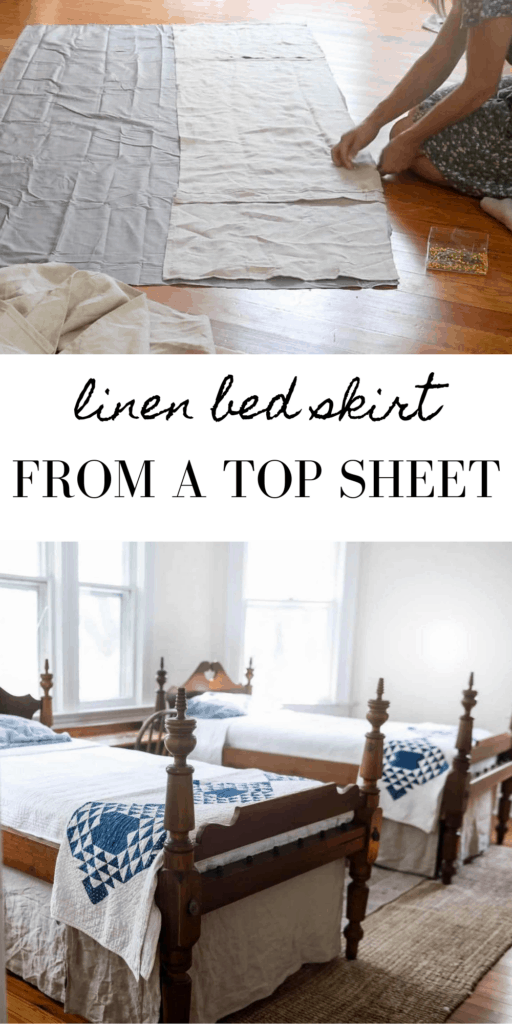
I just picked up a linen table cloth (it was the best price per yard I could find) and a bed sheet, and was able to create this beautiful bed skirt.
I want to show you how to make this bed skirt two ways. The more usual way will work for most beds, but I also want to show you what I did for my boys’ beds.
Tips:
- This tutorial is completely customizable. Change the length, the width, add ties, ruffles, or slits. For ruffles, take your length and add 1.5”. You can see how to create a ruffle here.
- Use a linen table cloth and bed sheet to make this tutorial even simpler. Using the already sewn hems means less hems for you to create.
- Make sure to check the fit of the skirt before sewing the panels on. I found, after trying it, that the extra small panels I added weren’t fitting well. So, I ended up removing them and adding ties.
What is a bedskirt used for?
It is used to hide a box spring or anything stored under a bed. They are great to add texture to your bed, and the room as a whole. If you have a small house or need extra storage, hiding any unsightly stuff under the bed is a great option.
Do you need a bedskirt?
In many cases, no. If your bed doesn’t have a box spring, or if you have a pretty platform bed, then you probably don’t need one.
This post contains affiliate links, which means I make a small commission at no extra cost to you. See my full disclosure here.
Tools you will need:
Fabric – I used a linen table cloth and a bed sheet.
Serger (optional)
Measuring tape
Coordinating thread
Pins
Safety pin
Watch The Tutorial
How To Make A Bed Skirt
Measure
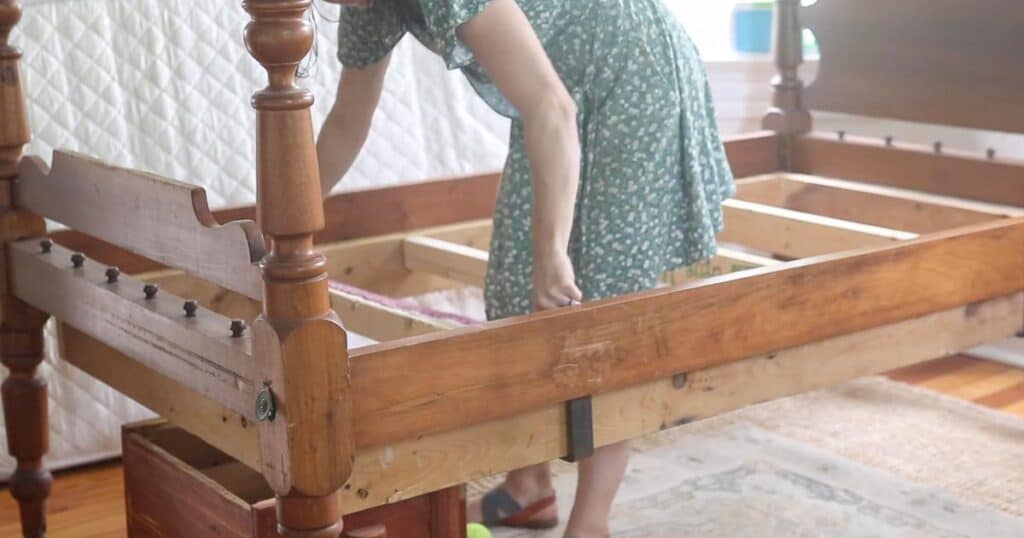
Measure the sides of the bed (box spring area) and the end of the bed. Add 1/2 inch for seam allowance on all sides. Mine was 41″ by 74″, so it ended up being 42″ by 75″ with the allowance.
Note: If you are using a sheet to create the top piece, use the hem already created on the sheet as the top panel of the bed, since it is near the headboard and against the wall. No one will even see it. If you don’t use a sheet, add a hem.
Measure the distance from the top of the box spring (or platform) to the floor. Add one inch for seam allowance.
Since I need to make these custom due to the iron bars, next I measure where the bars were located, so I know where to add the slits. This turned out to be 16″ from the end.
Cut Fabric
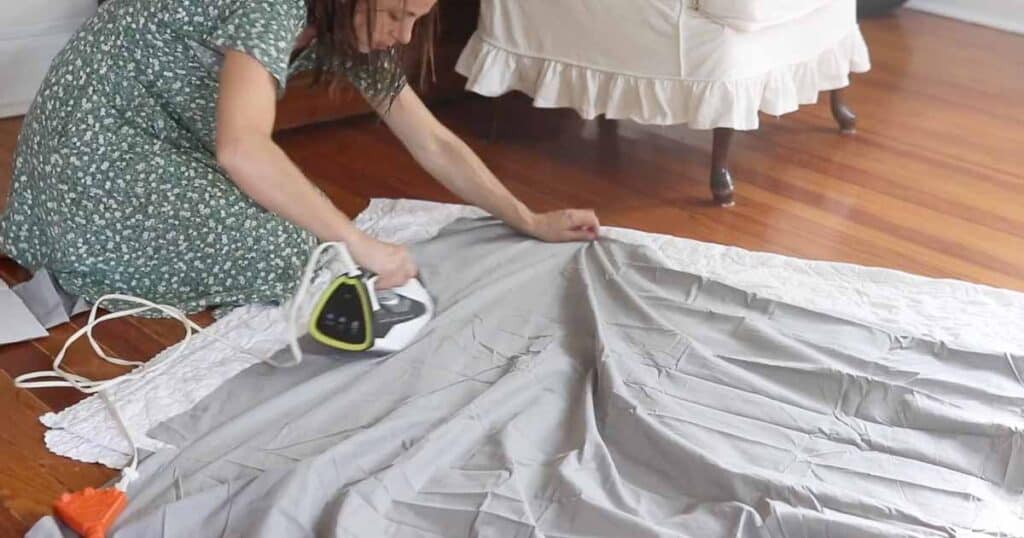
Iron your fabric.
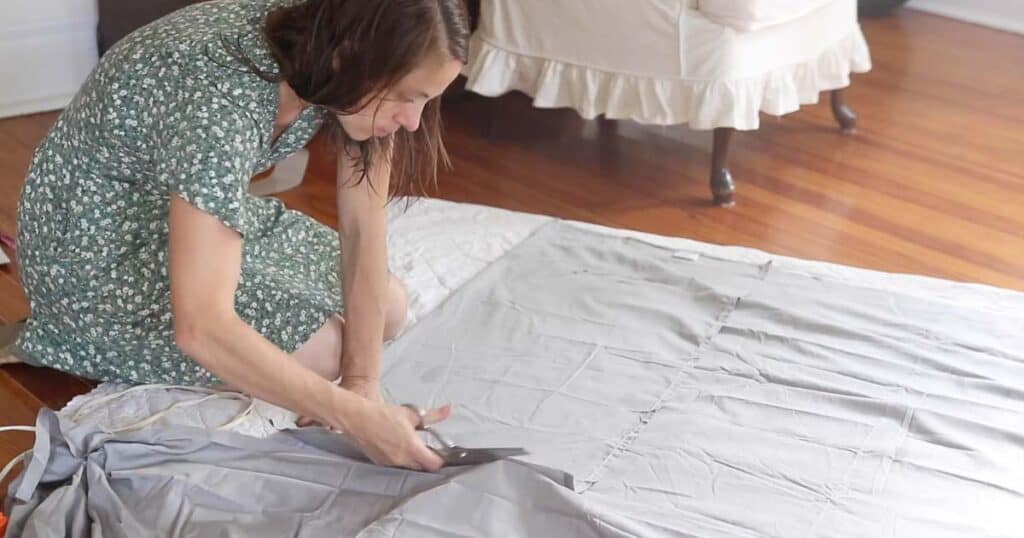
Cut the top piece from the sheet or fabric. If using a sheet, make sure to use the hem already created as the top portion. I also didn’t cut any of the other side hems off the sheet and just sewed the panels right to the hem.
Cut the side panels according to measurements. Make sure to add one inch for seam allowance on all sides. Since I used a linen tablecloth, I used the hems already created and only needed to add 1/2 inch seam allowance to attach it to the top piece. If your material doesn’t have a hem, add one inch to the bottom for hem allowance.
The boys’ beds had two steel bars that I needed to create slits for, so I created three panels for each side, totalling four 16″ long panels + hem allowance, so 18″ long, and two 42″ long + hem allowance, so 44″ long for each side. Lastly, one panel at 43″ for the end of the bed.
Sew
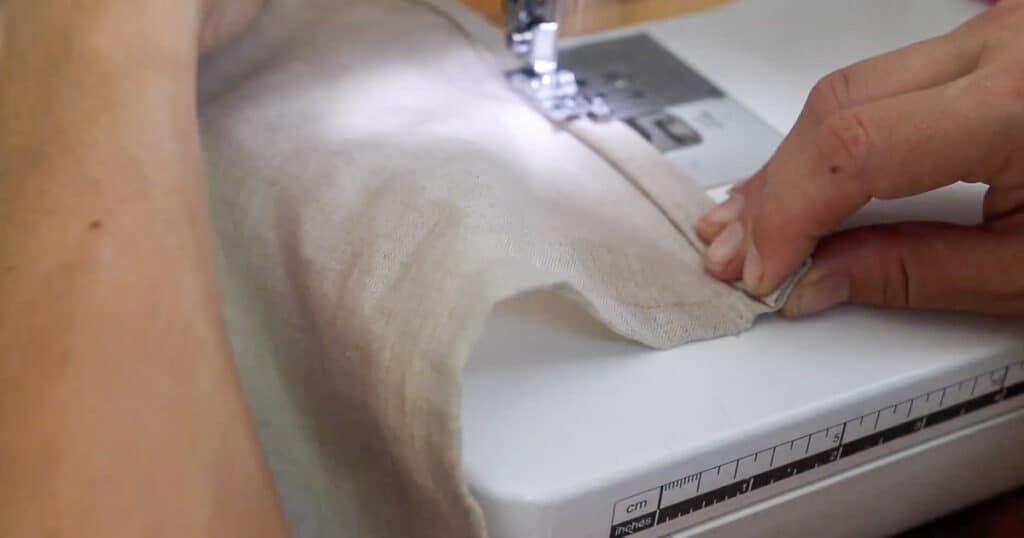
Hem the sides of each panel 1/2 inch over, then another half inch. Press and sew.
Lay out the top sheet, with the right side facing you.
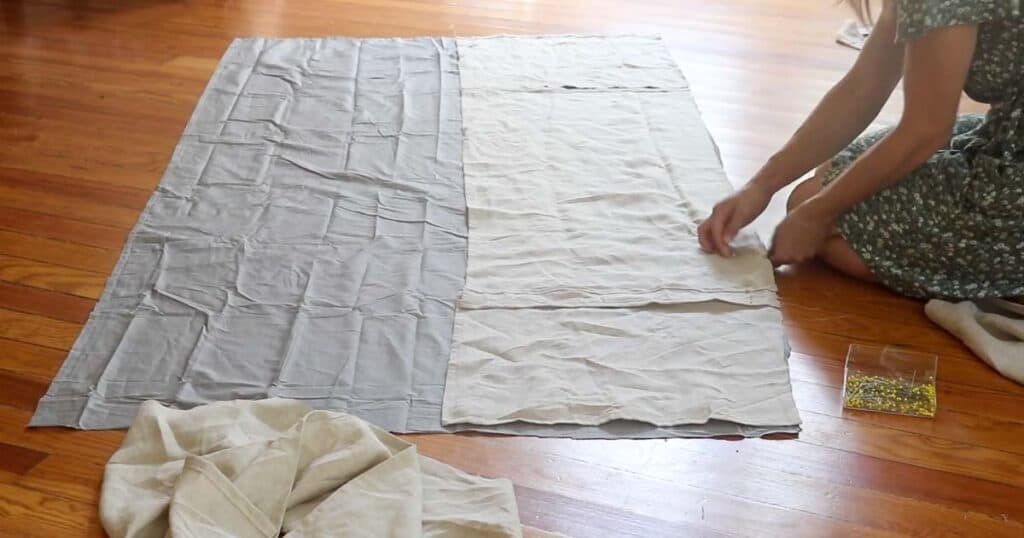
Lay panels on the top sheet with the right sides facing the sheet and line up the edges.
For my case, I lined it up with 16″ panel, 42″ panel, 16″ panel right next to each other on both sides of the skirt.
Pin the panels down and sew the panels to the top piece.
In the front, make sure there is a 1/2 inch space for the front panel.
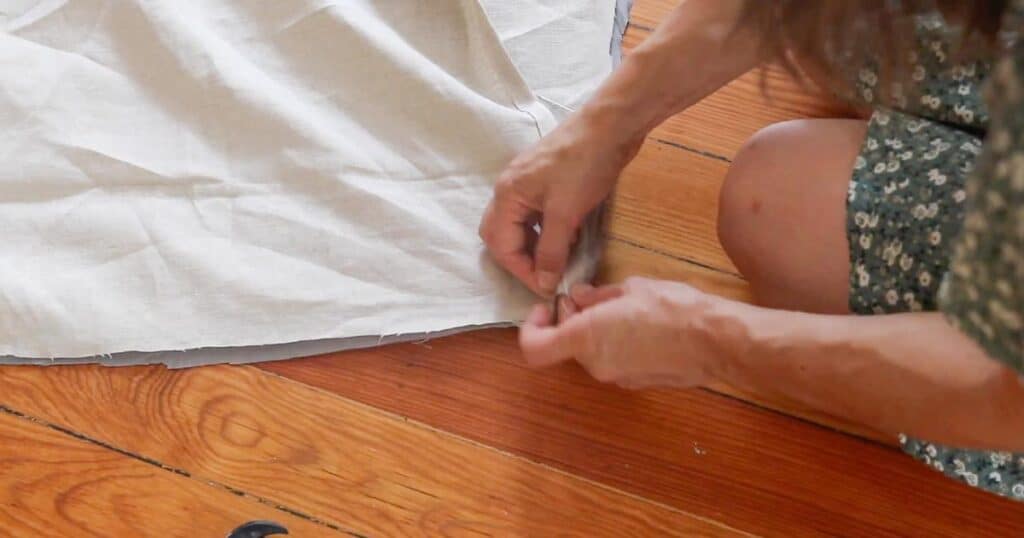
Sew on all the panels.
Check to see how the bedskirt fits on your bed. Make adjustments, if needed.
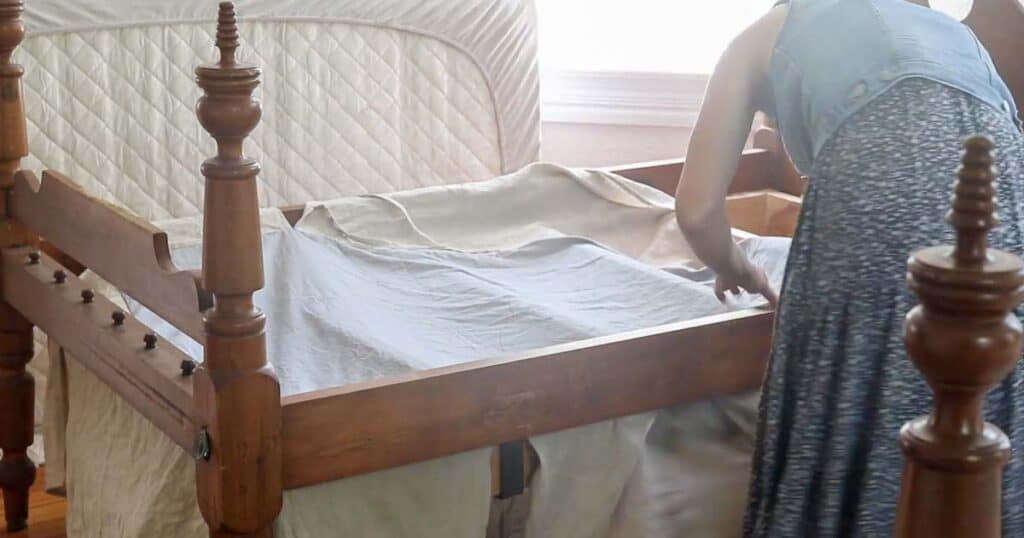
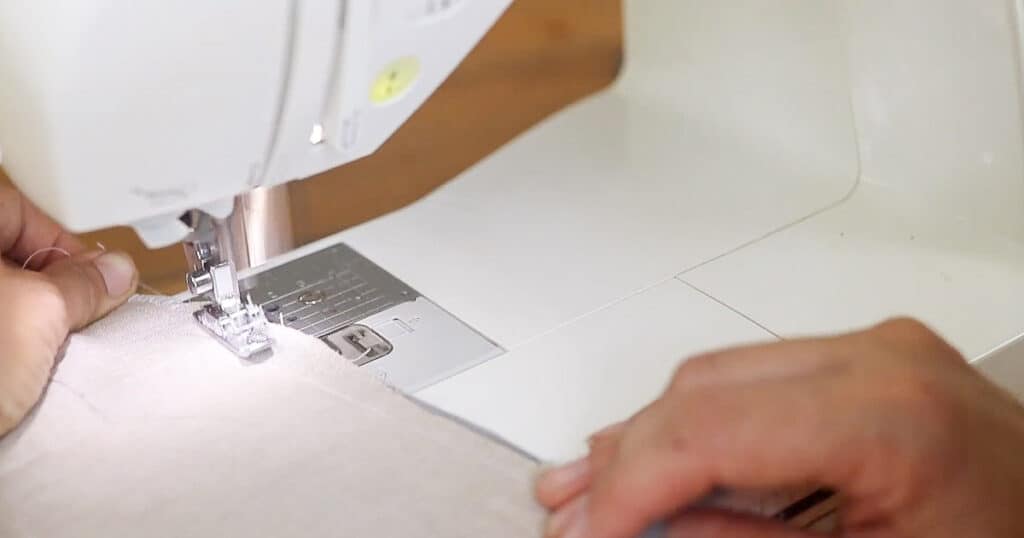
Finish all the raw edges with a serger or a zig zag stitch. You don’t want to skip this step, because every time you go to wash the skirt, you will experience some fraying.
Optional: Create Ties
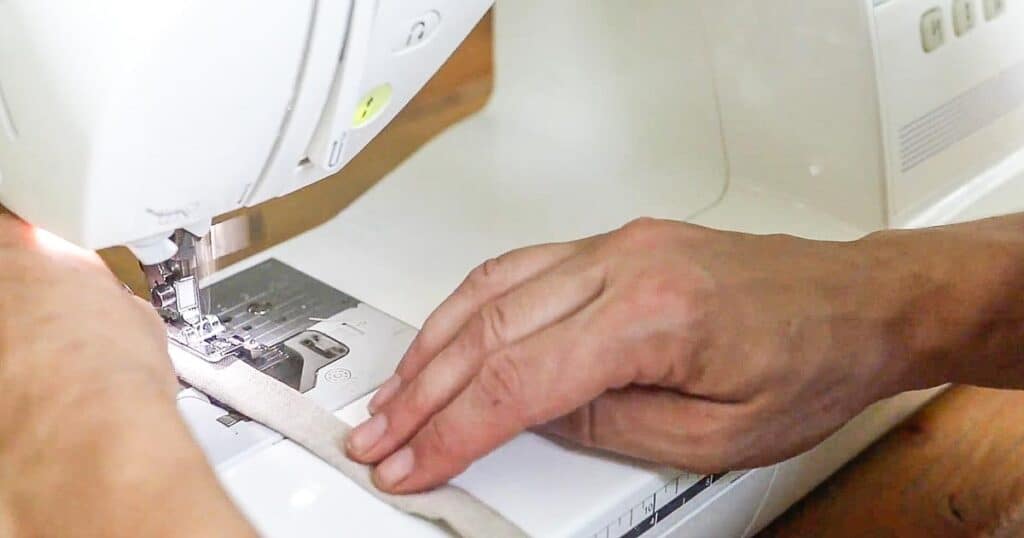
I then decided to add some ties to help the bed skirt fit better around the bars and give it a more custom look.
Cut out strips of fabric 2″ by 18″.
Fold the top part over about a half an inch, then fold lengthwise in half (right sides together), and then sew down the length side.
Find More Sewing Inspiration
- DIY Peasant Top
- Ruffle Pillow Cover
- DIY Ticking Stripe Curtain
- Ruffle Bench Slip Cover
- How To Dye And Sew Drop Cloth Curtains
If you make this project and love it, I would love if you gave it 5 stars! Tag me on Instagram @farmhouseonboone with your beautiful creation.
DIY Bed Skirt
Equipment
- Sewing machine
- Serger (optional)
- Pins
- Measuring tape
- Sewing scissors
- Iron
Ingredients
- Fabric – I used a linen table cloth and bed sheet
- Coordinating thread
Instructions
- Measure the sides of the bed (box spring area) and the end of the bed. Add 1/2 inch for seam allowance on all sides. Mine was 41″ by 74″, so it ended up being 42″ by 75″ with the allowance.
- Measure the distance from the top of the box spring (or platform) to the floor. Add one inch for seam allowance.Since I need to make these custom due to the iron bars, next I measure where the bars were located, so I know where to add the slits. This turned out to be 16″ from the end.Iron your fabric.
- Cut the top piece from the sheet or fabric. If using a sheet, make sure to use the hem already created as the top portion. Cut the side panels according to measurements. Make sure you add one inch for seam allowance on all sides. Since I used a linen tablecloth, I used the hems already created and only needed to add 1/2 inch seam allowance to attach it to the top piece. If your material doesn’t have a hem, add one inch to the bottom for hem allowance.
- The boys’ beds had two steel bars that I needed to create slits for, so I created three panels for each side, totalling four 16″ long panels + hem allowance, so 18″ long, and two 42″ long + hem allowance, so 44″ long for each side. Lastly, one panel at 43″ for the end of the bed.
Sew
- Hem the sides of each panel 1/2 inch over, then another half inch. Press and sew.
- Lay out the top sheet, with the right side facing you. Lay panels on the top sheet with the right sides facing the sheet and line up the edges. For my case, I lined it up with 16″ panel, 42″ panel, 16″ panel.
- Pin the panels down and sew the panels to the top piece.In the front, make sure there is a 1/2 inch space for the front panel.
- Sew on all the panels. Check to see how the bedskirt fits on your bed. Make adjustments, if needed. Finish all the raw edges with a serger or a zig zag stitch. You don’t want to skip this step, because every time you go to wash the skirt, you will experience some fraying.
OPTIONAL: CREATE TIES
- I then decided to add some ties to help the bed skirt fit better around the bars and give it a more custom look. Cut out strips of fabric 2″ by 18″.
- Fold the top part over about a half an inch, then fold lengthwise in half (right sides together), and then sew down the length side.
Notes
- This tutorial is completely customizable. Change the length, the width, add ties, ruffles, or slits.
- Make sure to check the fit of the skirt before sewing the panels on. I found after trying it, that the extra small panels I added weren’t fitting well. So, I ended up removing them and adding ties.
Nutrition information is automatically calculated, so should only be used as an approximation.
Pin It For Later




Thank you this has given me an idea of what to do for my daughter’s bed. It’s got a wooden slatted base that doesn’t have a gap at the sides, it’s also too tall to just adapt a ready made valance sheet, so I think I’m just going to make the skirt part without the sheet on the top and hem it top and bottom attaching velcro then stick velcro to the inside of the bed frame and attach it that way.
You’re welcome!
Lisa, these are so pretty! Where did you get the linen tablecloth?
Thank you!
We had an antique reproduction bed my husband built from a kit that had a similar set up to your boys beds, they recommended you attach a bed skirt on cafe rods. ( not the tension kind) If the box spring shows when the bed is unmade- an extra bottom sheet will hide it.
Where did you get your quilts for the beds? LOVE
Lisa,
You say simple and easy – you always make everything SEEM as though it is simple and easy – but for me there’s no way I think I could master that easily.
Those beds are awesome – $10 a piece? WHOOT! You gave them new life – bet the boys love them, they sure look great! Well done, yet again, ma’am!!!!
Hi Lisa
I love the patchwork quilts on the ends of the beds. Did you make these also?
Jess
I found a big quilt at a thrift store & cut it in half! just had to sew up the sides & i had two matching quilts
Your home looks so fresh, calm, uncluttered, and relaxing. I love it! I love the fact that you do it on a budget too. Please keep the diy tutorials coming as they are so helpful.
i am so happy to hear that they are helpful to you!