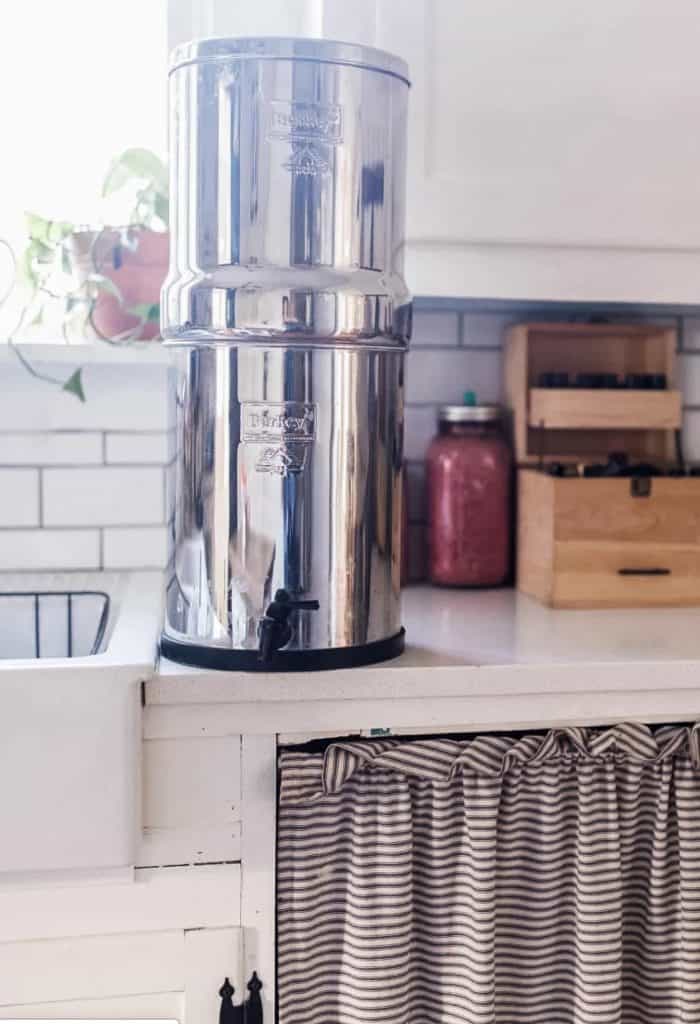
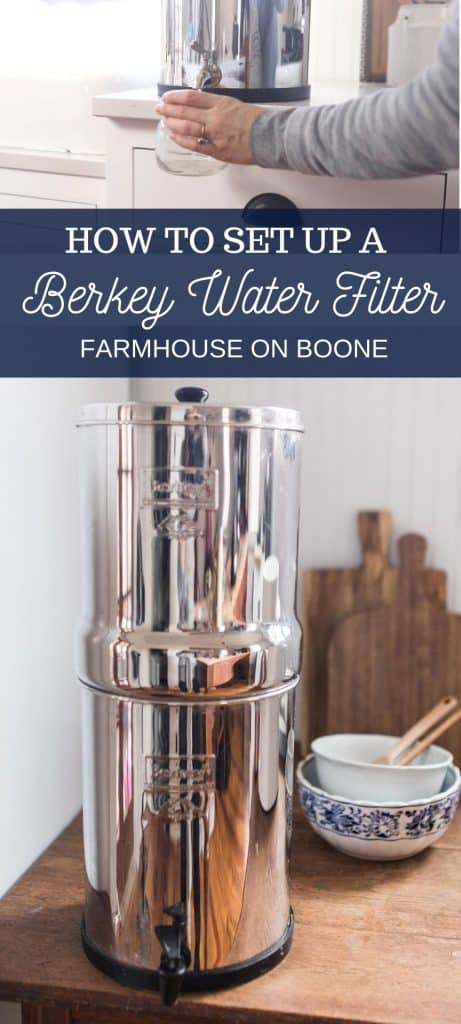
Learn how to set up a Berkey water filter for the cheapest and best water purifier in your home. This tutorial will walk you through assembling and installing your water filtration system the correct way.
This post contains affiliate links, which means I make a small commission at no extra cost to you. See my full disclosure here.
Today, we are continuing in our Berkey water filter system education series by showing you how to set it up.
If you just purchased one and haven’t set it up yet, this post and video will be perfect for you.
We have had our Berkey for over 8 years; it is such an essential part of our healthy lifestyle, and makes a huge impact on the taste of our water.
We chose this type of water filter for our home because it gets more things out of water than any other water filter that I researched, and it is also the cheapest per gallon of filtered water.
This is because the filters last so long, and once you have the whole system, the only thing that you need to purchase every few years is new filters.
Tips For Setting Up Your Berkey Water System
- Wash the stainless steel canisters before putting it all together.
- Prime the filters before installing them, or your water will filter extremely slowly.
- If you feel like the upfront price is a little costly, learn how you can get a deal here.
Tools you may need:
Berkey Water Filter System: I have the Royal Berkey.
Metal spigot – comes with the Berkey bundle. Totally optional. We used the plastic one for 8 years until upgrading recently to the metal one.
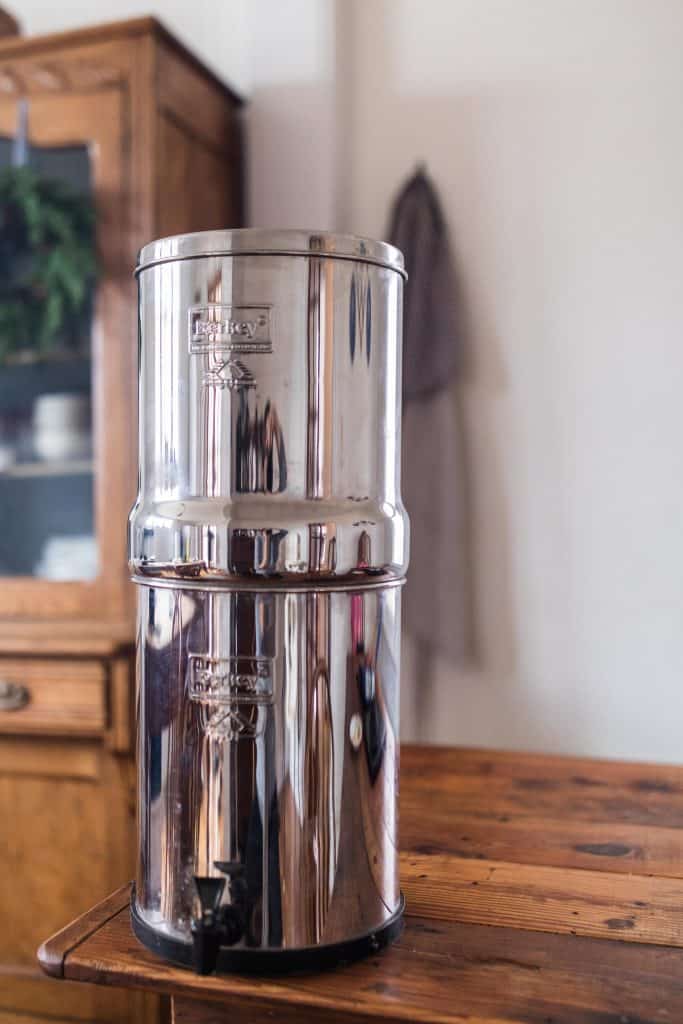
How to Set Up a Berkey Water Filter
Step 1: Put On The Silicon Ring
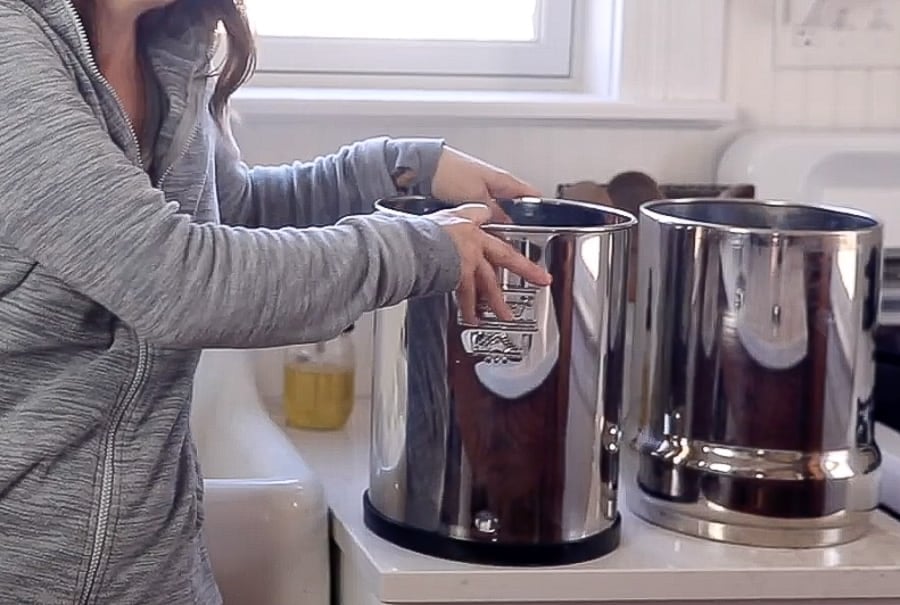
Take the silicon ring and place it on the counter. Place the bottom Berkey canister on top of the silicon ring.
The silicon ring helps support the Berkey, and keep it from sliding. This is great if you have kids, so they don’t easily pull it down.
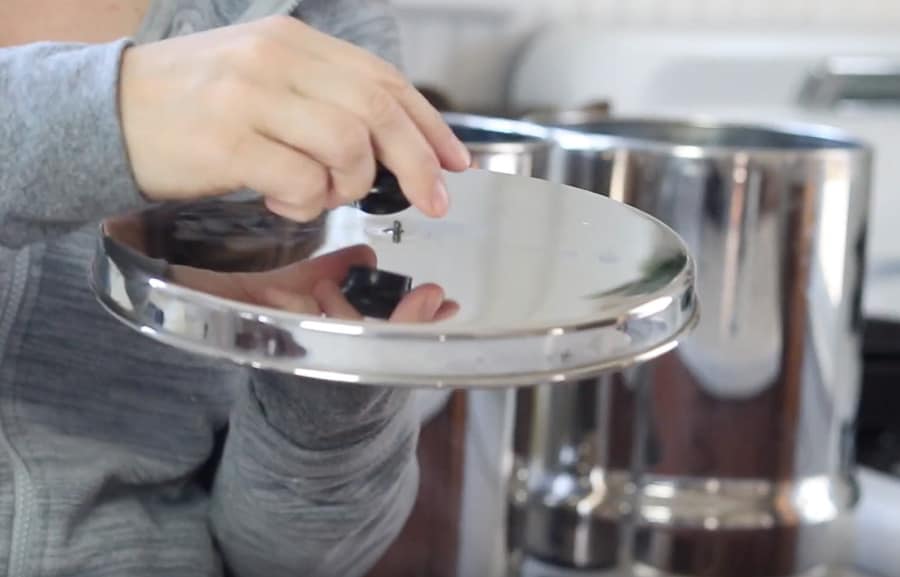
Step 2: Place The Handle On The Lid
It comes with what looks like kitchen hardware.
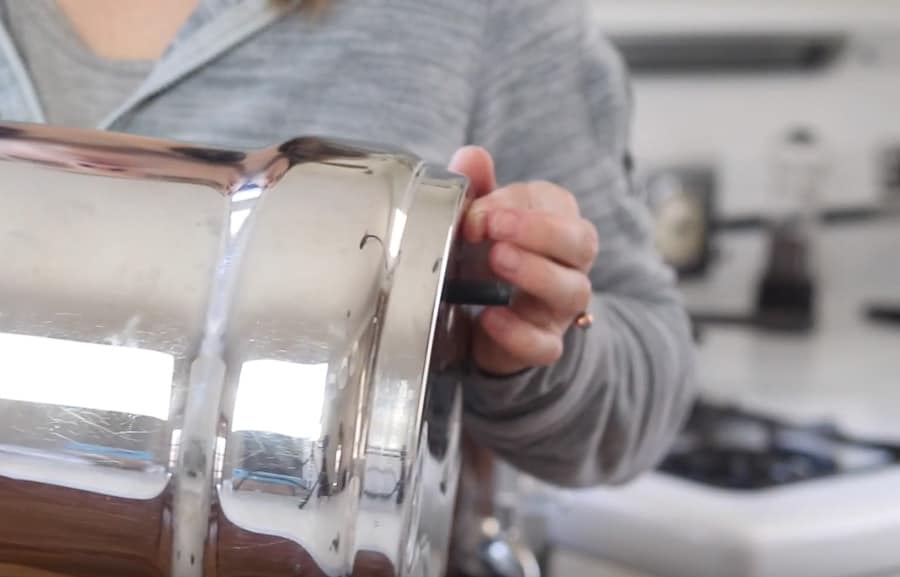
- Place the screw into the washer.
- Next, take the screw and washer and place into the underside of the lid, into the hole.
- Screw the handle onto the lid.
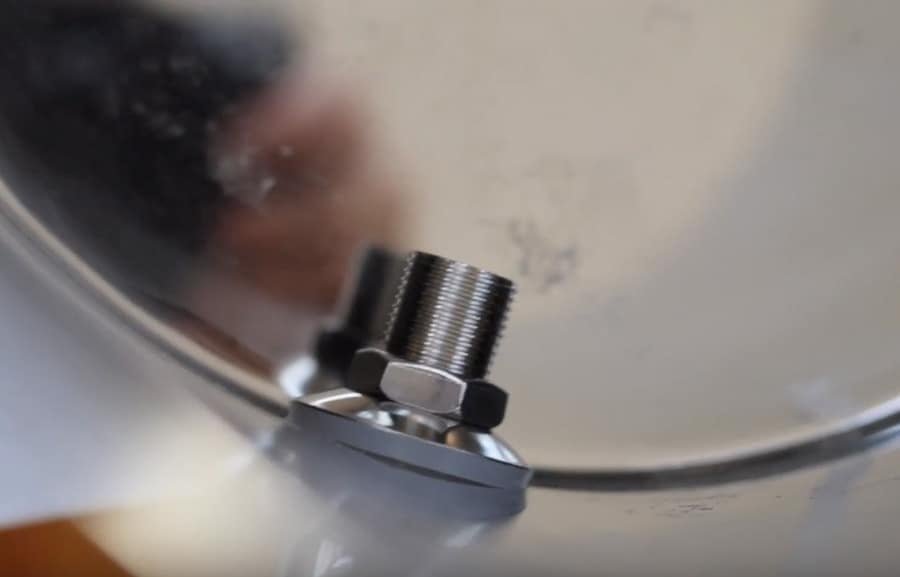
Step 3: Install The Spigot
If you just purchased the regular Berkey, yours will come with a plastic spigot. If you purchased a bundle deal, then yours will have a stainless steel one.
We’ve had the plastic one for many years, and I just recently purchased a stainless steel spigot due to liking stainless steel over plastic, but also, our old farmhouse had super hard water, and the spigot developed calcium deposit around the opening.
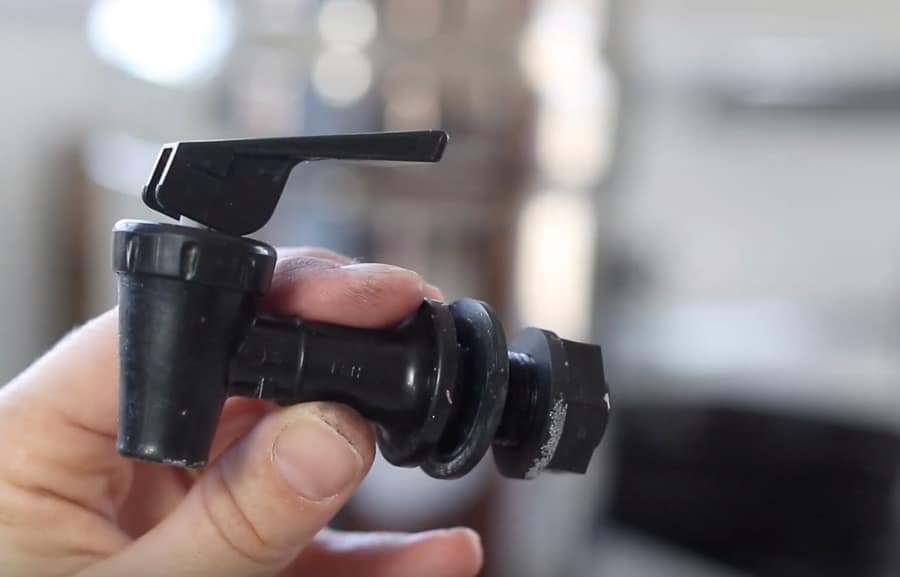
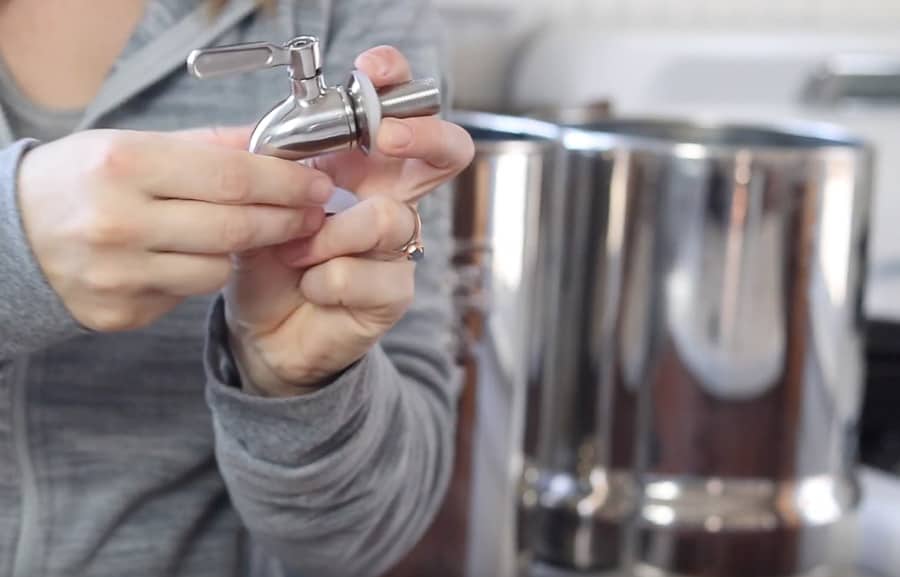
Whether you have the stainless steel spigot or the plastic, one the installation remains the same. The only difference is the plastic spigot has plastic hardware while the stainless steel one has stainless parts. Also, the plastic one doesn’t have the metal covers.
- Remove the blue plastic from the two metal washer-looking pieces.
- Place the metal ring on the spigot tube with the round part closest to the spigot.
- Next, place one of the silicon gaskets on the spigot tube. This creates a nice seal on the Berkey, so you don’t have any leakage.
- Place the spigot tube into the hole in the bottom canister.
- On the inside of the canister, place the other silicon gasket into the spigot tube, and then place the metal ring after, with the wider part touching silicon.
- Take the metal nut and tighten it onto the tube, making sure it is really tight. You will know if it is not tight enough if your Berkey starts leaking.
Step 4: Install The Filters
- Next, we are going to install the black carbon filters. Now, if you purchased the bundle deal, yours will come with the black carbon filters and the fluoride/arsenic filters. We tested our water and we don’t have fluoride/arsenic issues, so I’m going to show you how to install the black carbon filters. Installing the fluoride filters is pretty similar, though.
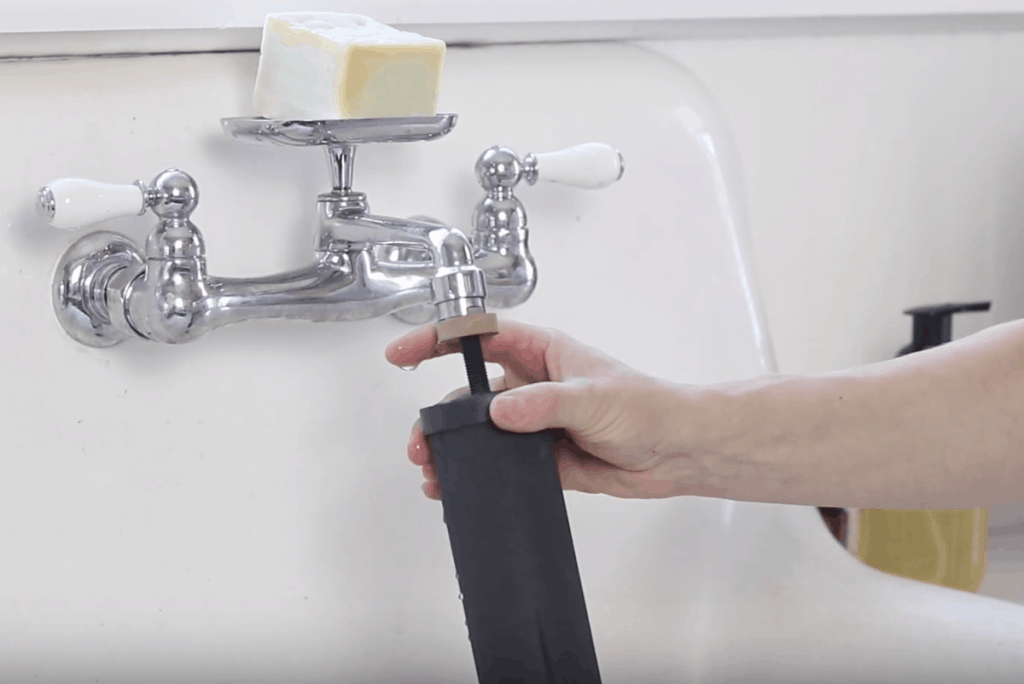
- Make sure the filters are primed before installing them. You can see how to prime them here.
- Add the gasket to the black filter element, and then place the element with the tube down through one of the holes on the top chamber.
- Next, screw it on with the screw nut. You want it tight, but make sure not to tighten it too much, or you risk stripping the screw.
- Do the same for the other black element.
Step 5: Add The Stoppers Or More Filters
At this point, you have two options: you can add more black carbon filters to the remaining holes, which will make it filter a lot faster, or you can add plugs.
We’ve never had a problem with the rate of filtration with just two filters. But, if you saw my recent post when I did the red dye test, I figured out that one of the elements had been damaged at some point.
Since they come in sets, and I don’t want to just throw one away, I’m going to add the third filter to mine, and then stop up the fourth hole.
The point of the stopper is to stop the unfiltered water from getting through to the lower chamber of filtered water.
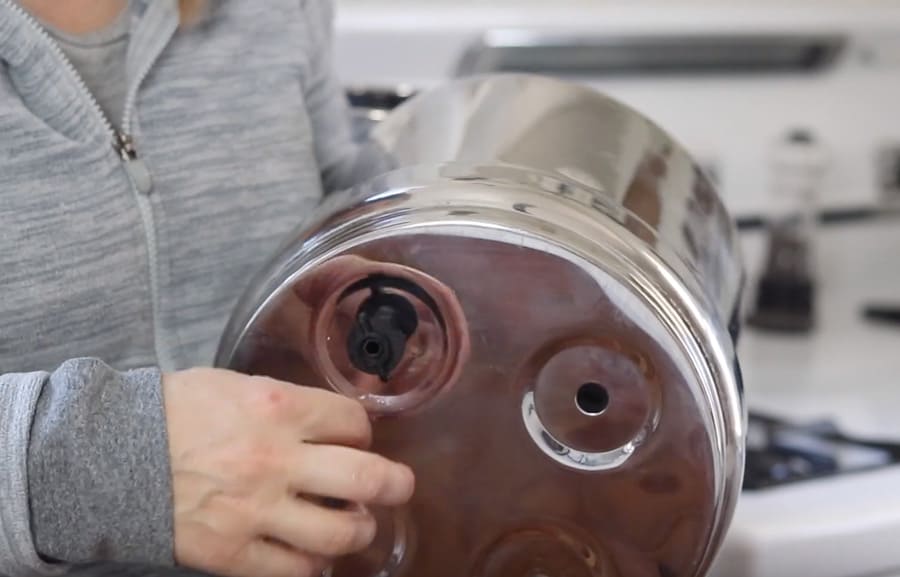
- Take the stopper and push the small end through the hole.
- Do the other side as well.
Step 6: Test The Berkey Water Filter System
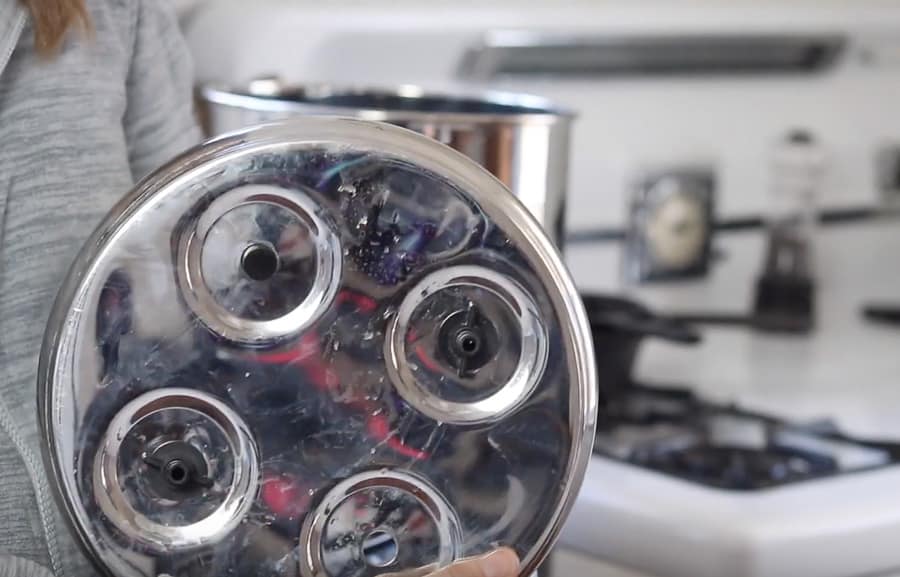
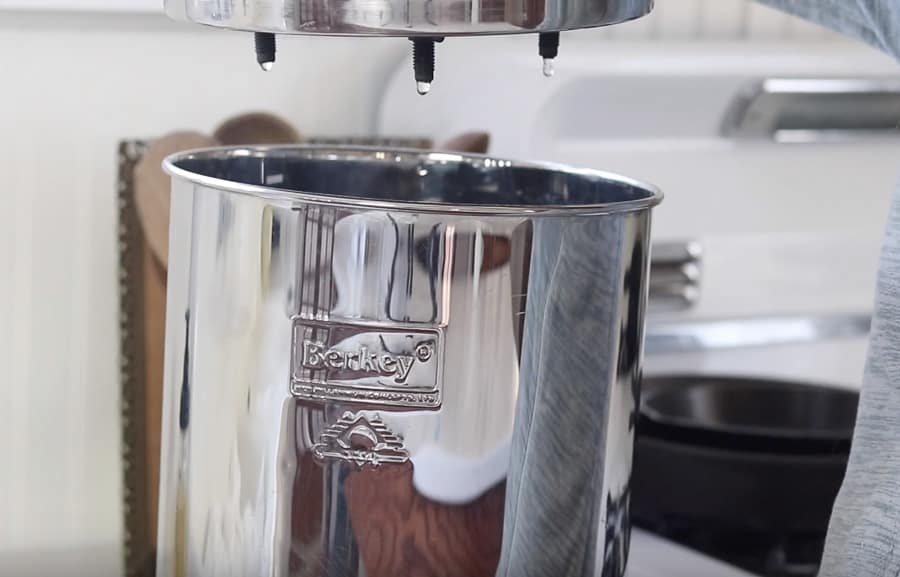
- Add water to the upper chamber, and check to make sure the water is coming out where it is supposed to. You want to make sure it is coming through the filters, and not leaking through any of the nuts or the plugged holes.
- Hold it up and check to see where it is dripping through. I can see that mine are coming through the filters and dripping through the filter tubes.
- If they are leaking through spots they are not supposed to, empty the water and tighten the element nuts. Test again.
Step 7: Finish Up
- Set the top chamber on top of the bottom chamber, fill completely with water, and place the lid on top.
- Let the water filter out a few times before drinking it, just to make sure any sediment in the filter comes out.
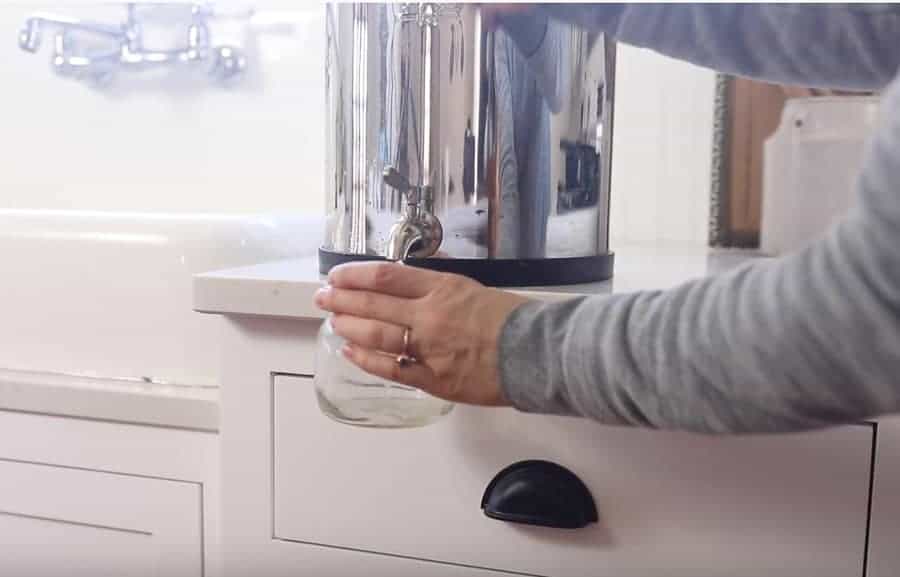
- You are all set! Enjoy your delicious, filtered water.
Now, if you have had your filters awhile and you want to make sure they are still filtering properly, check out how to do the red dye test.
Berkey Filter FAQ
How Often Should You Clean Your Berkey Water Filter?
Honestly, we don’t clean it super often. If you want to learn how to clean yours, check out this post.
If you are still on the fence about purchasing your own water filtering system, you can find out all about why we chose the Berkey Water System in my full review.
Is Filtering Your Water Important?
We believe it is an essential part of our natural living and from-scratch lifestyle. You can find out why we think it is important here.
More From The Farmhouse
- How to Make a Sourdough Starter from Scratch
- Simple Living Gift Guide
- Victorian Farmhouse Kitchen Reveal
- How to Make Water Kefir Soda
- Lacto Fermented Salsa Recipe
How To Set Up A Berkey Water Filter
If you try this tutorial and love it, make sure to come back and give it 5 stars! Please and thank you.
How To Set Up A Berkey Water Filter
Equipment
- Berkey Water Filter
Ingredients
- water
Instructions
- Clean the Berkey Water Filter.
- Take the silicon ring and place it on the counter. Place the bottom Berkey canister on top of the silicon ring.
- Place the screw into the washer.
- Next, take the screw and washer and place into the underneath part of the lid into the hole.
Screw the handle onto the lid.
Whether you have the stainless steel one or the plastic, the installation remains the same. The only difference is the plastic spigot has plastic hardware while the stainless steel one has stainless parts. Also, the plastic one doesn't have the metal covers.- Remove the plastic from the two metal washer-looking pieces.
- Place the metal ring on the spigot tube with the round part closest to the spigot.
- Next, place one of the silicon gaskets on the spigot tube. This creates a nice seal on the Berkey, so you don't have any leakage.
- Place the spigot tube into the hole in the bottom canister.
- On the inside of the canister, place the other silicon gasket into the spigot tube, and then place the metal ring after, with the wider part touching silicon.
- Take the metal nut and tighten it onto the tube, making sure it is really tight. You will know if it is not tight enough if your Berkey starts leaking.
- Make sure the filters are primed before installing them. You can see how to prime them here.
- Add the gasket to the black filter element, and then place the element with the tube down through one of the holes on the top chamber.
- Next, screw it on with the screw nut. You want it tight, but make sure not to tighten it too much, or you risk stripping the screw.
Do the same for the other black element. - We've never had a problem with the rate of filtration with just two filters. But, if you saw my recent post when I did the red dye test, I figured out that one of the elements had been damaged at some point.
Take the stopper and push the small end through the hole. Do the other side as well.
Add water to the upper chamber, and check to make sure the water is coming out where it is supposed to. You want to make sure it is coming through the filters, and not leaking through any of the nuts or the plugged holes. - Hold it up and check to see where it is dripping through.
If they are leaking through spots they are not supposed to, empty the water and tighten the element nuts. Test again. - Set the top chamber on top of the bottom chamber, fill completely with water, and place the lid on top.
- Let the water filter out a few times before drinking it, just to make sure any sediments in the filter come out.
- You are all set. Enjoy your delicious, filtered water.
Notes
- Wash the stainless steel canisters before putting it all together.
- Prime the filters before installing them, or your water will filter extremely slowly.
Nutrition information is automatically calculated, so should only be used as an approximation.
Pin It For Later




Thank you for this! Now I can get mine fully running. I have had a hard time figuring out how to finish putting mine together and it keeps leaking around the plastic spigot. I’m about to purchase the metal one to see if it helps!