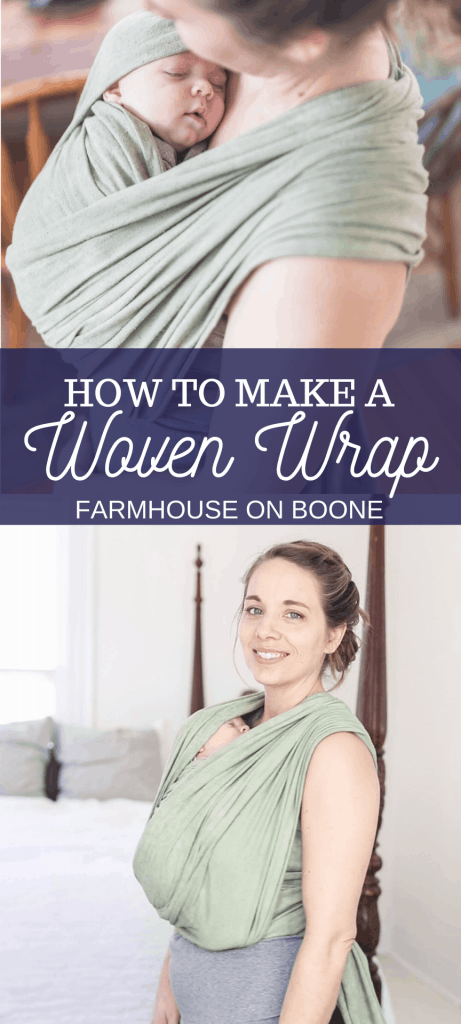
Learn how to make a woven wrap for any size baby. This DIY woven wrap tutorial couldn’t be any simpler, and is a great way to wear your baby on a budget.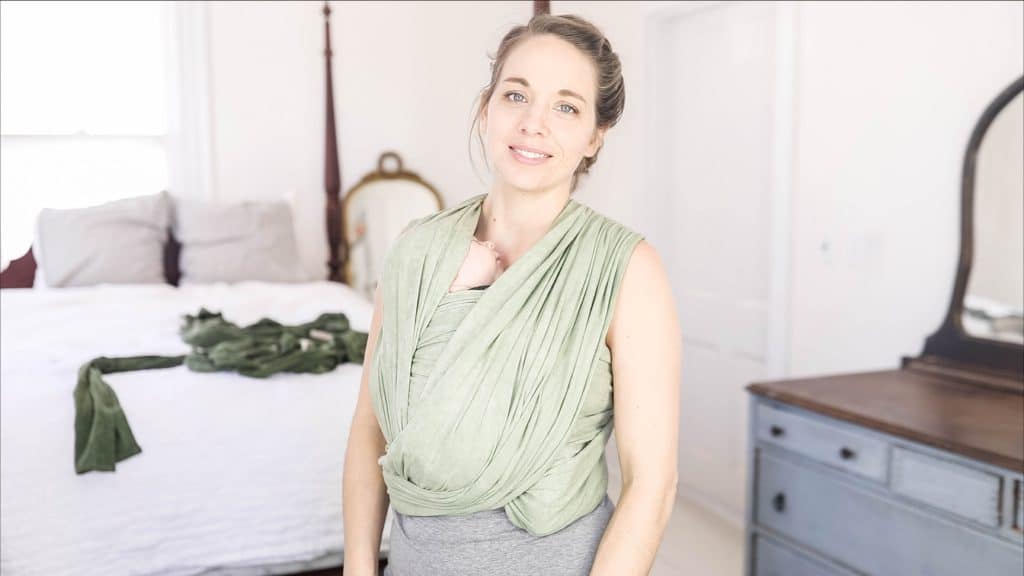
Essentially, a woven wrap is a really long piece of fabric that has been hemmed on all sides. There are different sizes of wraps, and today I’m going to show you how to make a size 5. It’s perfect for a beginner.
For this wrap, I used Osnaburg fabric, because it is the most affordable and easiest to find.
I actually ordered a lot of this fabric, too, because it was also used it to make my DIY Mei Tai baby carrier, and I made another woven wrap to give away on my Instagram page.
Make sure to head over to Instagram to enter to win this wrap. Just ‘like’ my page and leave a comment on the giveaway post. I’m going to choose a winner tomorrow.
This tutorial is so, so simple to make, and all you need are some basic sewing skills. The trickiest part is cutting out the fabric.
Tips For Making This Project:
- If you plan to dye the fabric, I would suggest dying it after you have completely finished sewing, because it will fray a lot in the washer.
- Cotton fabric is probably the easiest to use and sew for a beginner.
- If you are totally new to sewing, make sure you check out my Simple Sewing Series where I walk you through all the sewing basics. For this tutorial, the only stitch you need to do is creating a hem.
This post contains affiliate links, which means I make a small commission at no extra cost to you. See my full disclosure here.
DIY Woven Wrap Fabric Options:
Cotton
Osnaburg – This is the one I went with, because it is the most affordable.
Bamboo, wool, cotton, linen, hemp
Woven cotton fabrics in the following weaves:
Jacqaurd
Broken twill
Herringbone weave
Linen
Hemp/linen blend
Materials you will need:
5 yards of fabric (180 inches) – cut to 30 inches wide
Fabric dye (optional) – I used the same olive green dye as I used in the DIY Mei Tai. The color turned out so much lighter because I dyed all of the fabric at one time.
Small piece of lace or ribbon.
Coordinating thread
Sewing scissors
Sewing machine – I love this basic one.
How To Make A DIY Woven Wrap
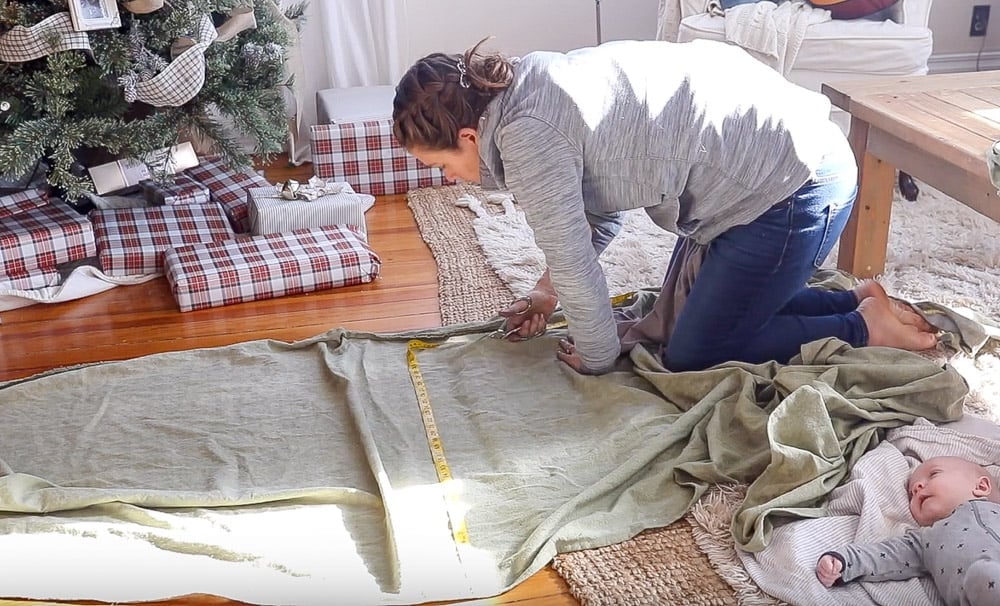
- Lay fabric out and cut it 5 yards long (180 inches) and 30 inches wide. I found it easiest to lay it on the floor to cut it out.
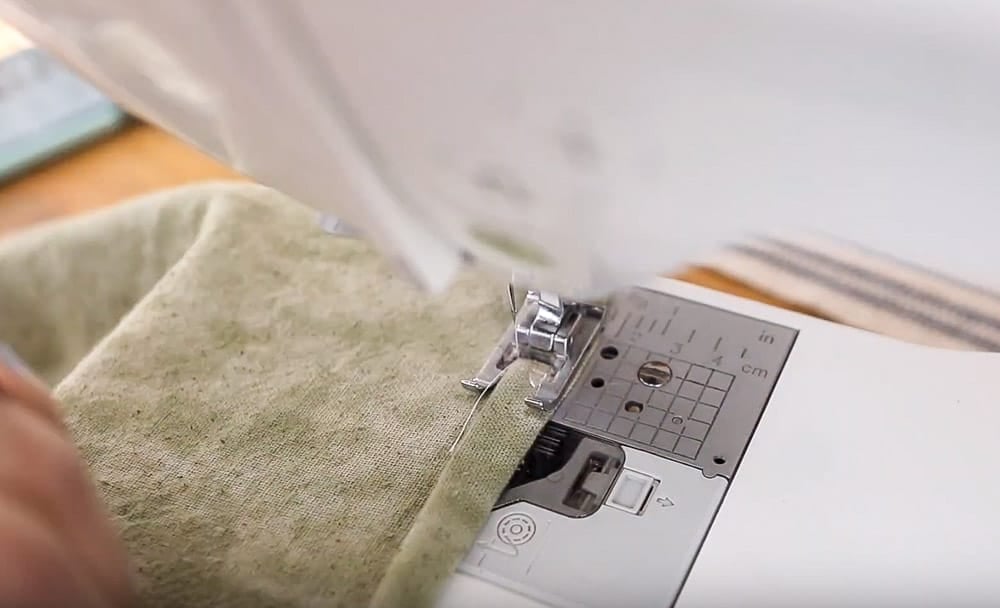
- Sew a hem down all four sides.
- If you’ve never made a hem before, check out my How To Sew A Hem Tutorial. It is very simple to do: you basically fold over the fabric a half inch, then fold it over again a half inch, and then sew a stitch on top of it, close to the edge.
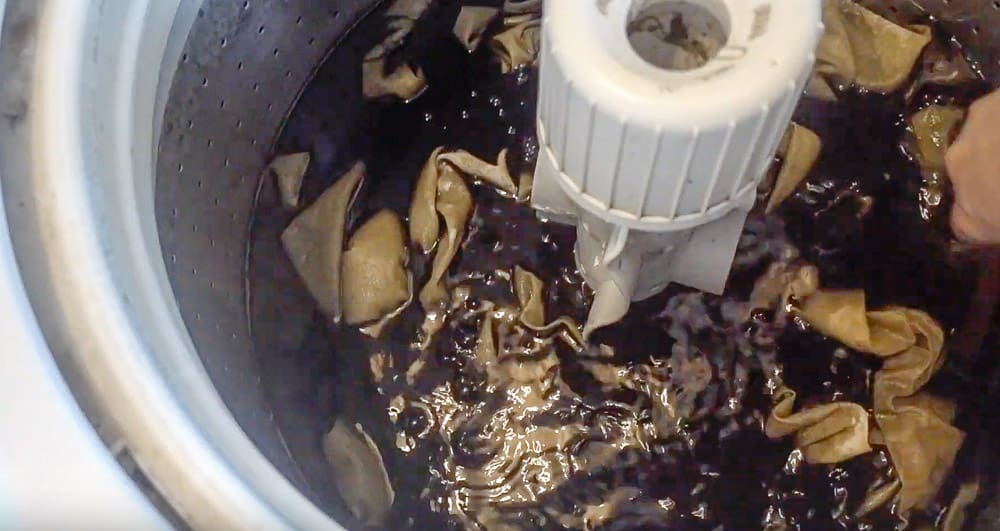
- Dye the fabric using the instructions on the package. Wash and dry. Now, you could also dye this before you cut any of it out; I would just avoid cutting it and then dying before you sew the hems. This would cause the fabric to fray too much.
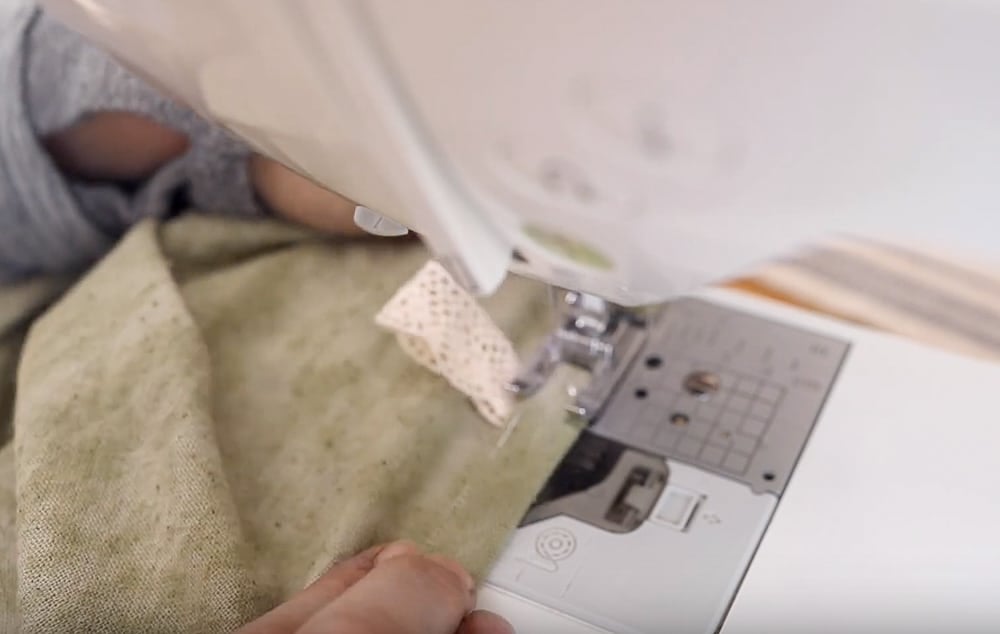
- Find the center point of your wrap and sew a small piece of folded lace or ribbon underneath the hem. This just helps to easily find the center when you are trying to put the wrap on. You do need to find the center point when you are putting a wrap on, and adding this makes it much easier.
How To Put On A Woven Wrap
There are so many ways to wear a woven wrap. I’m going to show you one of the simplest ways- the front wrap cross carry.
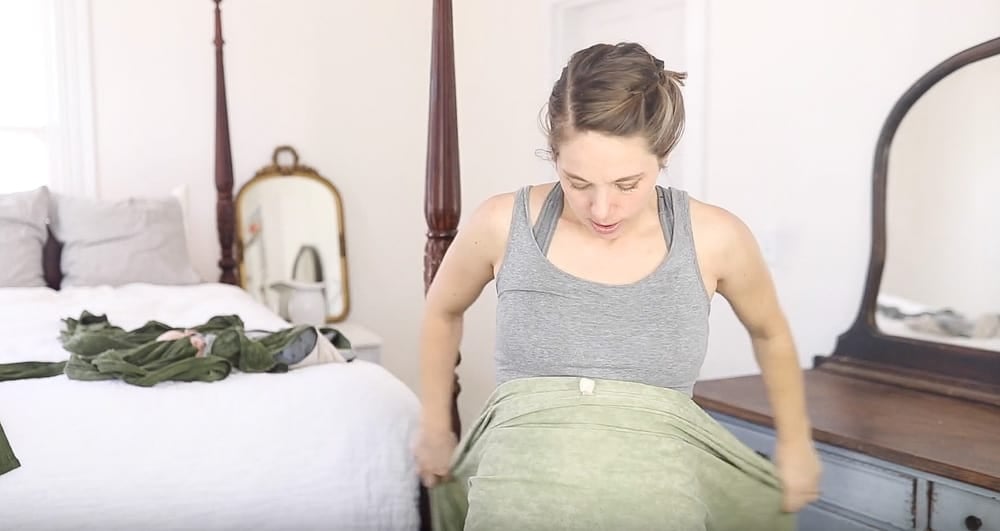
- Find the center point of your woven wrap. Place the center a couple of inches above your belly button.
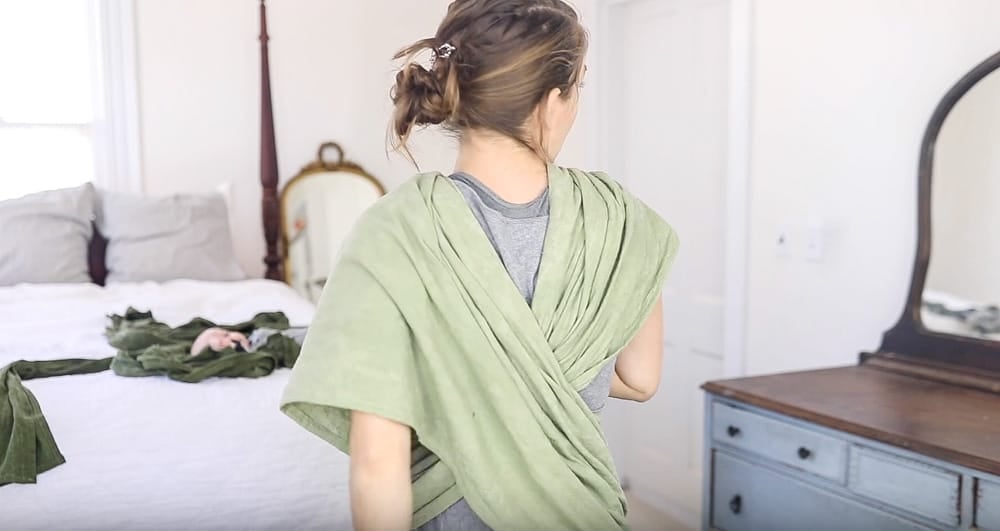
- Cross the tails behind your back and pull up over your shoulders, creating an X shape on your back.
- Gather the tails on your shoulders, pulling them tighter.
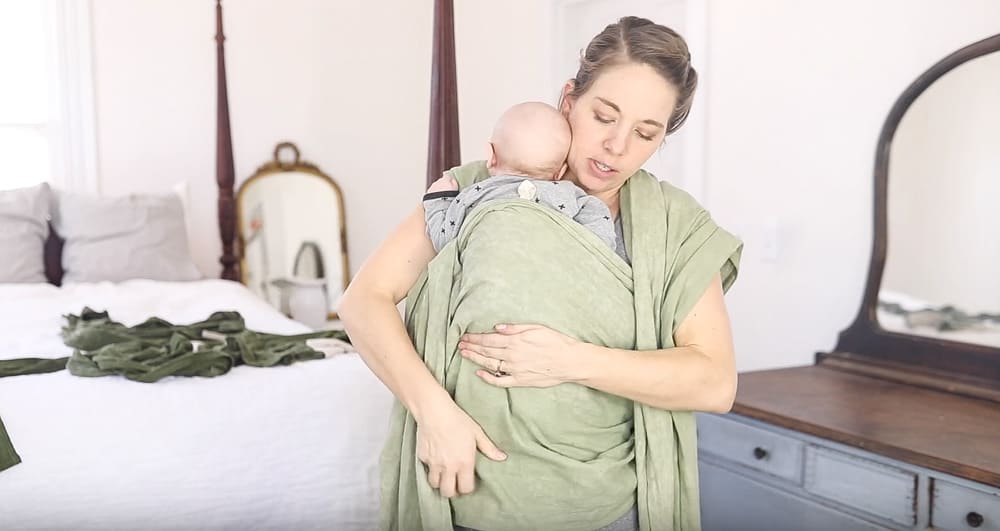
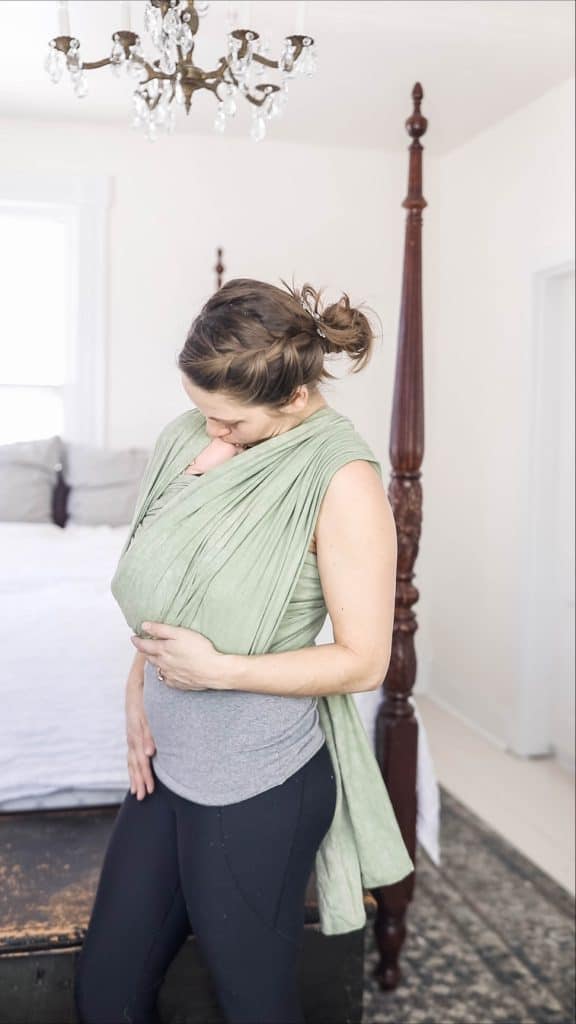
- Take your baby and gently place him or her on your chest, making sure their knees are above the butt (makes them look a bit like a frog).
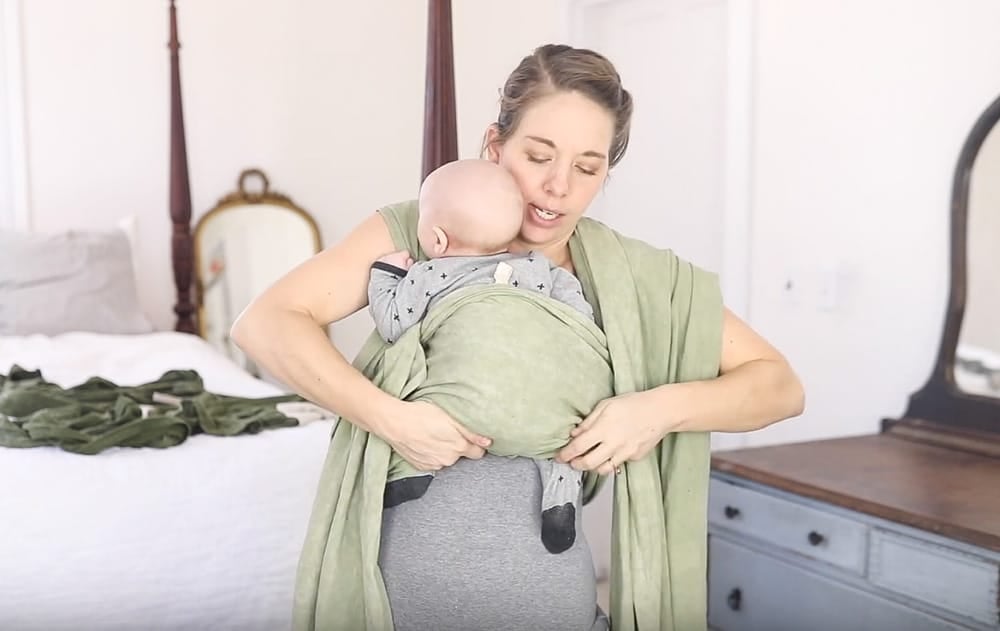
- Create a deep seat by taking the fabric and tucking it under his butt.
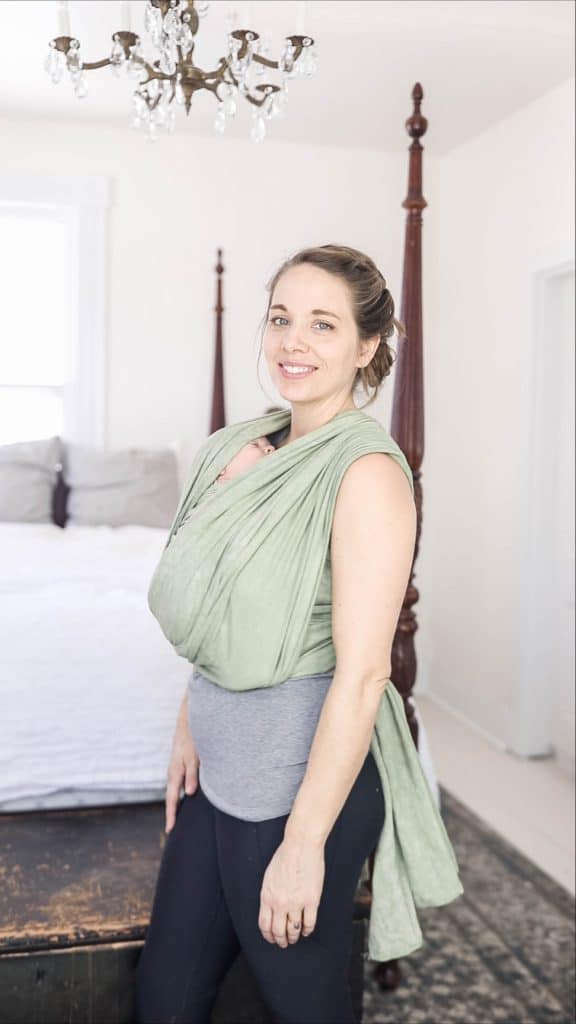
- Take one tail, and, pulling it taut, place it under the opposite leg, crossing it over the baby’s back.
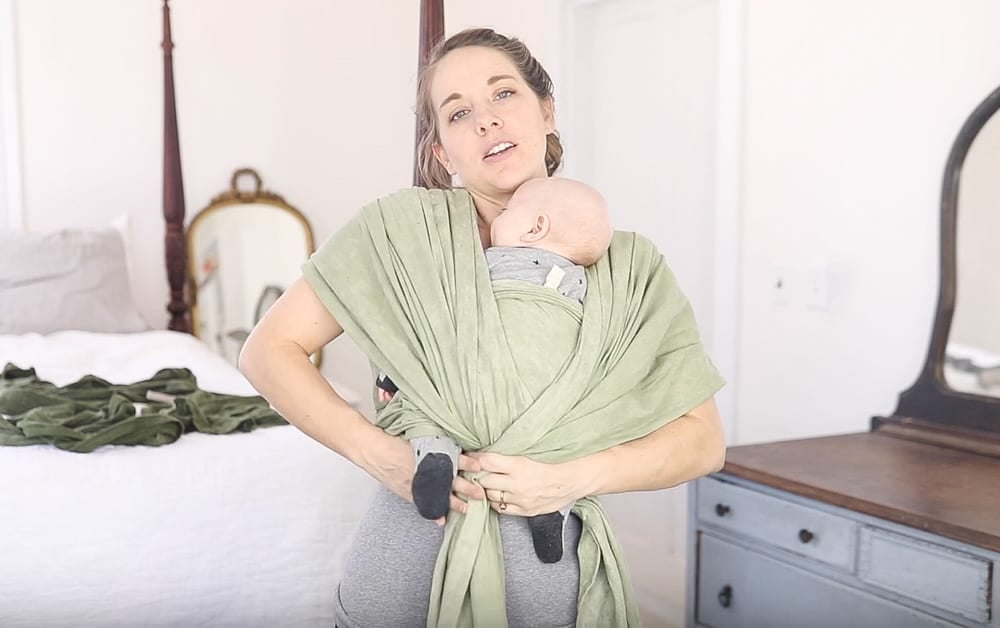
- Do the same with the other tail, crossing behind the back and tucking it under the leg.
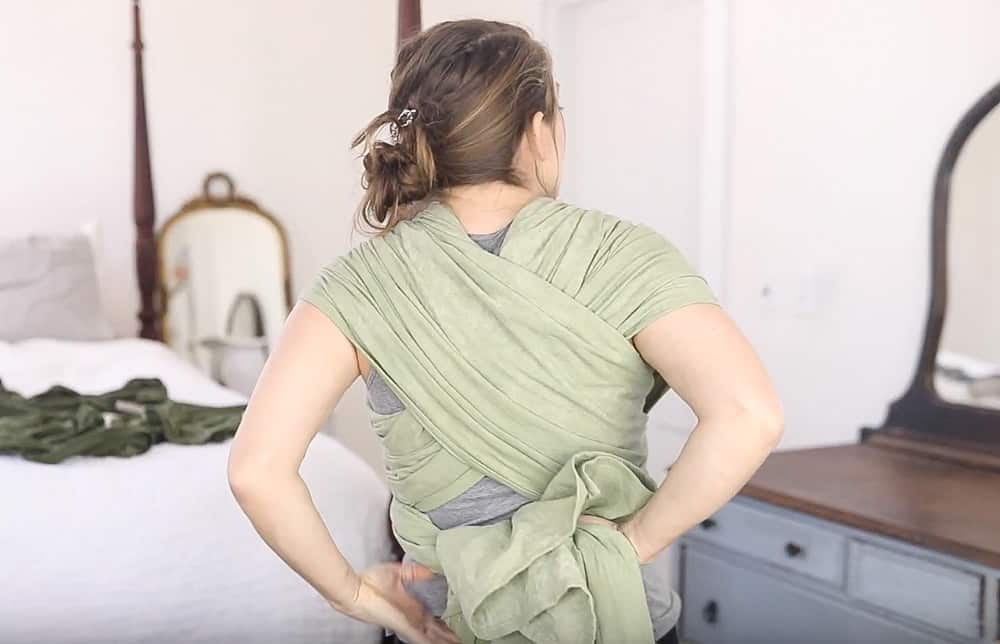
- Take both tails and tie behind your back.
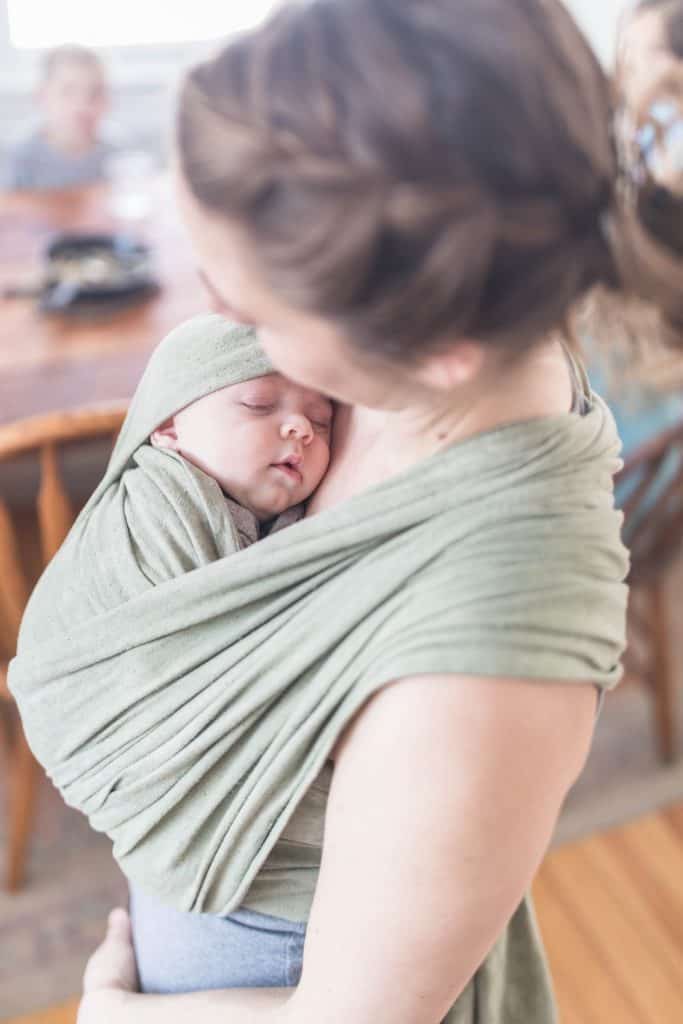
During the warmer months you can leave the straps more open on the back. During the cooler months you can pull the tails more over the baby’s back and even tuck their heads behind the wrap to help stabilize their head. This is especially great during the newborn months.
Baby Wearing Safety
Be advised that safety with baby wearing is always a concern, and wearing your baby can be dangerous if you don’t know what you are doing.
When you’re wearing your baby, you should be able to kiss their head and see/feel that they are breathing at all times.
Babywearing can be a great way to bond with your baby and still be able to get a lot of stuff done while holding them.
Personally, I love babywearing (when taking the appropriate precautions), and you will find my baby attached to me most of the day.
Find More Motherhood Essential Posts:
How To Make A Woven Wrap Printable Tutorial
If you try this tutorial and love it, make sure to come back and give it 5 stars! Please and thank you.
How To Make A Woven Wrap

Equipment
- Sewing machine
- Sewing scissors
- Pins
Ingredients
- 5 yards fabric, 180 inches - cut to 30 inches wide
- Fabric dye, optional
- Small piece of lace or ribbon.
- Coordinating thread
Instructions
- Lay fabric out and cut it 5 yards long (180 inches) and 30 inches wide. I found it easiest to lay it on the floor to cut it out.
- Sew a hem down all four sides.It is very simple to do: you basically fold over the fabric a half inch, then fold it over again a half inch, and then sew a stitch on top of it, close to the edge.
- Dye the fabric using the instructions on the package. Wash and dry. Now, you could also dye this before you cut any of it out; I would just avoid cutting it and then dying before you sew the hems. This would cause the fabric to fray too much.
- Find the center point of your wrap and sew a small piece of folded lace or ribbon underneath the hem. This just helps to easily find the center when you are trying to put the wrap on. You do need to find the center point when you are putting a wrap on, and adding this makes it much easier.
Notes
- If you plan to dye the fabric, I would suggest dying it after you have completely finished sewing, because it will fray a lot in the washer.
- Cotton fabric is probably the easiest to use and sew for a beginner.
- If you are totally new to sewing, make sure you check out my Simple Sewing Series where I walk you through all the sewing basics. For this tutorial, the only stitch you need to do is creating a hem.
Nutrition information is automatically calculated, so should only be used as an approximation.



Thank you for this!!! Actually half DIY for me.
I just cut the fabric and gave up the hem. 😆
I ended up going to the nearest garment cutter for an overlock hem hahahah
You did all the hem with kids around is the gorgeous thing on this post. 🫶🏻
Hey that works! Glad you got it to work for you. Thank you.
Thank you!
would like to try this
This is just terrible fabric for a woven wrap. The fabric that is used for woven wraps is specifically woven to have qualities that are conducive to wrapping/babywearing. They have diagonal stretch, but do not stretch vertically or horizontally. Also, all those “handwoven” fabrics that Lisa recommends in the description should never be recommended for babywearing. They have not been tested for weight and could be downright dangerous to use for a woven wrap. She goes on and on about safety, yet what she is recommending is completely dangerous and ILLEGAL. Did you know that machine woven and handwoven wraps are rigorously tested by the CPSC and that any wrap sold in the US has to comply with their standards?
https://www.cpsc.gov/Newsroom/News-Releases/2018/New-Federal-Standard-to-Improve-Safety-of-Infant-Slings-Takes-Effect
It is illegal to giveaway a wrap like this. Now, I’m a huge DIY fan. I have made tons of baby carriers, my favorite are from SewToot patterns. I’m a seamstress and I sew for a living. But these carriers are for personal use only and I would not or could not make them for others. That being said, I’m also a babywearing enthusiast and I would NEVER EVER make my own woven wrap. There is just no comparison between this Osnaburg fabric and a true woven wrap. I can’t even explain what a huge difference there is. I’d highly recommend trying a quality woven wrap by a compliant company. My favorite companies are Ethos, Pavo, and Oscha. And it is not hard to find a good quality, used wrap for an amazing price. There are tons of swaps on Facebook, like The Babywearing Swap or Babywearing on a Budget. Lisa should seriously think about taking these babywearing/DIY posts down. The wrapping advice she is giving is not correct and could even be harmful. It is best to learn how to wrap from a certified babywearing educator. Better yet, go to your local Babywearing group or lending library where you can try wraps out before you buy them.
I appreciate how much knowledge you have on this subject. I’m just a mom who has worn her babies non stop for the past 11 years. I had no idea I was so clueless.
Wow, the Gestapo in the USA. Give us all a break with the “Certified Babywearing Educator” I have worked with many pregnant moms at a pregnancy assistance center, and African women especially use soft fabric and wrap their babies up perfectly with no help from some “certified” educator.
Thank you Lisa for these informative videos. I do think that the Osnaburg fabric is probably too scratchy for a baby, but I thank you for sharing your information. I LOVE the dress with the apron and the bow-back. I will be making one for my granddaughter.
You are smart, brave and generous. Don’t let the commies get you down. You have a beautiful large family and I applaud you and your husband.
Now I have another easy project to add to my gift of the mei tei!
Oh, I wish I’ve learned this when I have a baby! So awesome!