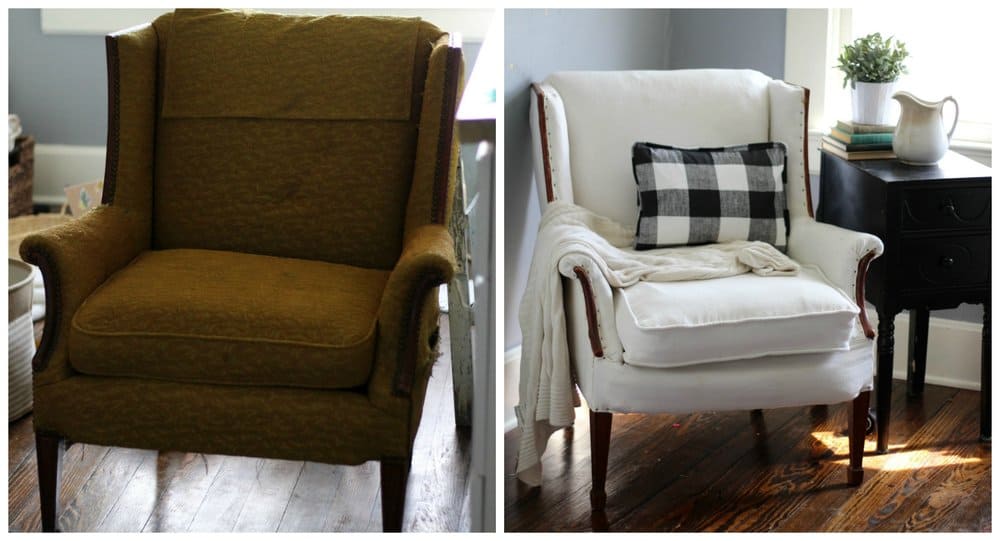
After finding an antique chair on the roadside, I decided it would fit perfectly into my farmhouse home with a little makeover. I documented the whole process of how I reupholstered this chair and show you just how to reupholster an outdated chair.
A Roadside Find
One night my husband and I got a babysitter and went out on a date. After dinner, we decided to drive around a while and listen to music, something we have enjoyed doing since we met over 10 years ago. When no kids are in the back screaming, driving around for hours is a very fun activity.
Driving around also affords one the opportunity to find street treasures. On this particular night, we found two profitable roadside piles, one with several bundles of cut pallet wood (for signs, of course) and on the other this lovely green chair. I was so excited when we found it. I saw the after picture in my head as I squeezed the chair into the back of our van.
A Work in Progress
So, since I was so excited about my prize, I started working on it right away. Actually, no, it sat in the garage for a few months. My husband threatened to throw it away on many occasions since it was taking up so much valuable garage real estate. I promised I would get to it soon and that it would be lovely. I’m not sure he believed me.
It actually did end up being more work than I expected, but it was worth it to rescue this gem from a landfill.
How to Reupholster an Outdated Chair Supplies
UPDATE: I found a staple gun on Amazon that includes a staple remover tool. I have not used it, but you have let me know in the comments below if you like it.
How to Reupholster an Outdated Chair Instructions
I started by ordering drop cloth and steel upholstery tacks from Amazon.
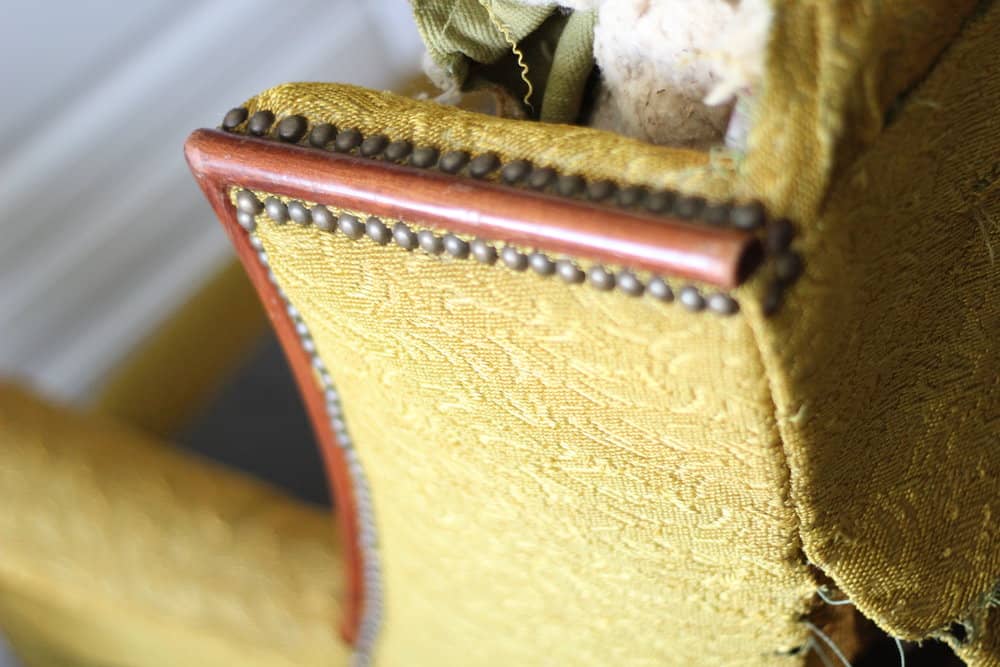
I knew I wanted to leave the tacks exposed to give it a little bit of an industrial feel. Also, I wanted the fabric to be sturdy and neutral, to highlight the shape of the chair and wood details.
The drop cloth comes in a natural tan color and feels very rough. To make it white and soft, I treated it by washing it on hot several times and then bleaching it. I had to let it soak in the bleach for several hours repeatedly before it was as white as I wanted it. I shared this process in this tutorial.
Next, it was time to strip the chair down to bare bones and batting.
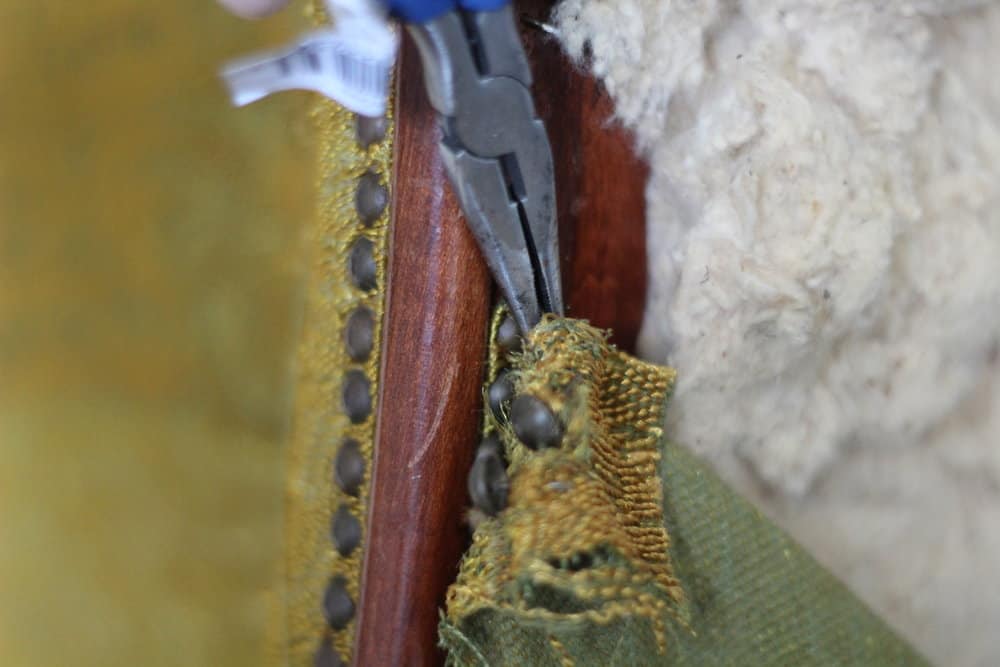
Pulling out the upholstery tacks
This wasn’t particularly difficult, just tedious. I pulled out each and every upholstery tack with a needle nose pliers. My husband even got on it one night because he figured I must be doing it wrong when I told him how long it was taking me. He couldn’t find an easier way to do it either.
I didn’t count the tacks we pulled out but there were probably about an infinite amount.
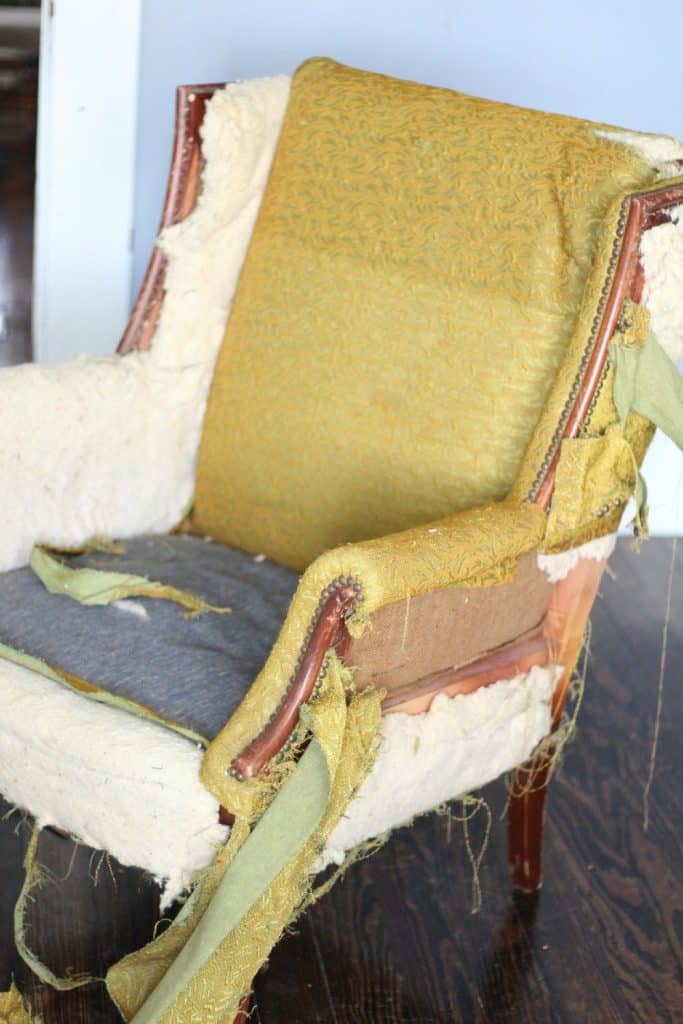
As I pulled the pieces off I paid close attention to the order which they went in.
For example, the arms and apron bottom went on before the sides. The back went on last of all. I also referred back to the before pictures to know where to put the tacks. In all the places that wouldn’t be visible, I just used staples.
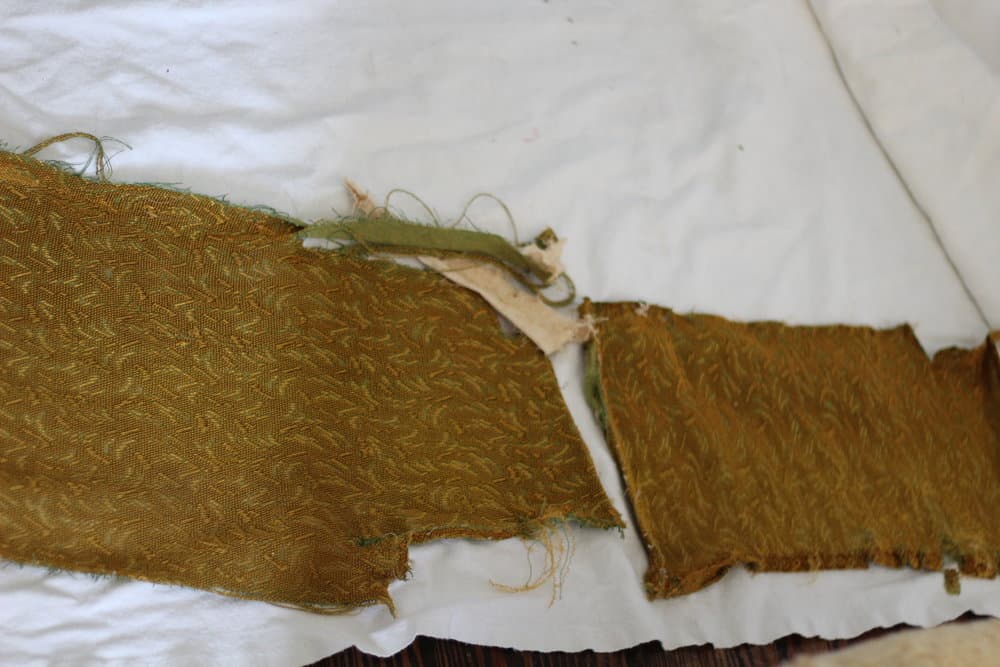
Using the old fabric pieces as patterns for the new fabric
I tried to keep the pieces as intact as possible to use them as patterns when cutting out the drop cloth.
After cutting the drop cloth, I just put the pieces back on in the reverse order that they came off, basically trying to copy and redo what the original maker of the chair did. I also added some new batting in some places to make it fuller, as the old batting had worn out a bit.
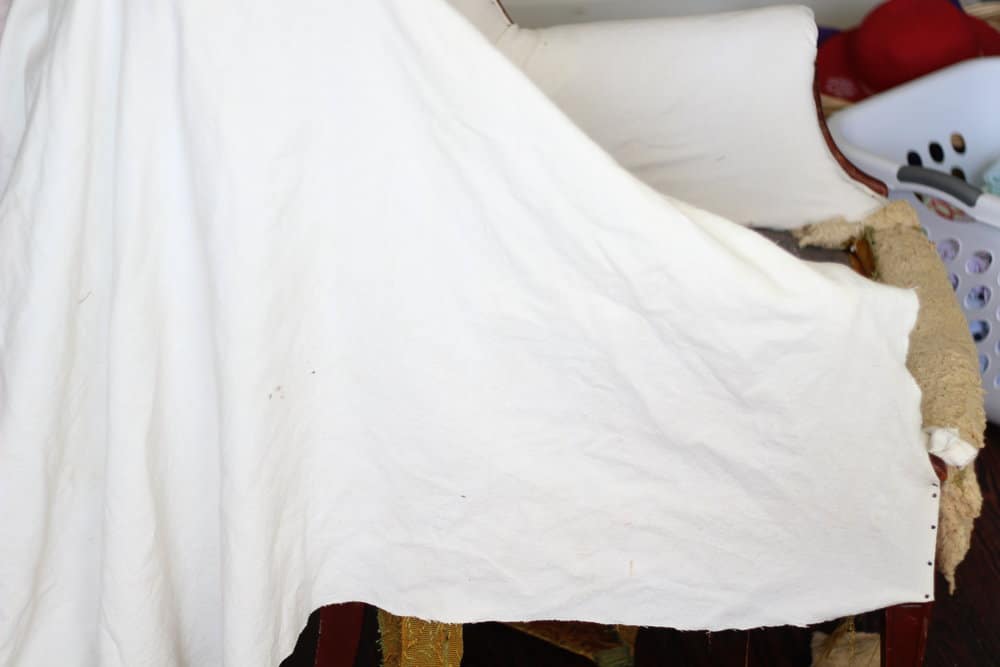
Sometimes, if I couldn’t salvage a pattern piece, I had to drape the fabric over the chair to determine the size to cut.
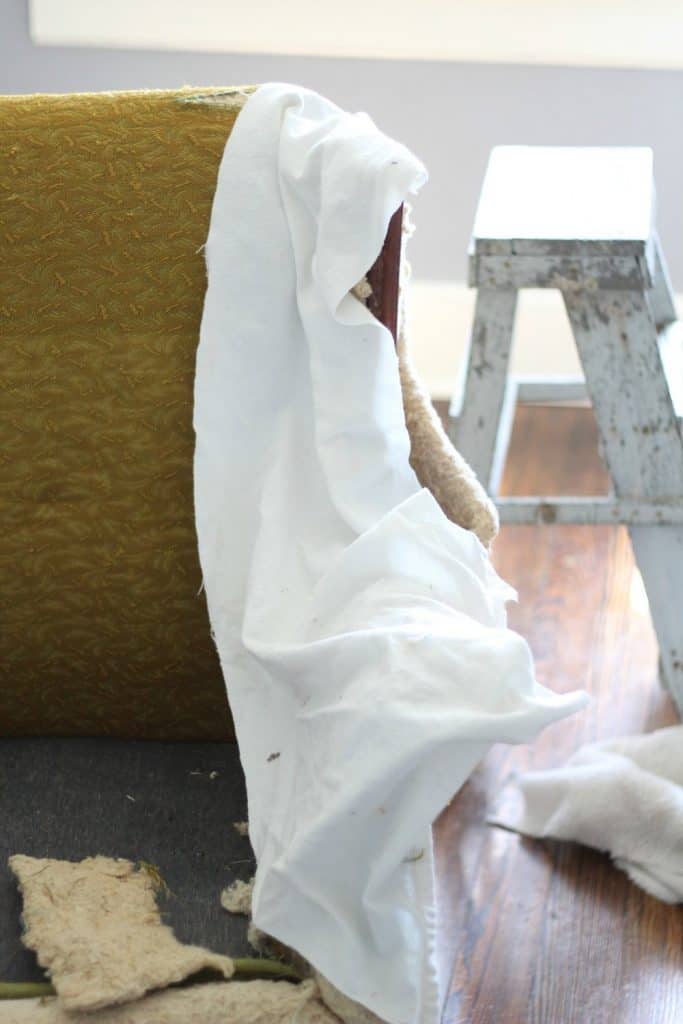
Stapling on the drop cloth
After cutting the fabric in the above picture to the approximate size, I started pulling and stapling it in place. Usually, I cut more off after pulling it taut. It is always better to overestimate the amount needed for each piece than to underestimate it.
Here it is stapled in the back after pulling through the back of the chair and to the back.
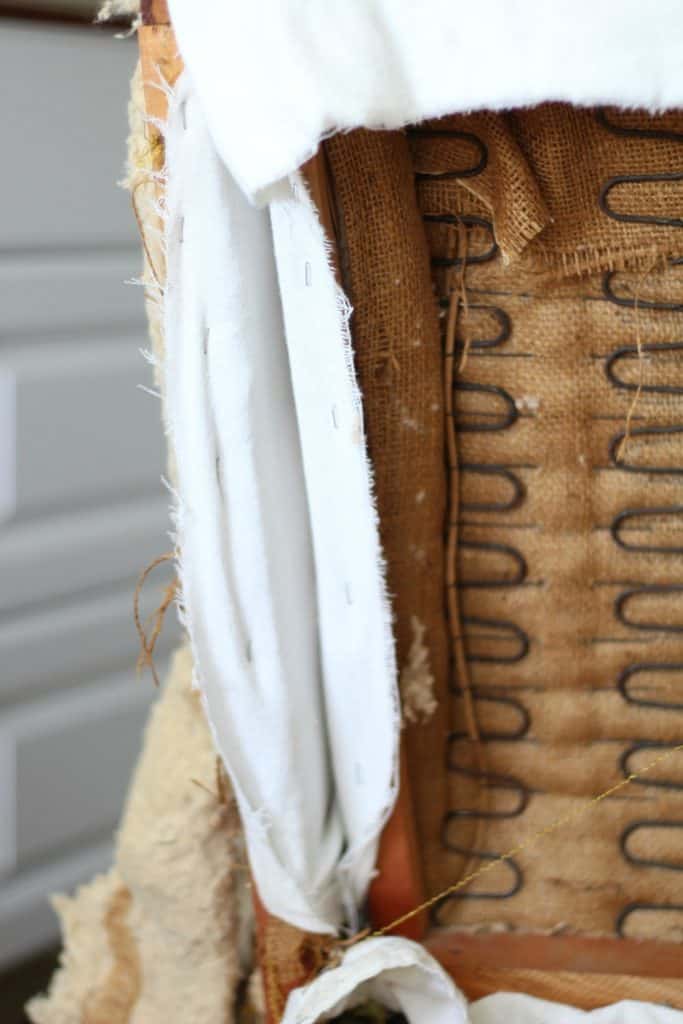
After all the raw edges from the sides of the wingback were pulled and stapled to the back, the entire back was then covered by one nice piece, so none of that was visible in the end.
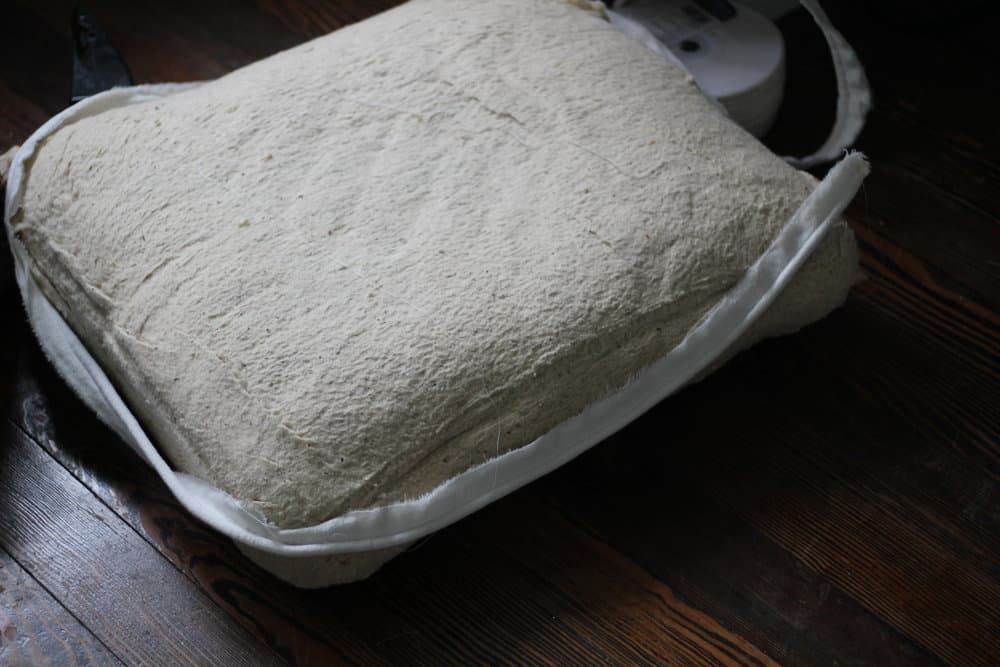
Sewing the Cushion
After I reassembled all the pieces on the chair and hammered the little upholstery tacks in place, it was time to make the cushion.
Making the piping
First, I made the piping, which was relatively easy and straightforward. I learned to make piping from Miss Mustard Seed on YouTube. I also made a tutorial here on my blog as well HERE.
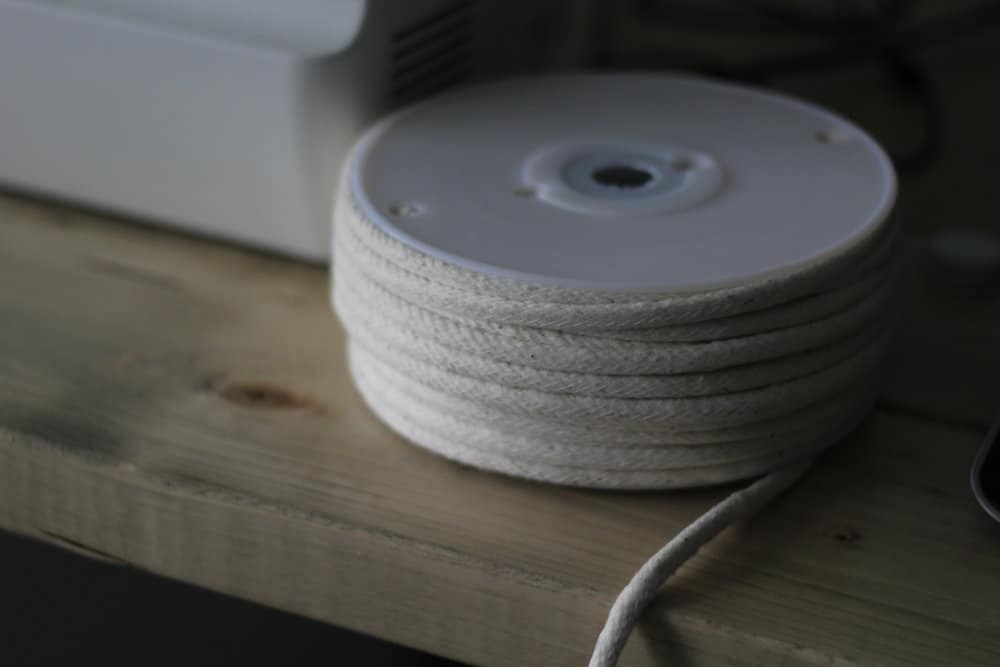
I estimated the amount I would need by loosely laying it around the cushion twice, as I would need a strip for the top and a strip for the bottom.
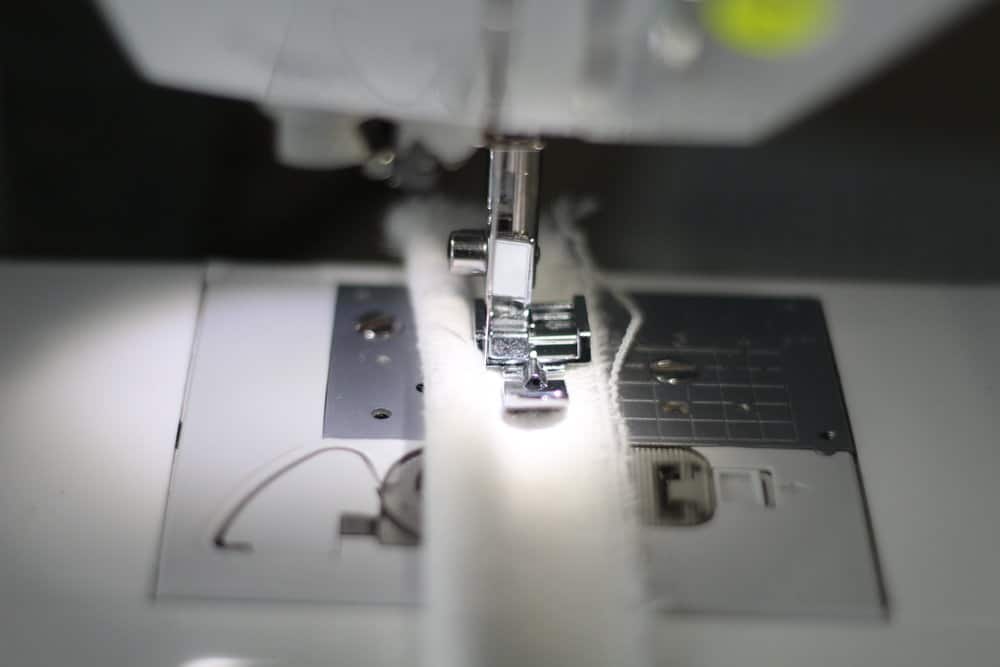
Cutting out and sewing the cushion cover
Next, I made an envelope style cushion cover. To do this I cut out one square that was the size of the cushion, 21″X21″. For the bottom, I cut out two pieces that could overlap to be the size of the other square, so I had two pieces that were each 14″X21″. I also cut a four-inch-wide strip that could go in the middle of the top and bottom pieces all the way around the cushion.
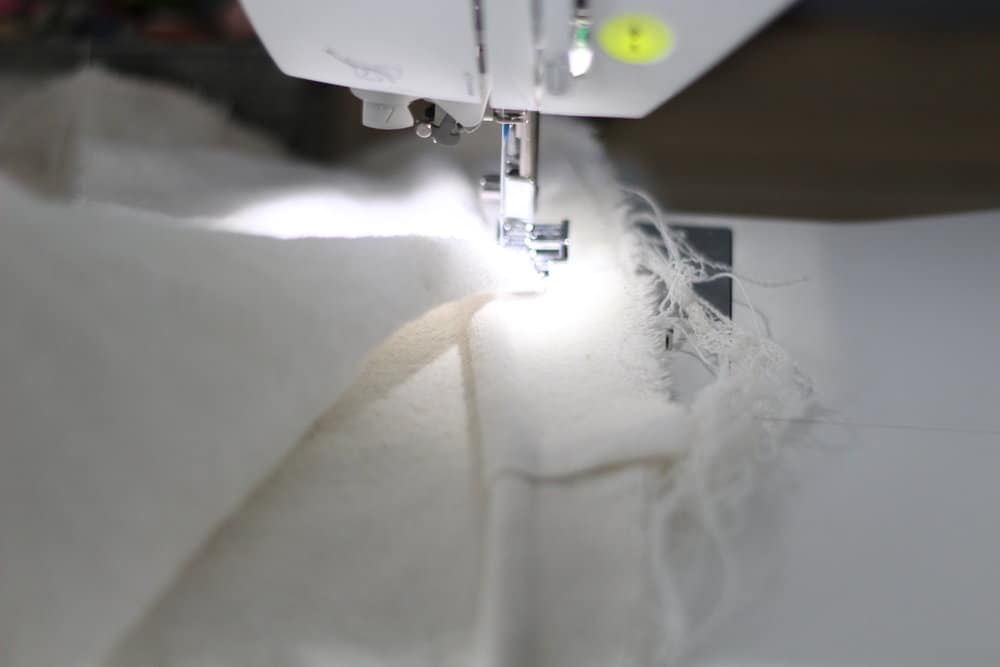
To sew the cushion cover I sandwiched the piping between the top square and the middle four-inch strip, sewing all the way around.

I then overlapped the two bottom pieces so that they would be 21″X21″ when overlapped and pinned them together. I sandwiched another strip of piping between the bottom piece and the middle four-inch strip, all rights sides together as usual.
Since this is all very difficult to explain in pictures I highly recommend watching this and this and all the videos in the series. In video form, it is much easier to see how this process is done. Although the chairs she does in the videos aren’t exactly like this one, I learned enough about reupholstering and slipcovering to tackle almost any chair style that comes my way. I actually used the same Miss Mustard Seed videos to learn how to make the slipcovers for my couches a few years ago. I share a few tutorials here as well for how to make a slipcover for a wingback chair, a ruffle bench, an IKEA barstool, and a wooden bench.
After I finished the cushion I made a little black and white buffalo check pillow. I love the way the black pops against the white chair and coordinates with the black upholstery nail heads. I show you how to sew a simple DIY pillow cover in this tutorial.
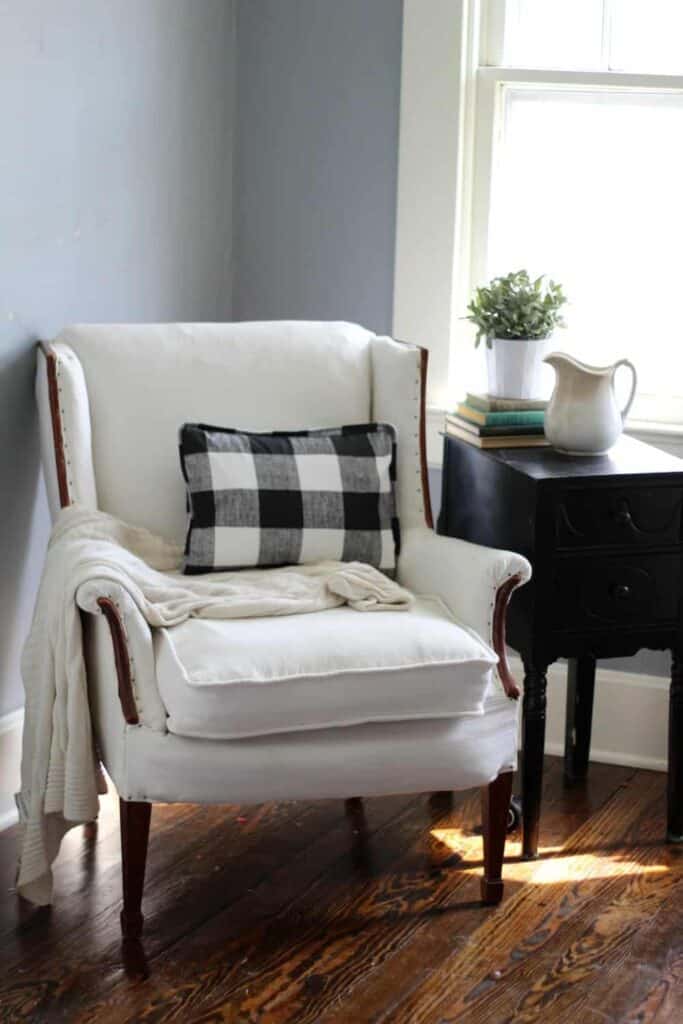
I think it has that perfect farmhouse feel.
I can’t wait to get my hands on another unique old chair and give it a fresh new look!
Pin it for later

farmhouseonboone says
Maybe if I suddenly get extra time in my schedule. 🙂 lol It is sooooo much work.
Ashley Taylor says
I love your chair, it looks great. Thank you for the tips.
Melissa Woods says
I wish I could sew! You obviously have a lot of patience and talent. I would have never thought to use a drop cloth for upholstery fabric, that’s brilliant!
DIY Reupholstered Chair - says
[…] friends! Lisa, from Farmhouse On Boone, found an ugly chair and turned it in to a beautiful DIY reupholstered chair, and tonight I get to […]
Sandra Clayton Rose says
The Chair is Beautiful… You done a Wonderful Job! I love it❣
Lisa Bass says
Thank you!!