Learn how to refinish hardwood stairs with paint and Annie Selke’s Dash and Albert rugs.
A Renovation Process
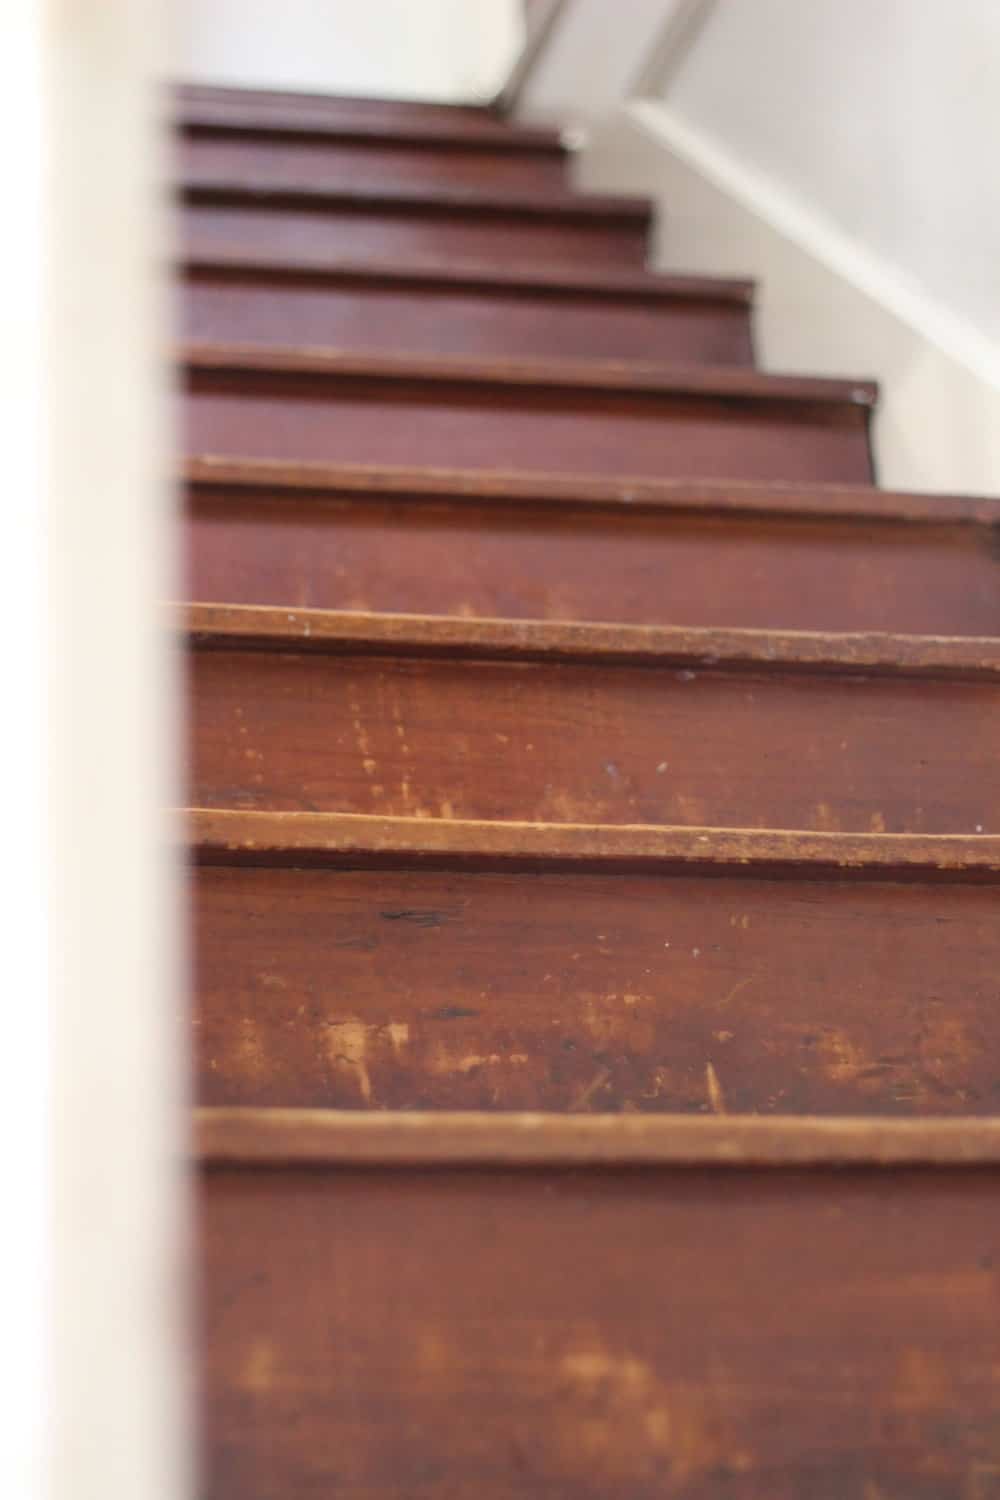
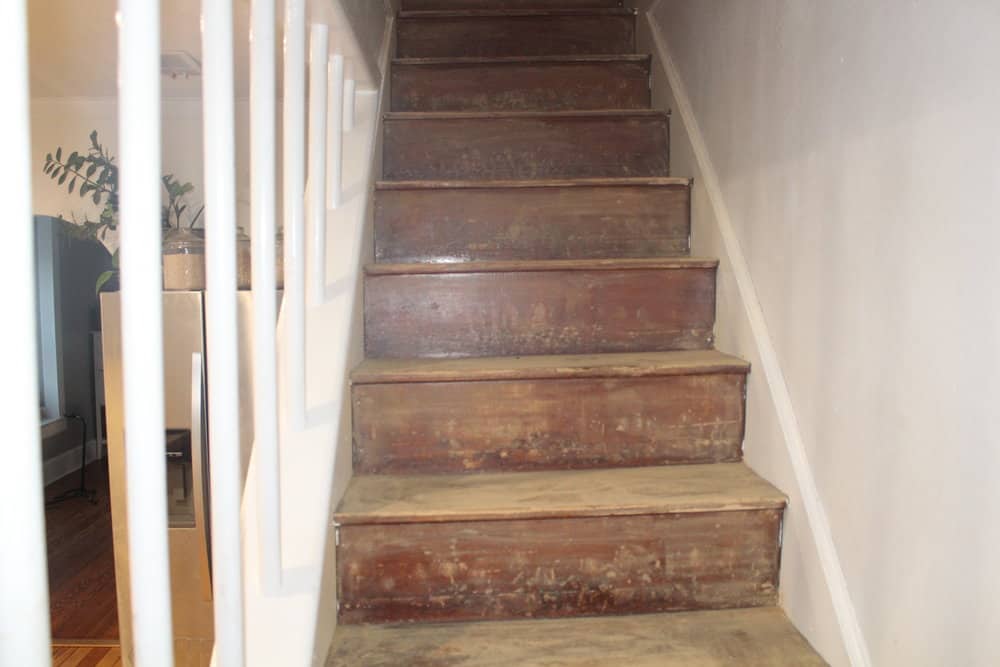
When we first moved into our home almost nine years ago, every square inch of the hardwood was covered with blue carpet, laminate or tile, except for in the living room.
We removed the carpet in our master bedroom before we even moved in.
It was a few years before we rented a sander and tackled the upstairs bedrooms.
We refinished the entire top floor and even ripped the carpet off the stairs.
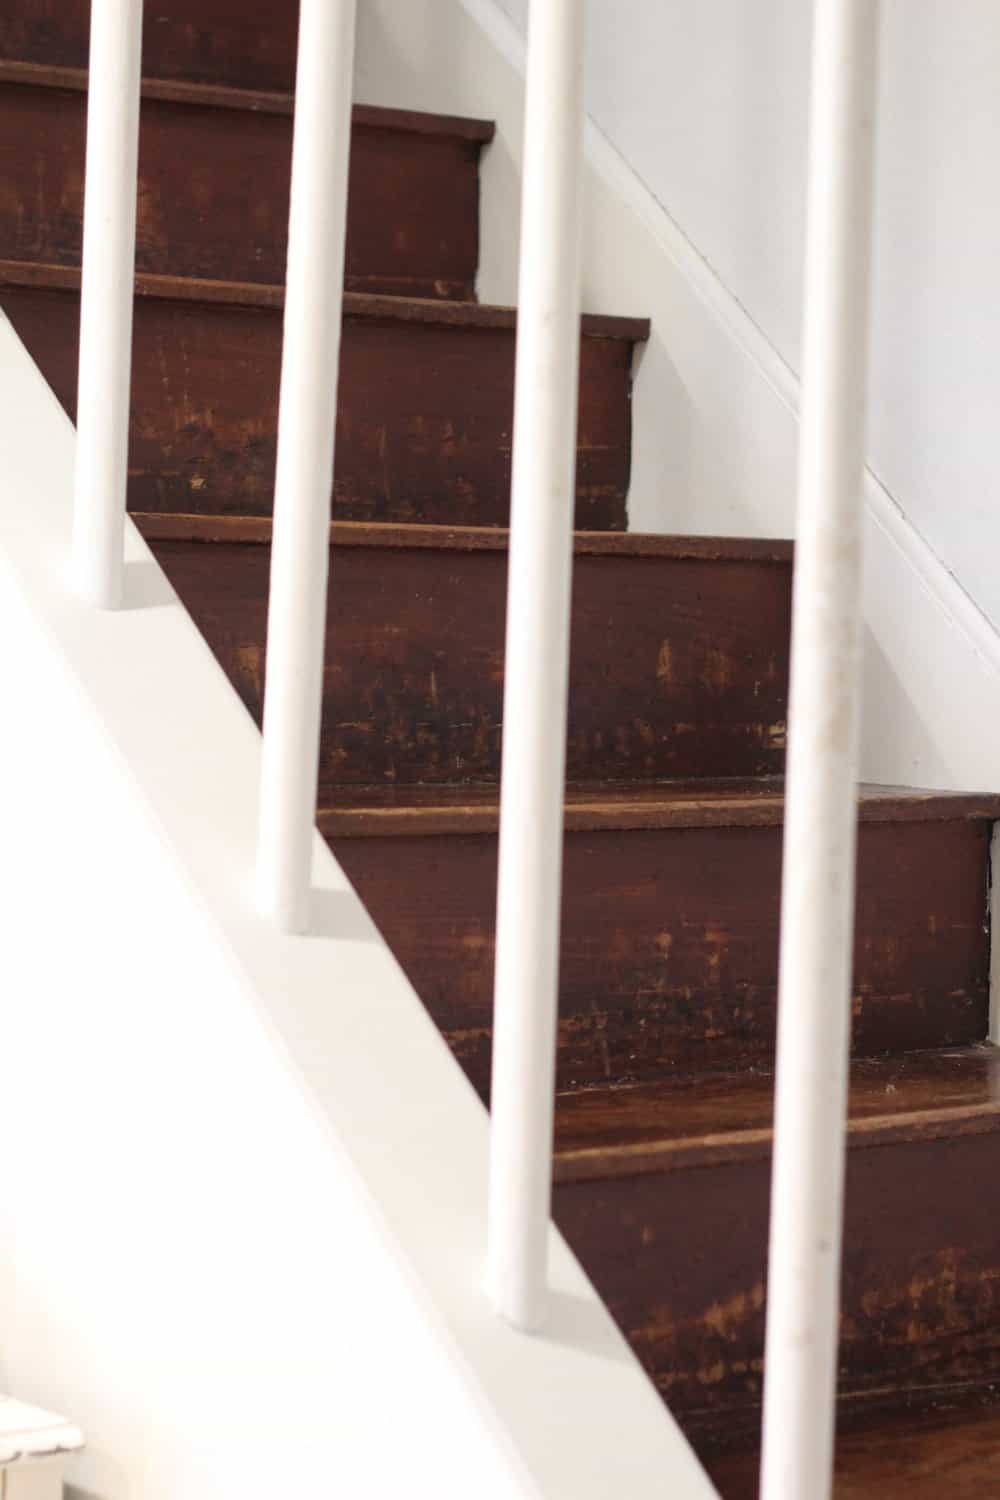
And that’s about all we did.
They sat unfinished for five years. It was always something we wanted to get done, but you know how life is, it kept getting moved to the back burner.
Refinishing Hardwood Stairs
I can finally say we can check the task off the to do list.
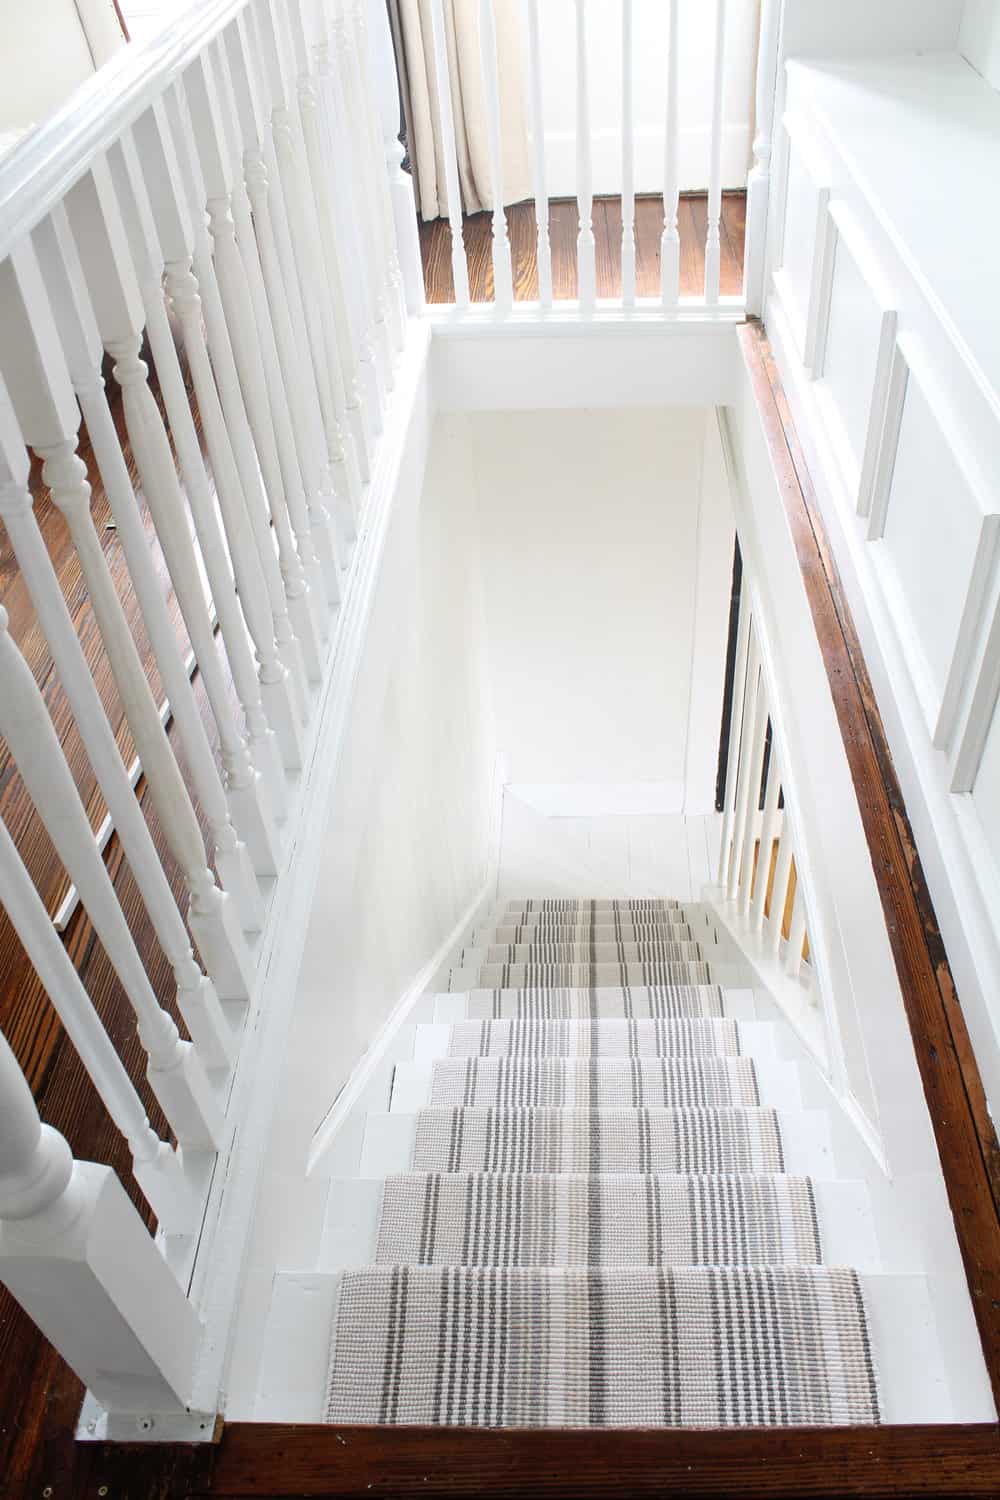
The stairs have officially been hit with a sander, several coats of paint and a beautiful stripe runner that I am smitten with.
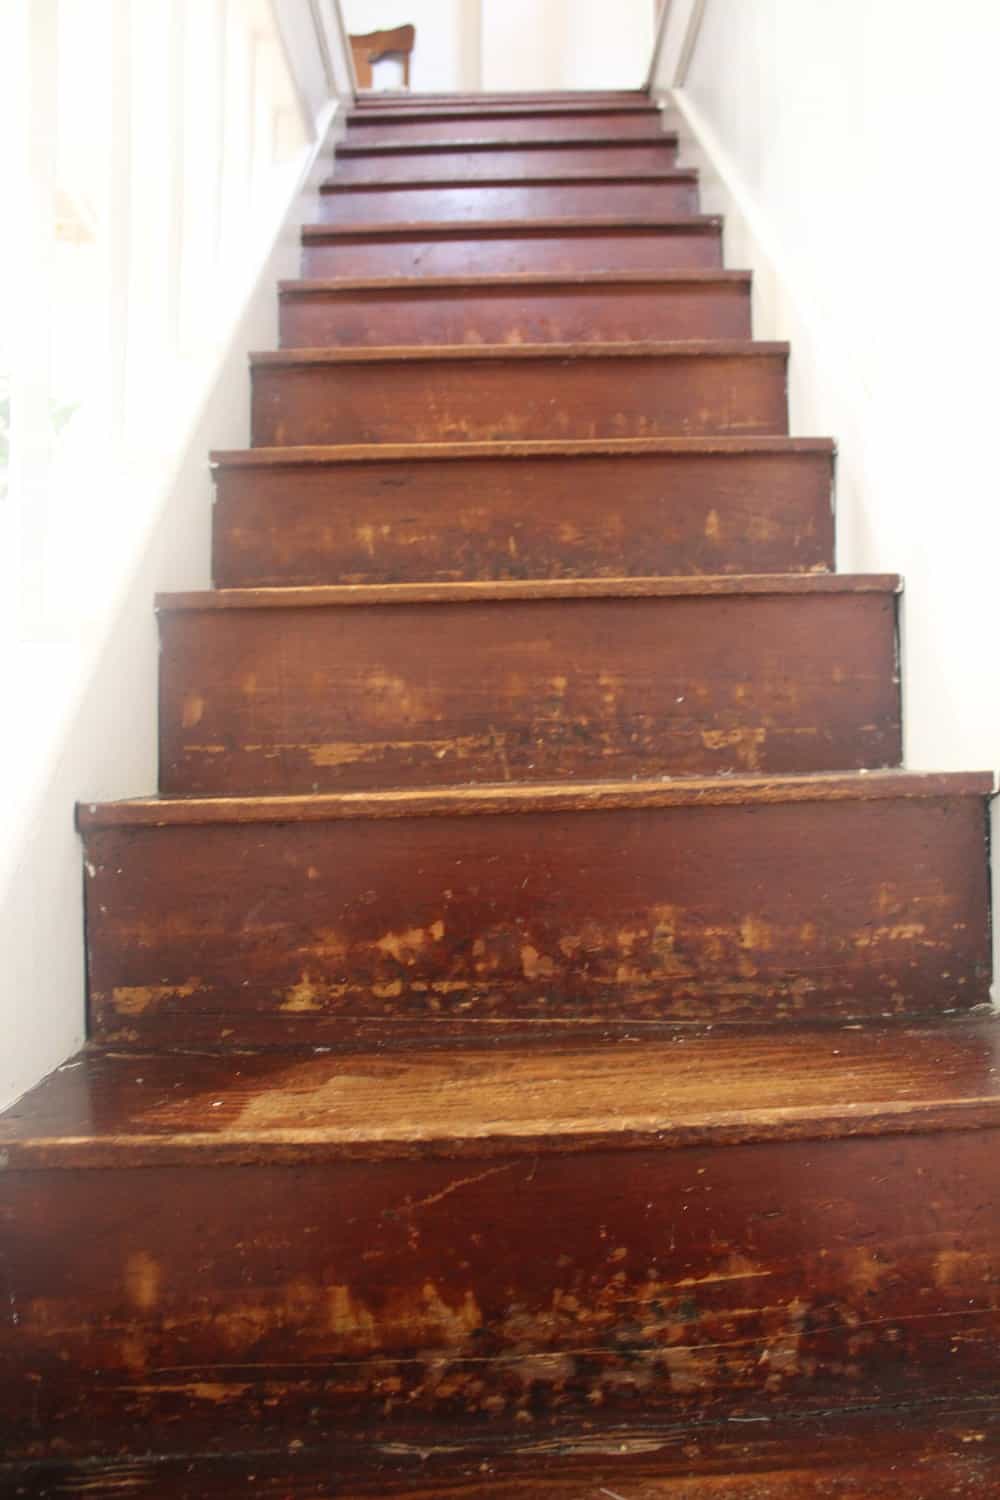
Sanding
First, we did a light sanding to remove any polyurethane that may have been there before.
We did this step to make sure the paint would adhere to the wood and to smooth things out a little.
Wipe it Down
Next, we gave everything a good wipe down to be sure the stairs were all ready for the paint.
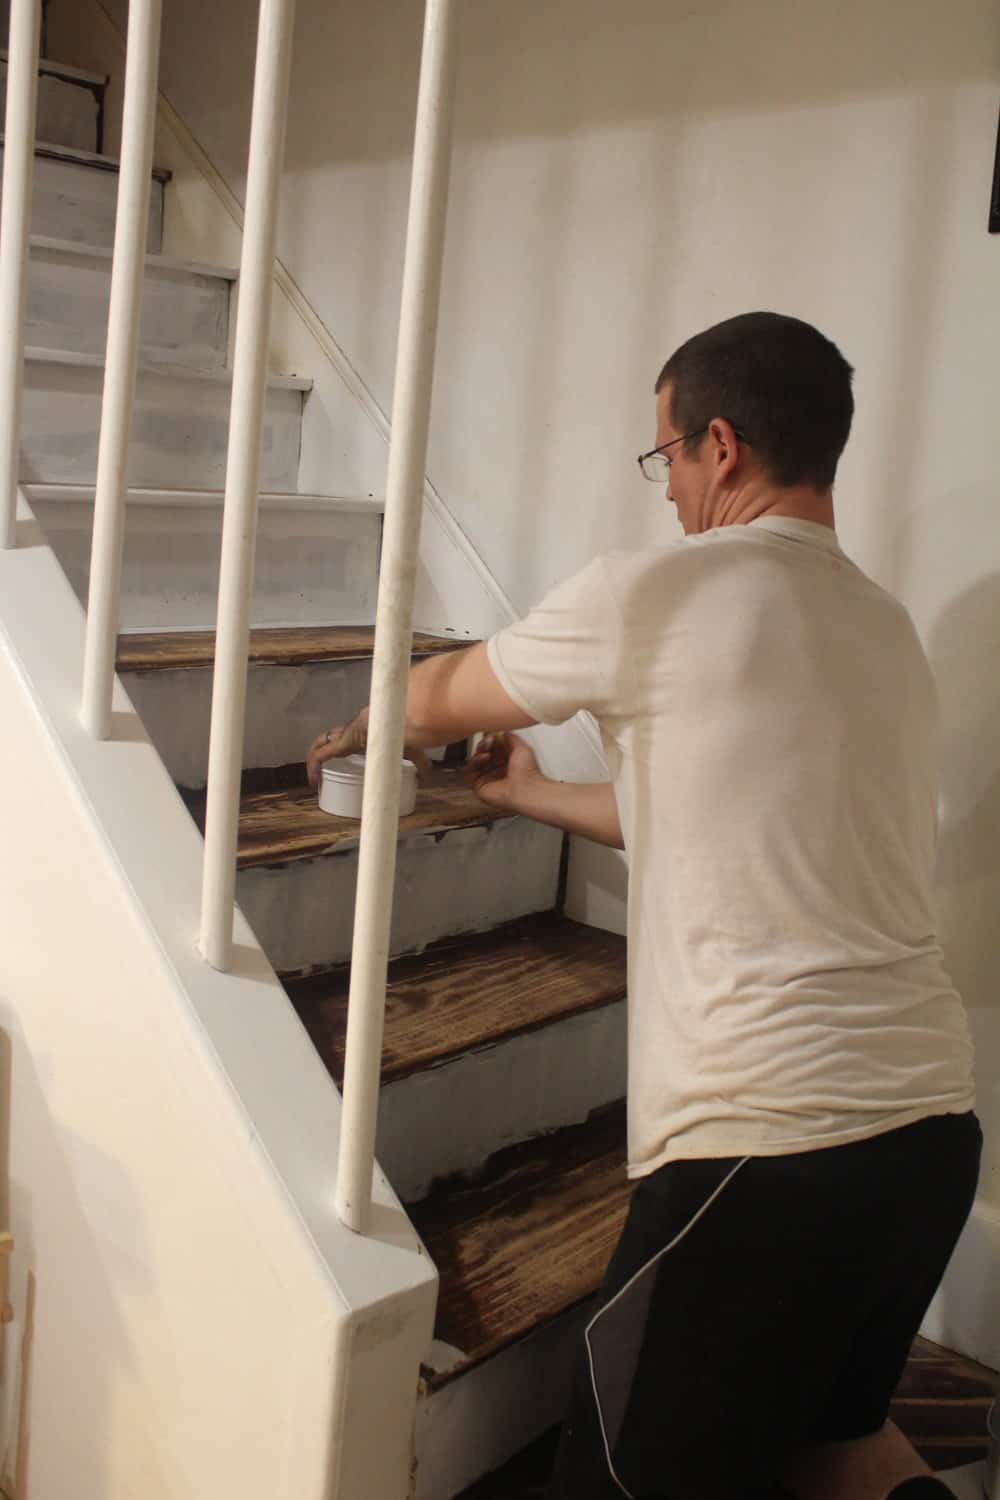
Paint
It took three coats of paint to get the stairs looking nice.
This is how they looked after the first coat:
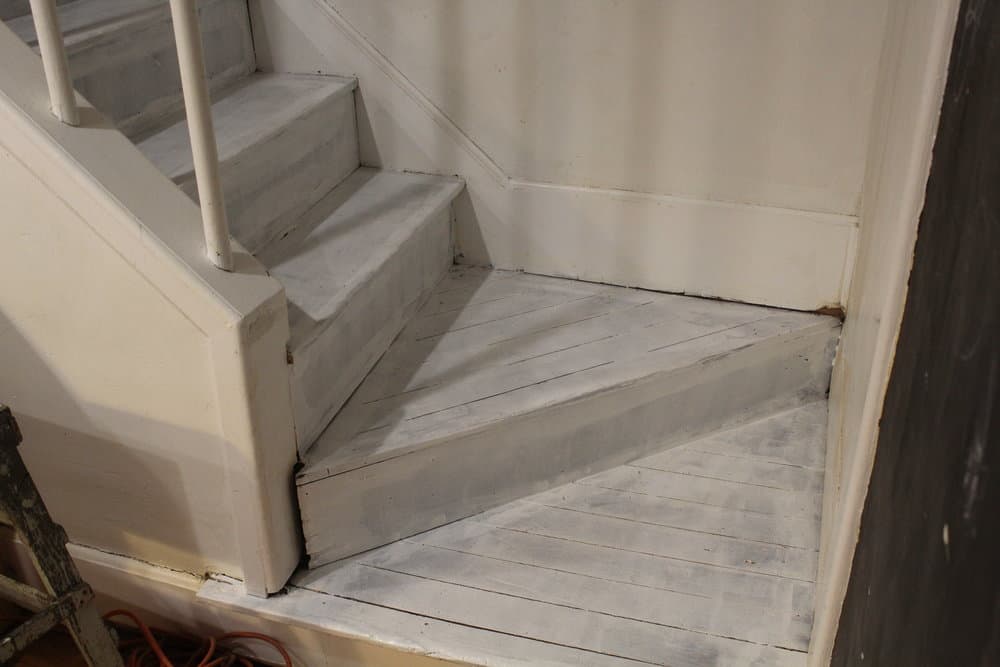
They were looking pretty nice after the second coat of paint.
The Runner
After all the paint came the fun part, the runner!
I searched the web high and low for something that would fit in at the farmhouse.
I wanted it to be neutral, yet still have some kind of pattern or texture.
I could have played it safe with jute, but I wanted something a little different.
I ended up going with this Gradation Ticking Woven Cotton Rug from Annie Selke’s Dash and Albert.
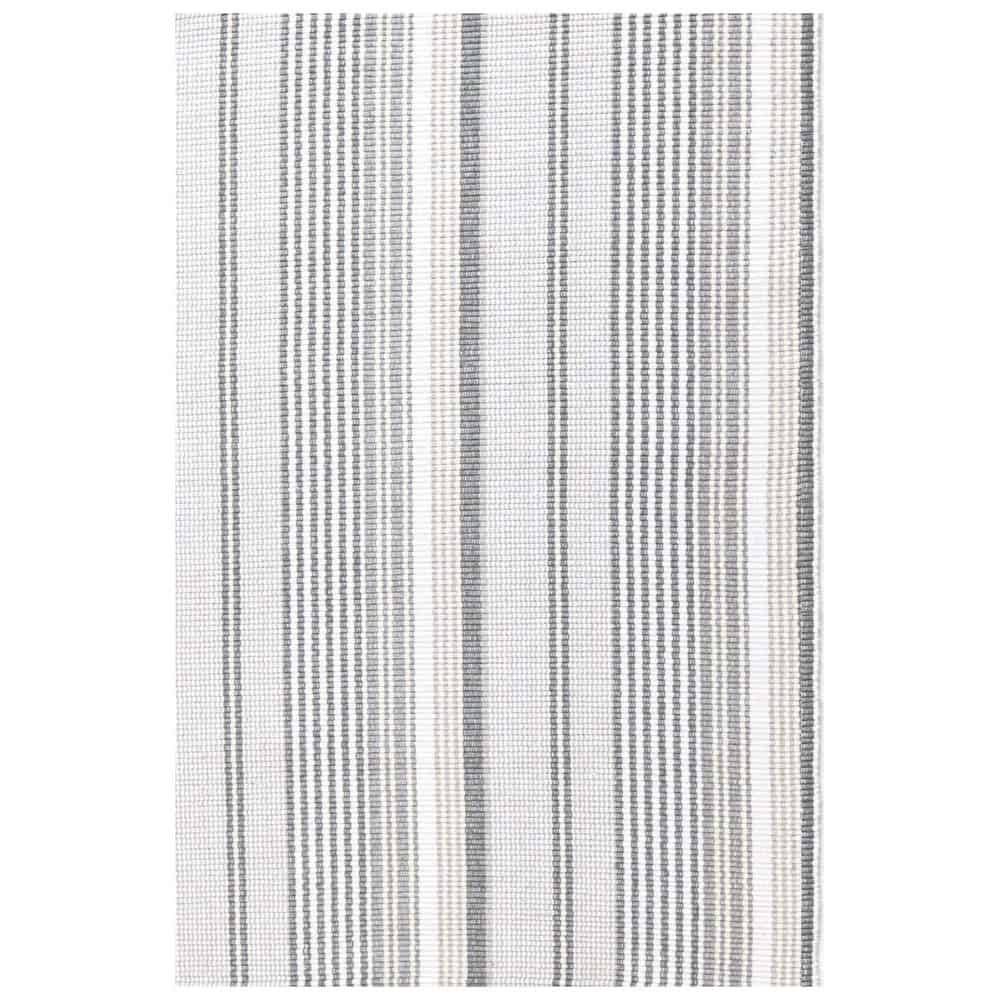
They had me at ticking, and you can never go wrong with stripes, right?
So, here’s where things get a bit tricky.
You know old houses are goofy and wonky and, ummm let’s just say, have lots of character?
Well, in today’s world of building codes and regulations, stairs are around 36″ wide. Imagine my surprise when I go to measure my stairs for this project and find out that the standard runner size of two and a half feet would actually cover our stairs entirely.
Not exactly the look I was going for when we painted the stairs white.
What’s a girl to do?
I noticed that Annie Selke had two foot by three foot rugs available, and I figured they would be the only option for my goofy 30″ wide stairs.
Now, THANKFULLY, the distance between the top of one stair to the bottom of the next was just under three feet, so each rug would perfectly cover two stairs. I ordered six of these small rugs.
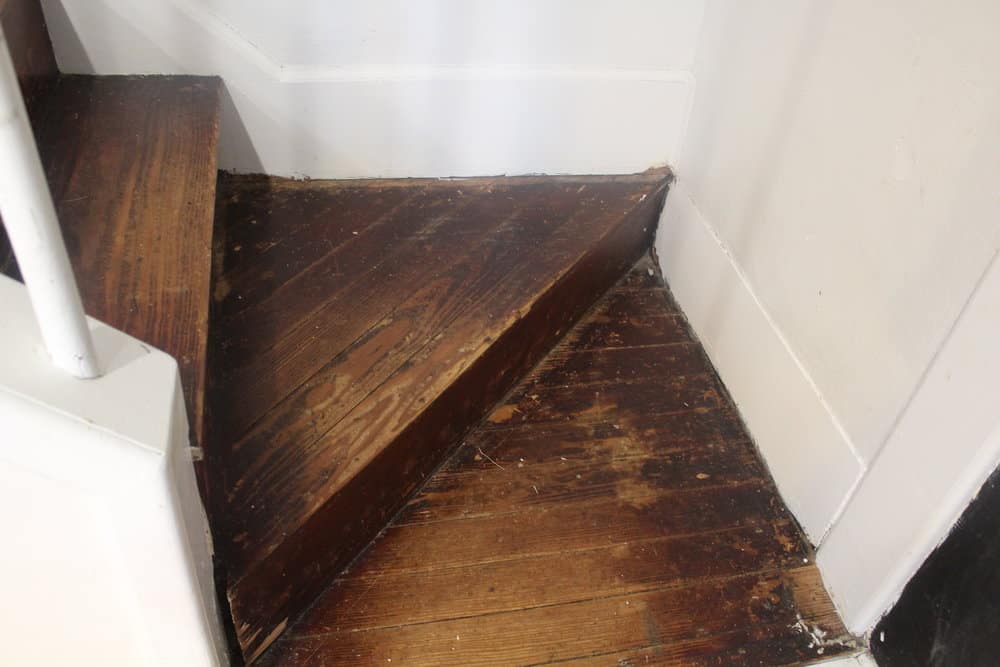
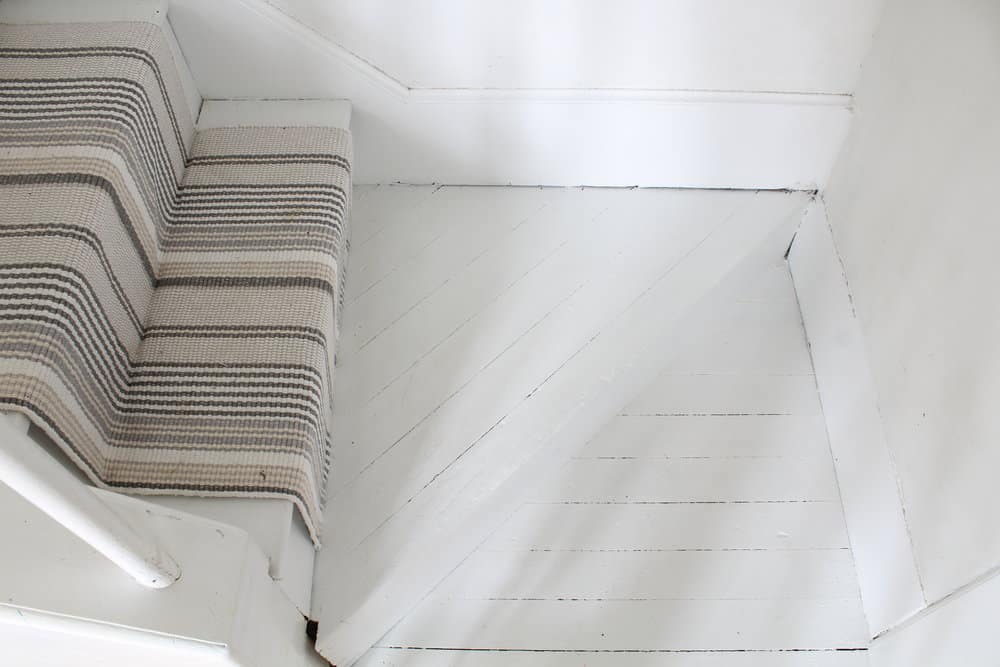
We opted to not cover the two landing steps, because in all honestly I have no idea how we would do that. Plus, I think they look nice as is.
We found some felt padding at our local flooring store that I thought would be perfect to add under the runner.
I cut each piece 23″ wide, to leave one half inch on either side of my 24″ wide rugs.
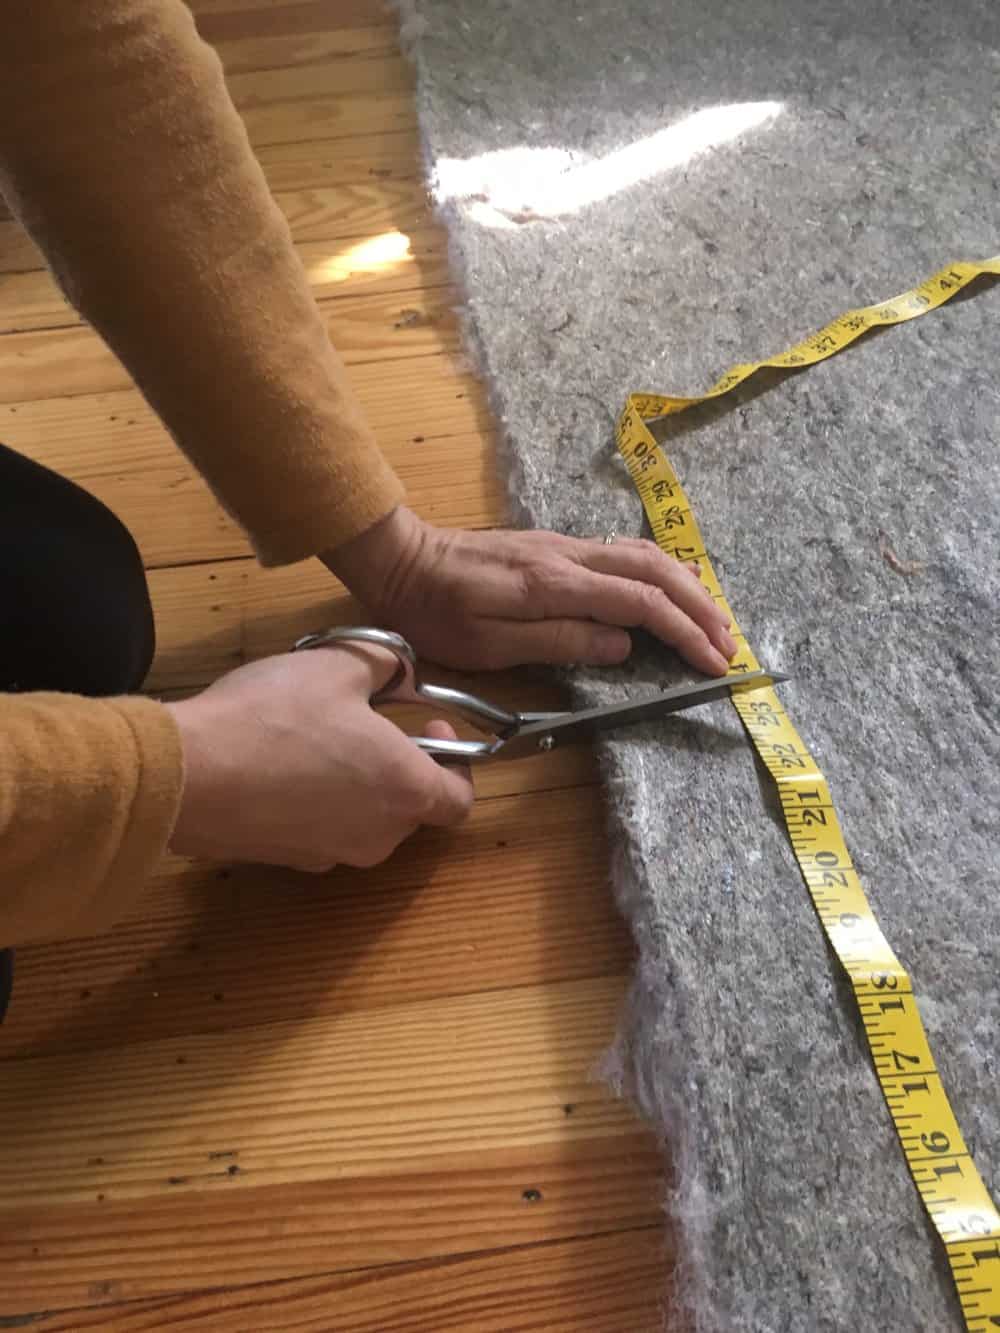
The stair treads are 10″ wide so I cut the felt pads 15″ in length to allow 4″ to hang over the front.
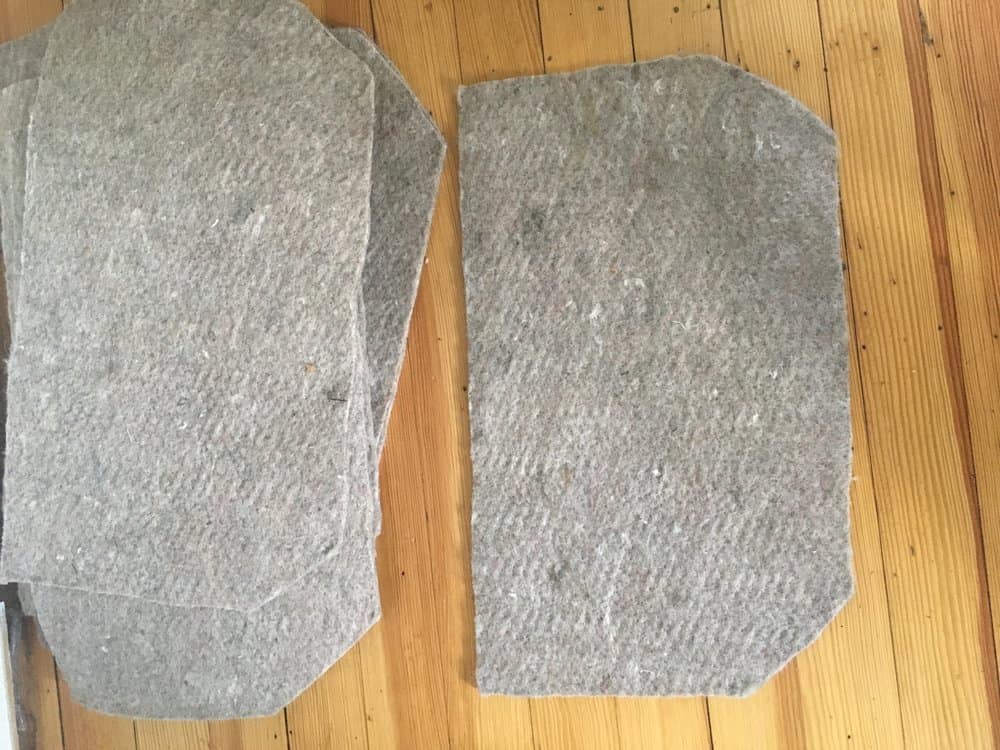
I snipped the corners at 10″. You can see the final shape in the photos below.
I took my pattern piece and cut 11 pieces, one for each of our stairs.
I placed my first felt pad in the middle of the tread on the top step.
I did this by measuring on either side with my tape measure, to make sure both sides were equal.
I left about a half inch at the back of the tread, so I would have space to nail the runner into.
I secured the felt pads in place with a staple gun. I stapled at the back of the tread and underneath. I also threw some staples in the middle, so they wouldn’t slide around.
I gave the steps one last clean up before starting the runner installation.
To begin, I placed three strips of double sided carpet adhesive on the stop riser. I placed the runner on the tape, making sure it was centered.
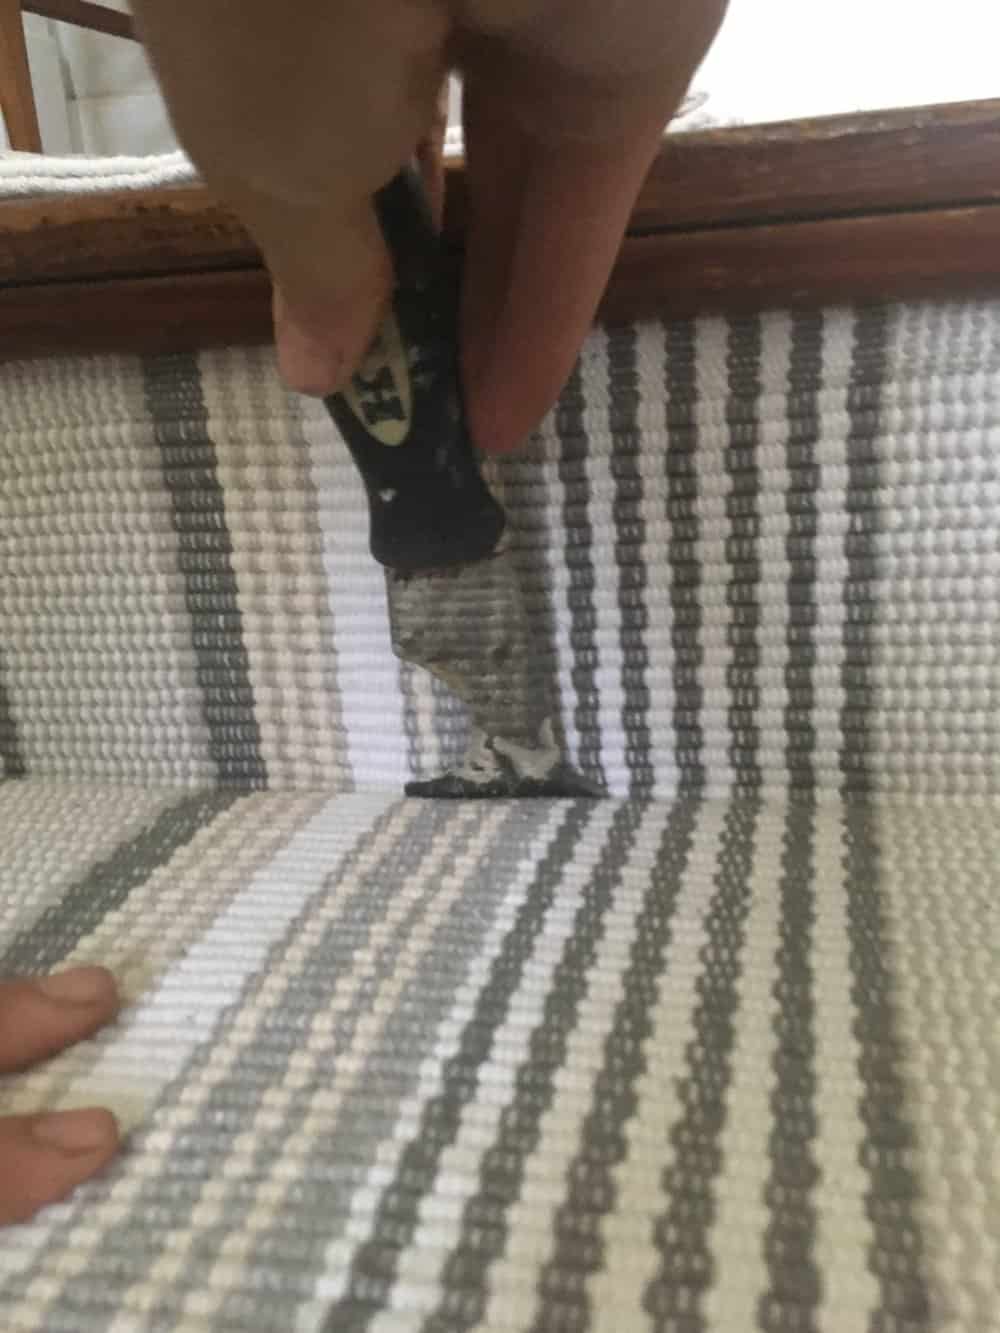
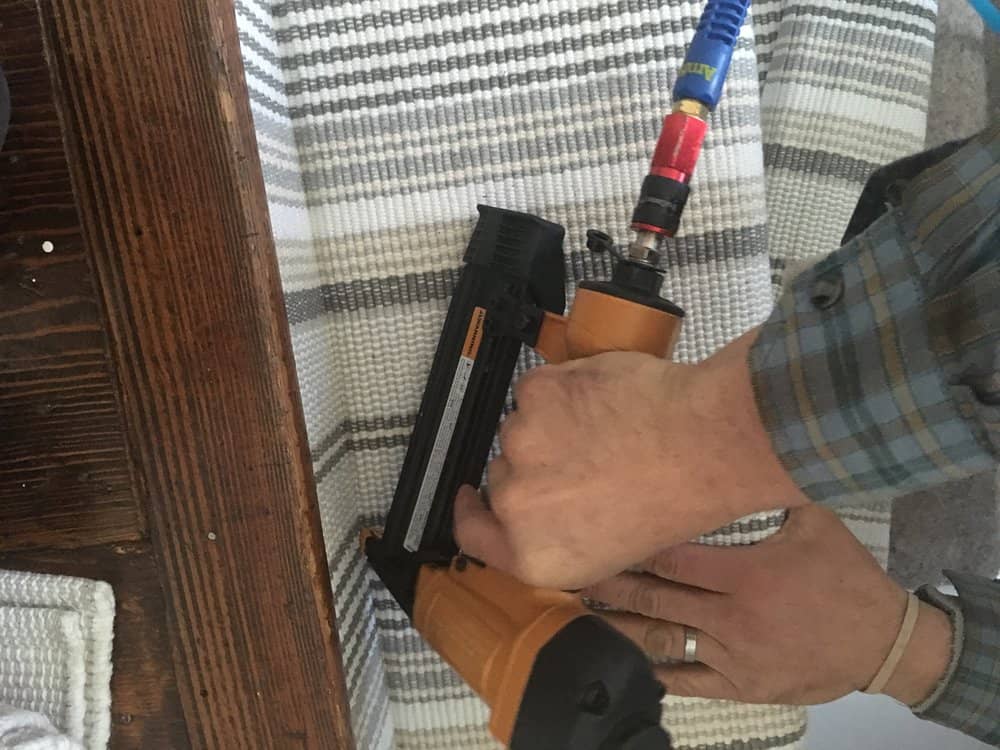
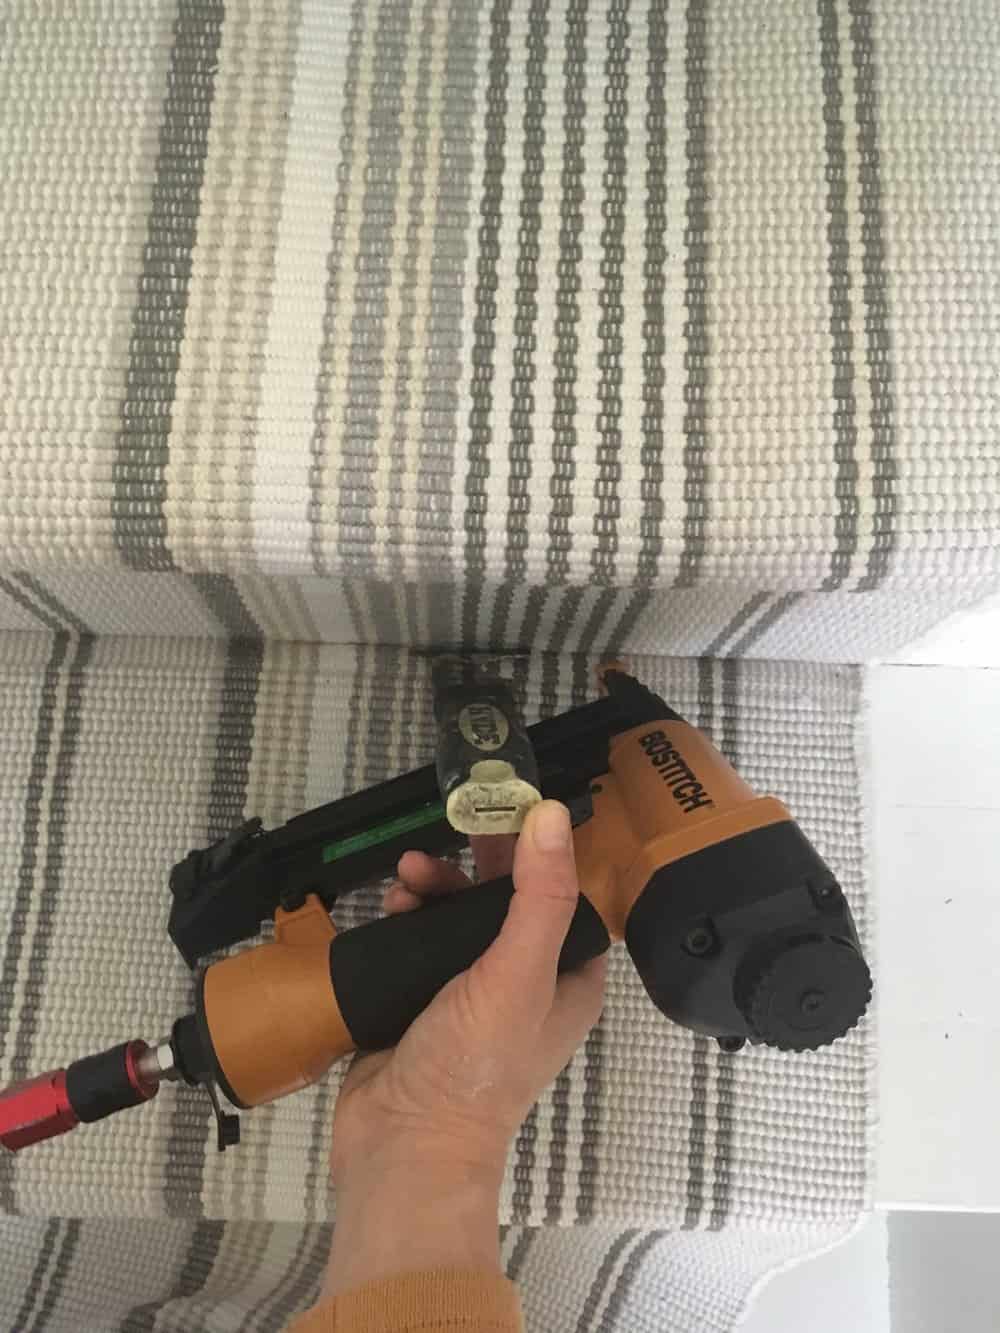
I used a putty knife to make sure the runner was as tight between the tread and riser as possible. I secured it with 18 gauge nails and a brad nailer.
Since I had 11 steps, and the first riser was an unsual size, I had to cut the first rug after only covering one step.
I would have the other five rugs to cover the remaining 10 stairs.
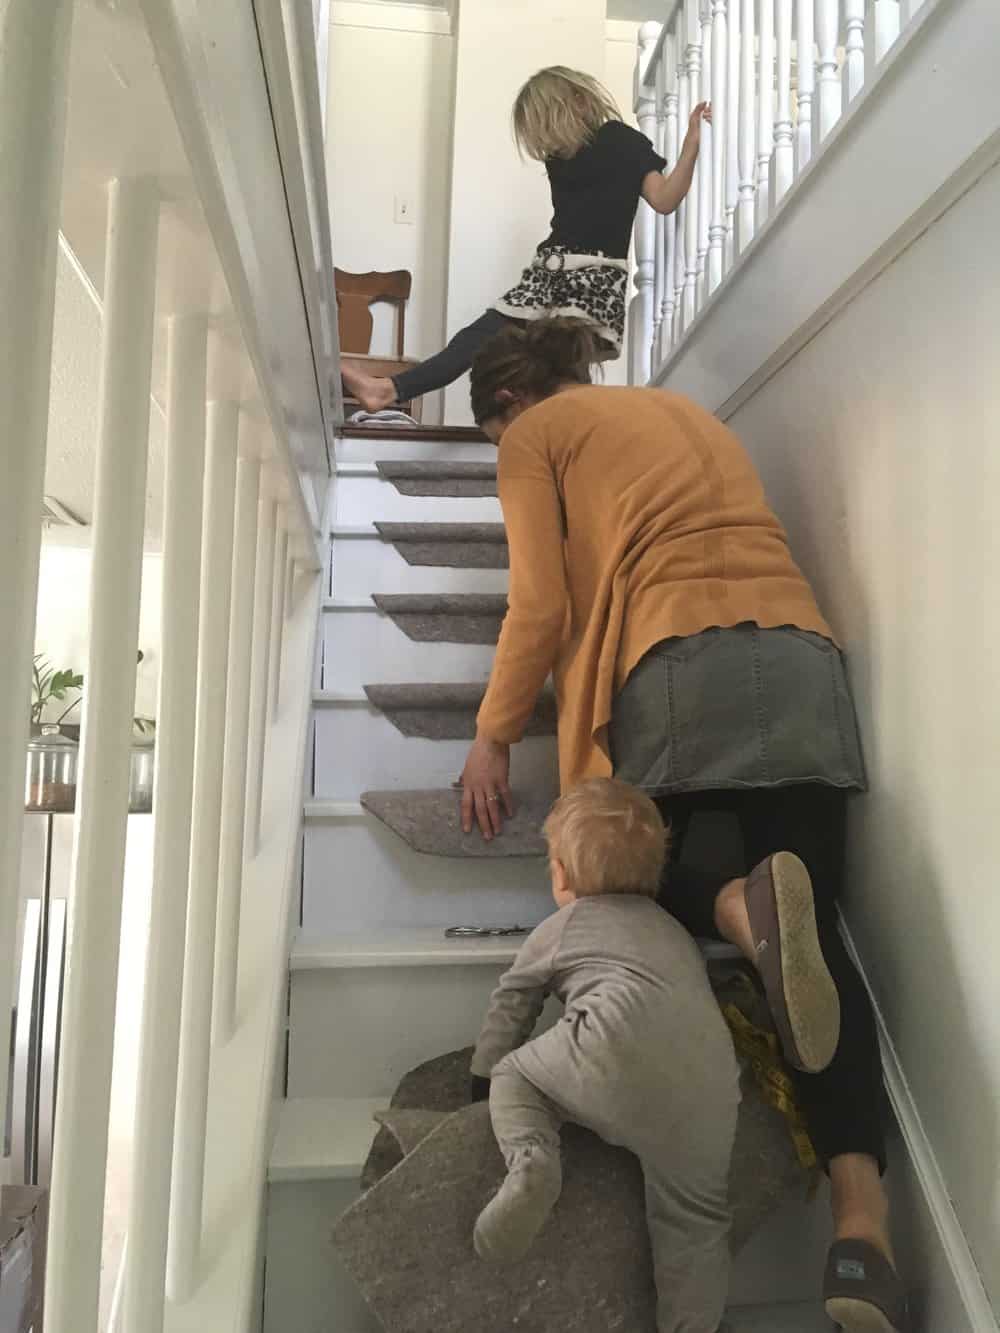
To continue on to the next step I smoothed the rug down with the putty knife and secured it to the base of the next step, between the riser and tread.
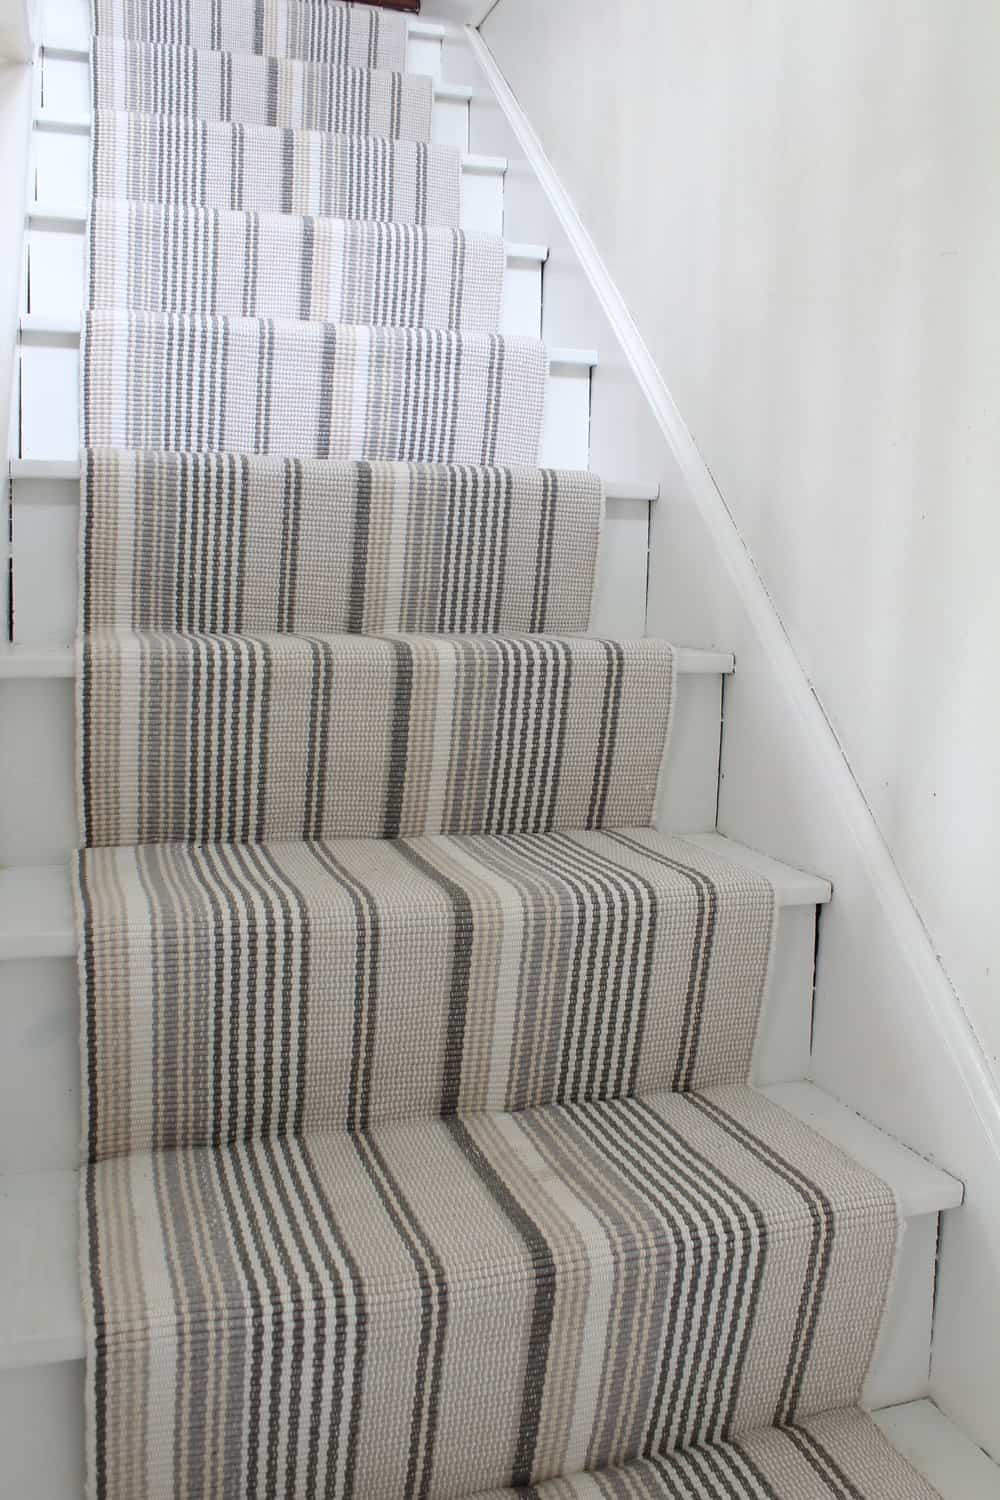
It is called installing the runner “waterfall” style.
*Please note* This next picture is confusing because we forgot that we weren’t going to be nailing underneath the tread, but instead stretching it directly to the next one. We accidentally nailed it underneath the tread in the next photo, but we removed our mistake and continued on with the “waterfall” style stair runner installation.
I tucked the first rug in with my putty knife and secured it in place with the brad nailer.
After it was secure, I laid the next rug over the first, leaving the original seam, and nailed in place with the nailer and putty knife.
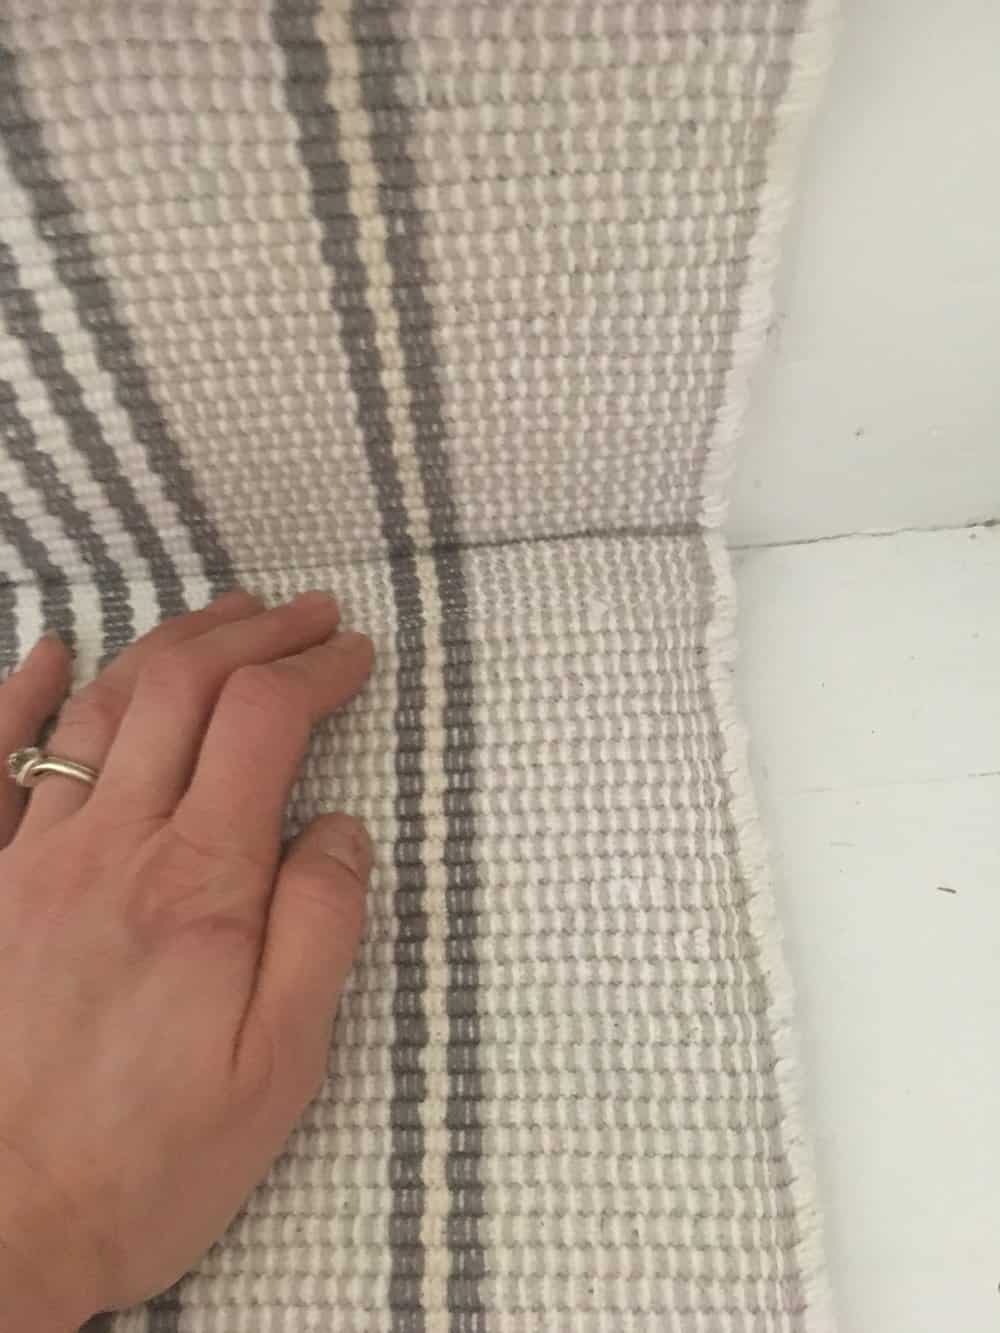
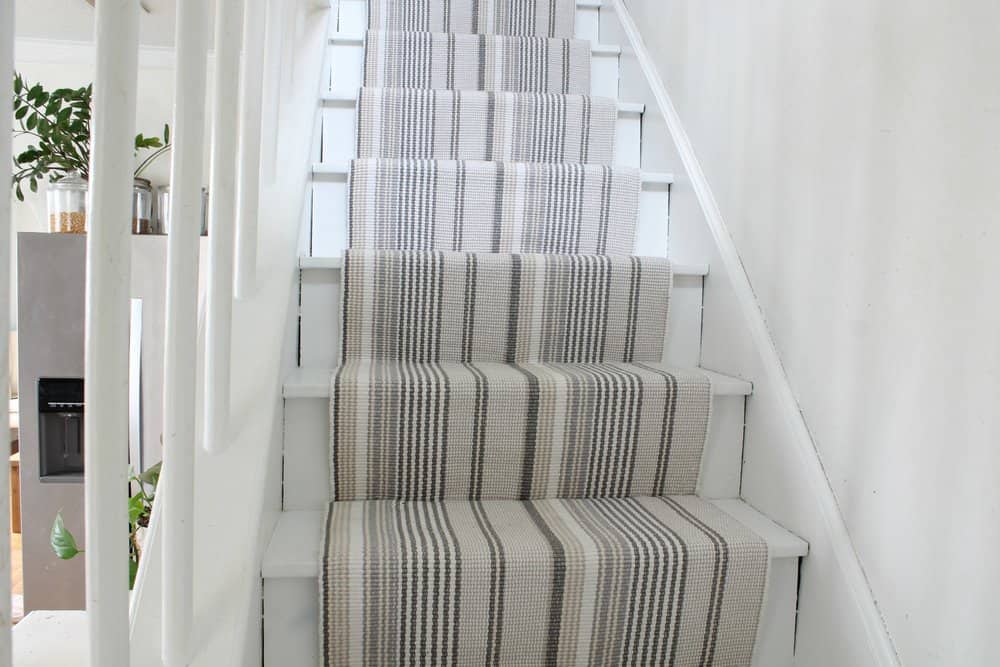
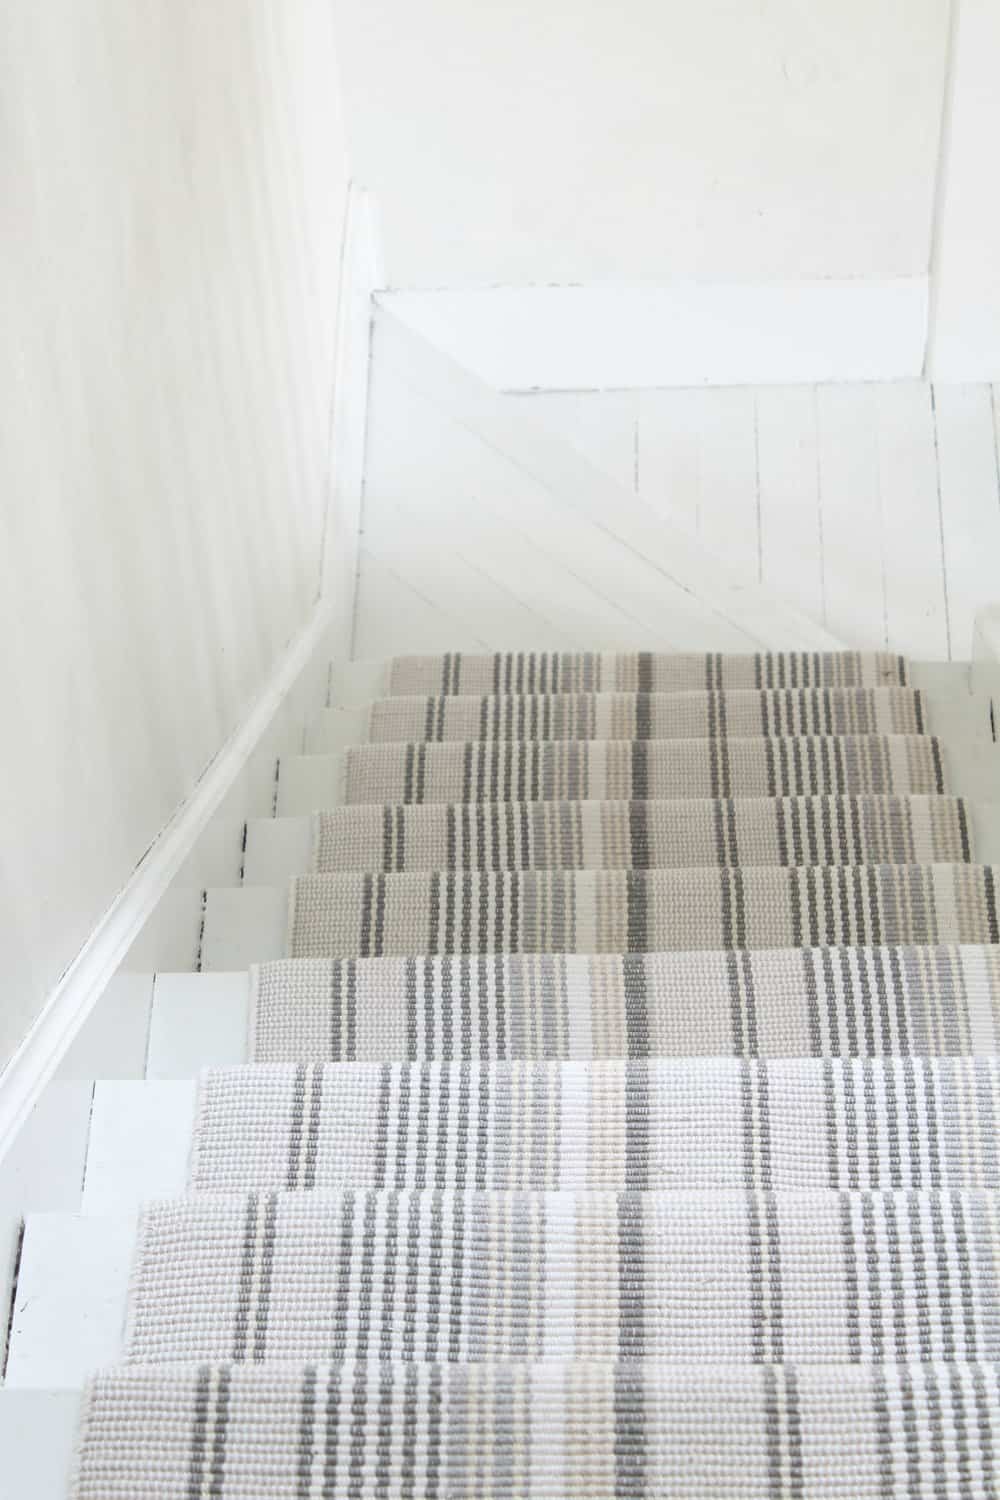
I continued on this way all the way down, making sure to always line the stripes up and continue measuring both sides to make sure the whole thing stayed centered.
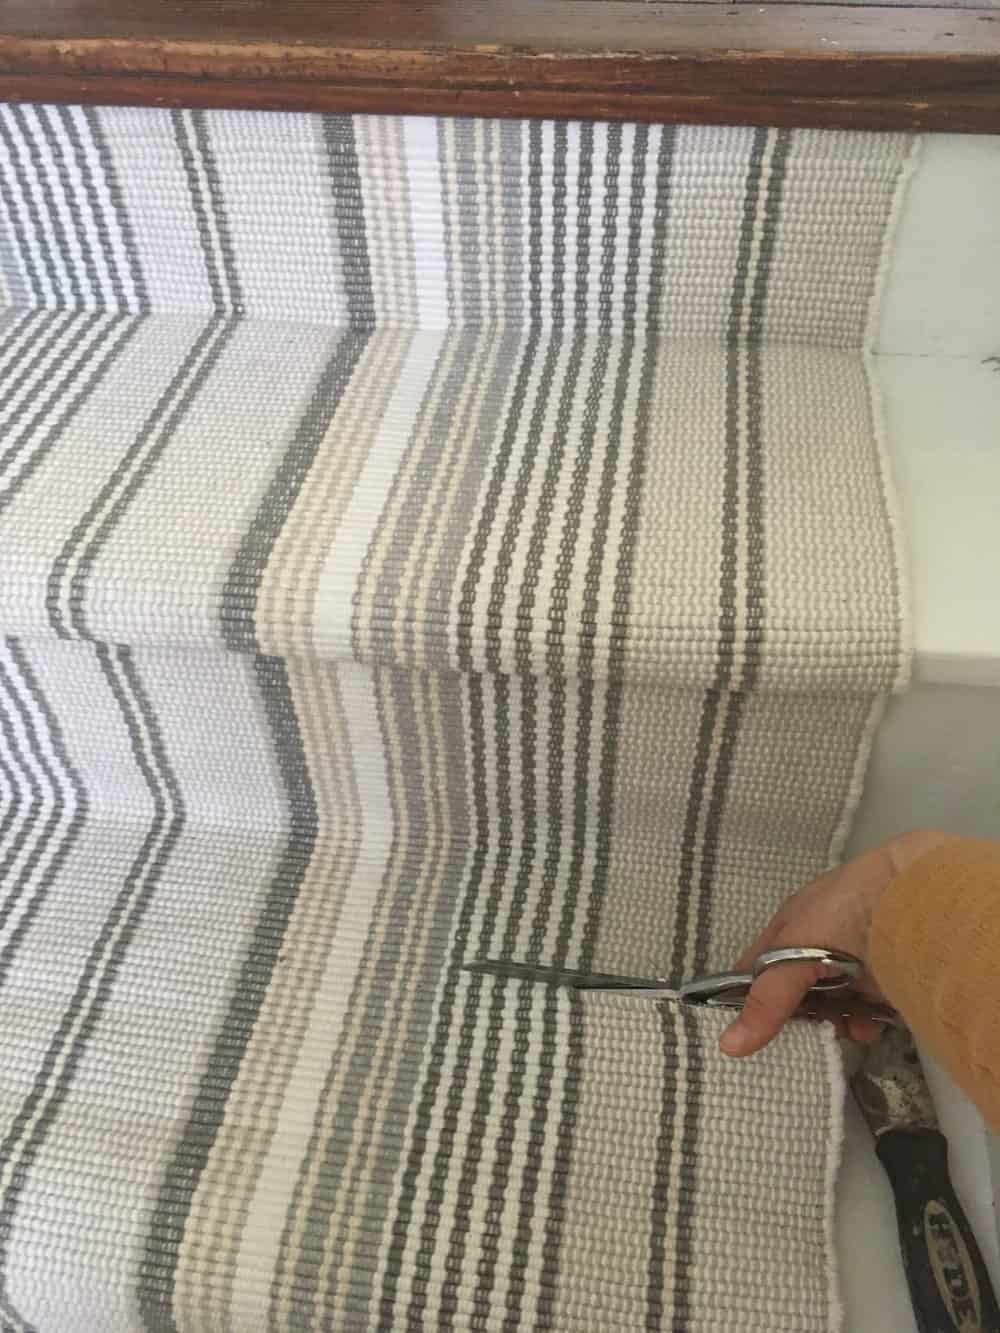
Each time I had to start a new rug I removed the hem from the previous rug that would be covered up by the next one.
I tried leaving the seam in, but I found it was too bulky, with laying the hemmed end of one rug over the hemmed end of another. That’s a whole lot of bulk.
It wasn’t hard to remove every other seam, and made it look a lot cleaner.
I imagine this process would be even easier if you have standard size steps and can use an actual 12′ runner.
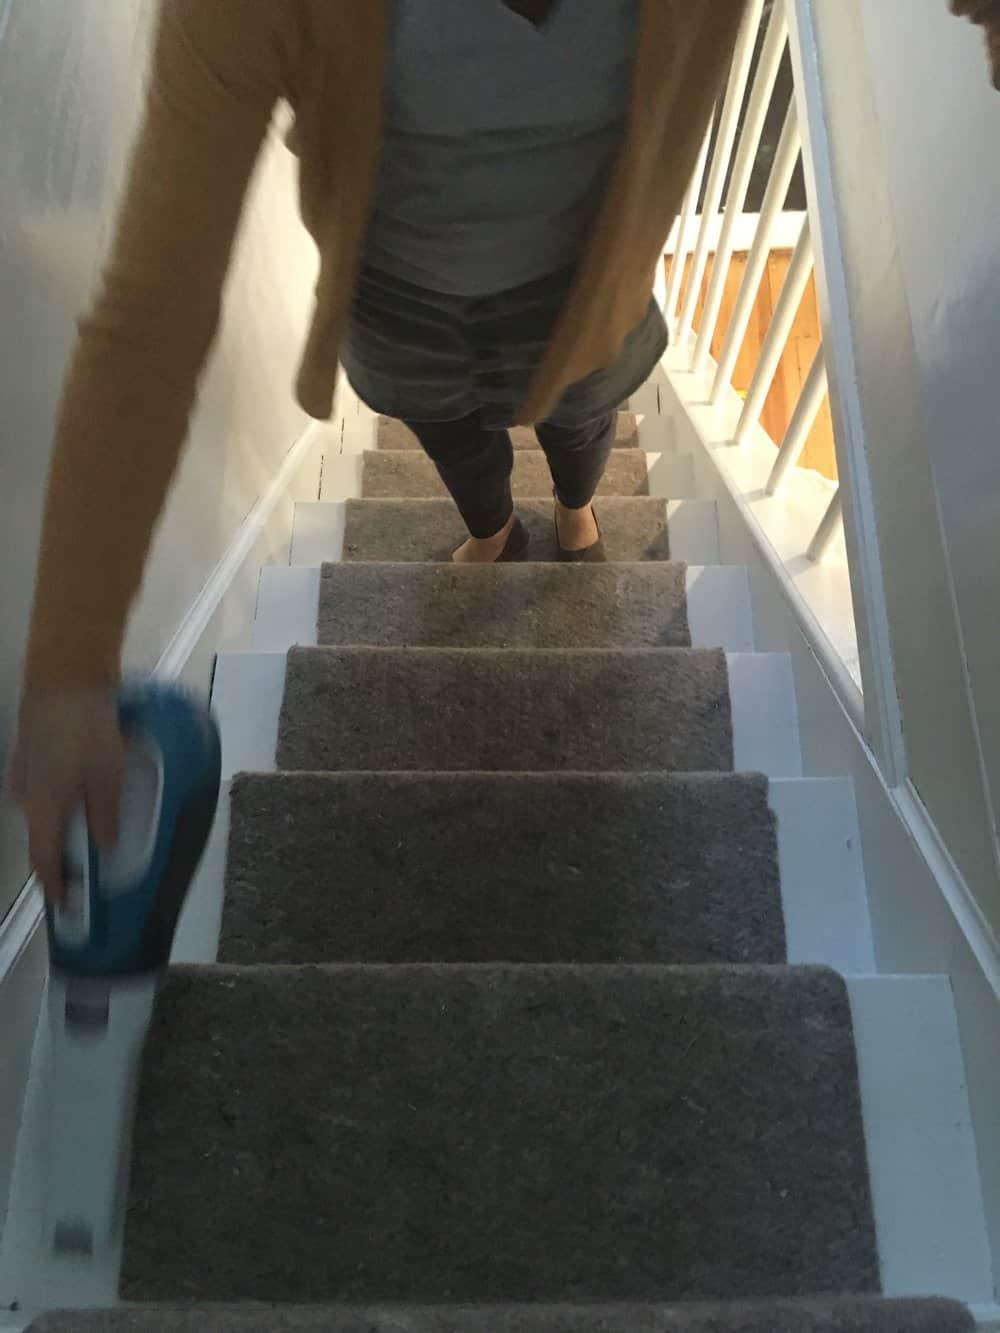
When I reached the last tread I secured the runner in place by pulling it taut and nailing it into the front of the bottom riser.
I couldn’t be happier with the way this project turned out.
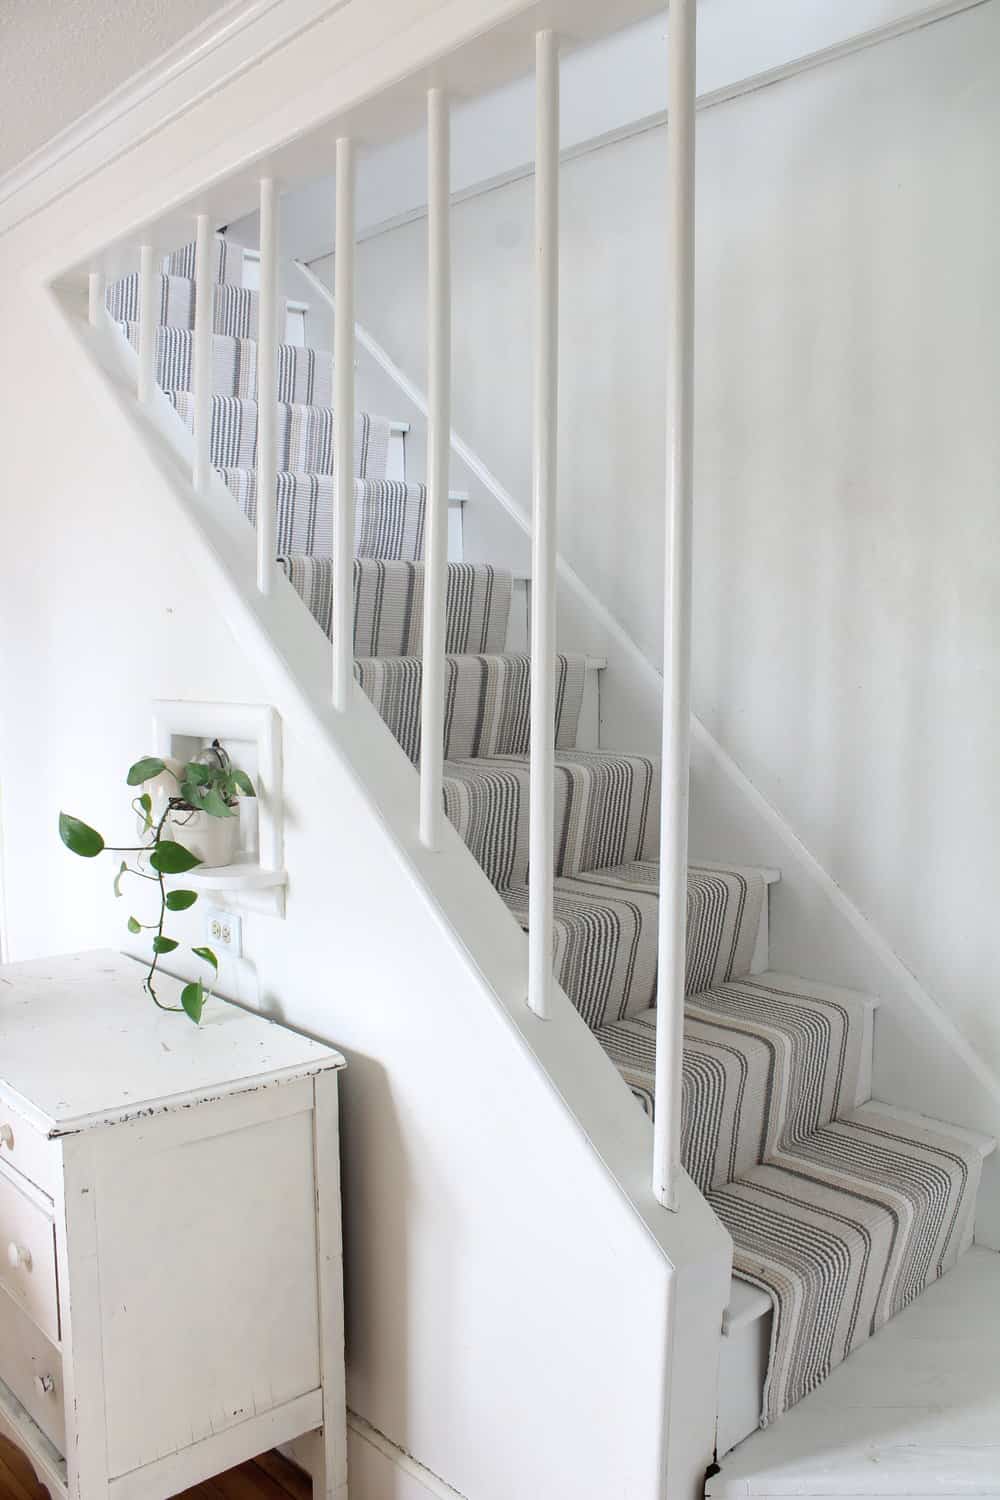
It was seriously so easy to install and can be done in one afternoon. I can’t believe we waited this long to do this! The transformation brightens up the whole area so much.
Sources:
Stair runner- Gradation Ticking Woven Cotton Runner from Annie Selke’s Dash and Albert
Paint- Porch and Floor by Valspar
Pin it for later:

Cross Carpets says
Great content and makeover that everyone can refer through. It’s elegant to look at.
Liz Hackett says
Looks amazing and so simple .
Kristi says
Beautiful! Now that it’s been in your house for awhile how have I you found it holds up? I would like one of the D&A rugs but am concerned that the rug will stain easily under my little ones dirty feet!